Hello,
Today I'd like to share a little project with you which I've made for themadscrapper.blog using a sheet of 12x12 paper from 49-and-market Artoptions-avesta collection called Flutterbies. I have also used flowers and Laser cuts from them too (a full list below)
I started with a sheet of cardstock, any colour would do as long as it goes with your chosen patterned paper you will be using. I cut it to 61/4 inch square. I scored it 11/2 on all sides giving me a centre of 31/4 which is the size of my cube of sticky notelets. I have nipped a little out of each corner to help the box shape nicely. I use red liner tape as well as wet glue for extra.
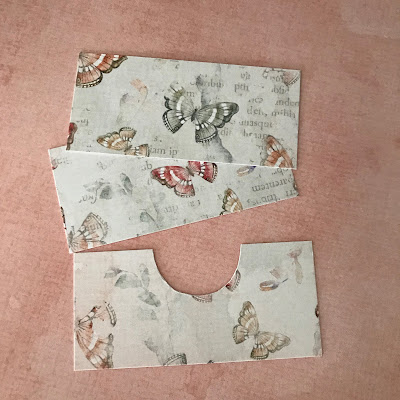
This is the paper I have used, I cut a strip 91/2 inch long by 31/4. Then I scored it at 31/4 then 43/4 and next 8.
You can see here that I have added a small magnet to help it stay closed on your desk.
Here you can see the flowers and leaves I have used along with some of the laser cut ephemera
I added this little text strip from the ephemera as well as fussy cutting some butterflies from the little bit of paper left from the 12inch strip I cut.
Another angle showing the flowers with the glitter and beads added.
Thanks for stopping by today. I hope I have inspired you to make a little project like this using papers and flowers you have purchased from Janine at themadscrapper.co.uk or you may have been lucky enough to go in to her shop.
Sue.
List of products used:-
glitter, seed beads and beads from stash.


No comments:
Post a Comment