Wednesday, March 24, 2021

Today's Little Details

Hey there,

Today I'm back to share with you all a pretty layout I've made for The Mad Scrapper Blog . It uses 2 photos taken in  the morning sunshine as we walked our dog along the riverside. We stopped to go through a gate and both remarked on the moss growing on top of the post! You can just see how we first saw it in the photo slightly hidden under the main one. You could almost imagine if you only saw the close up would you think it was an aerial shot of a cliff top.


Today I have chosen to use papers and elements from the glorious simple stories Vintage Cottage Fields Collection  along with one other paper from the denim+friends collection by Maja Designs. 


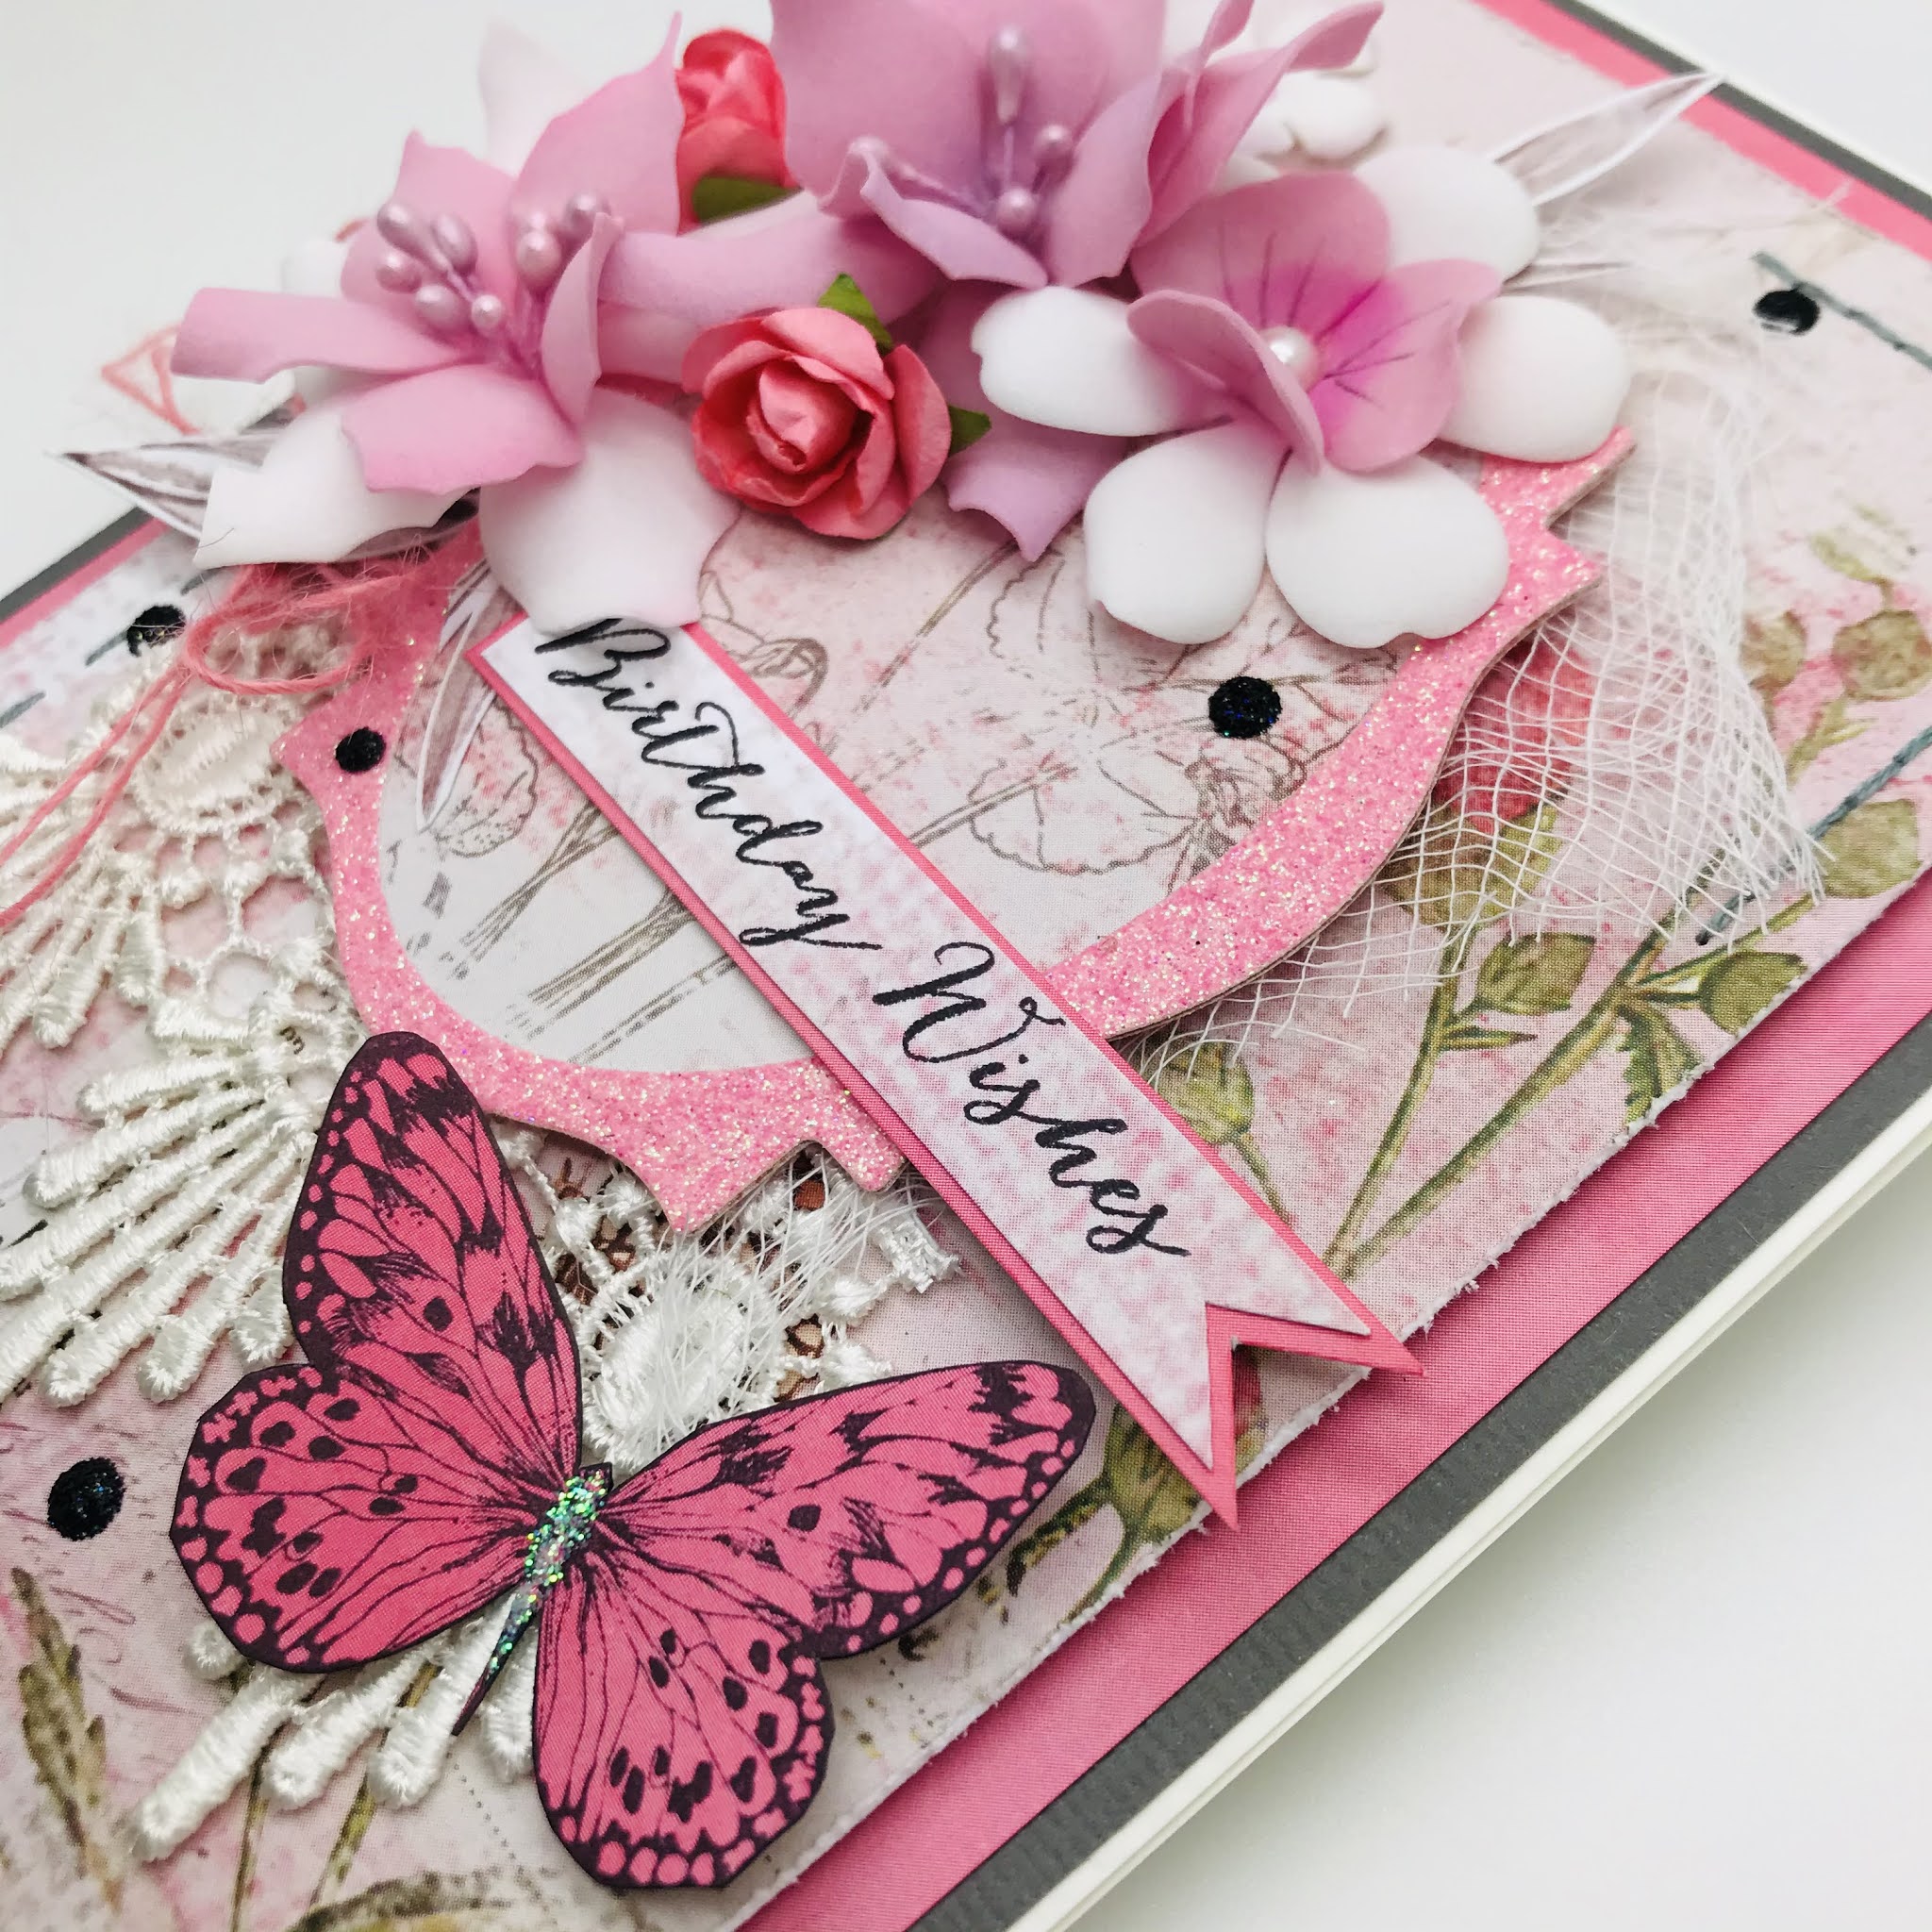
As you can see I tore the Hello Happy  sheet to remove the butterflies, then I inked peeled paint distress ink through a leafy stencil on both papers. I've kept the butterflies for another time! I broke out my deckle edge scissors and cut away a 1/4 inch from the right side of the blue paper. Before sticking down I stitched in black along one side of the peach and the opposite of the blue in peach.


         Ooh look there is one of the saved butterflies on the page below!


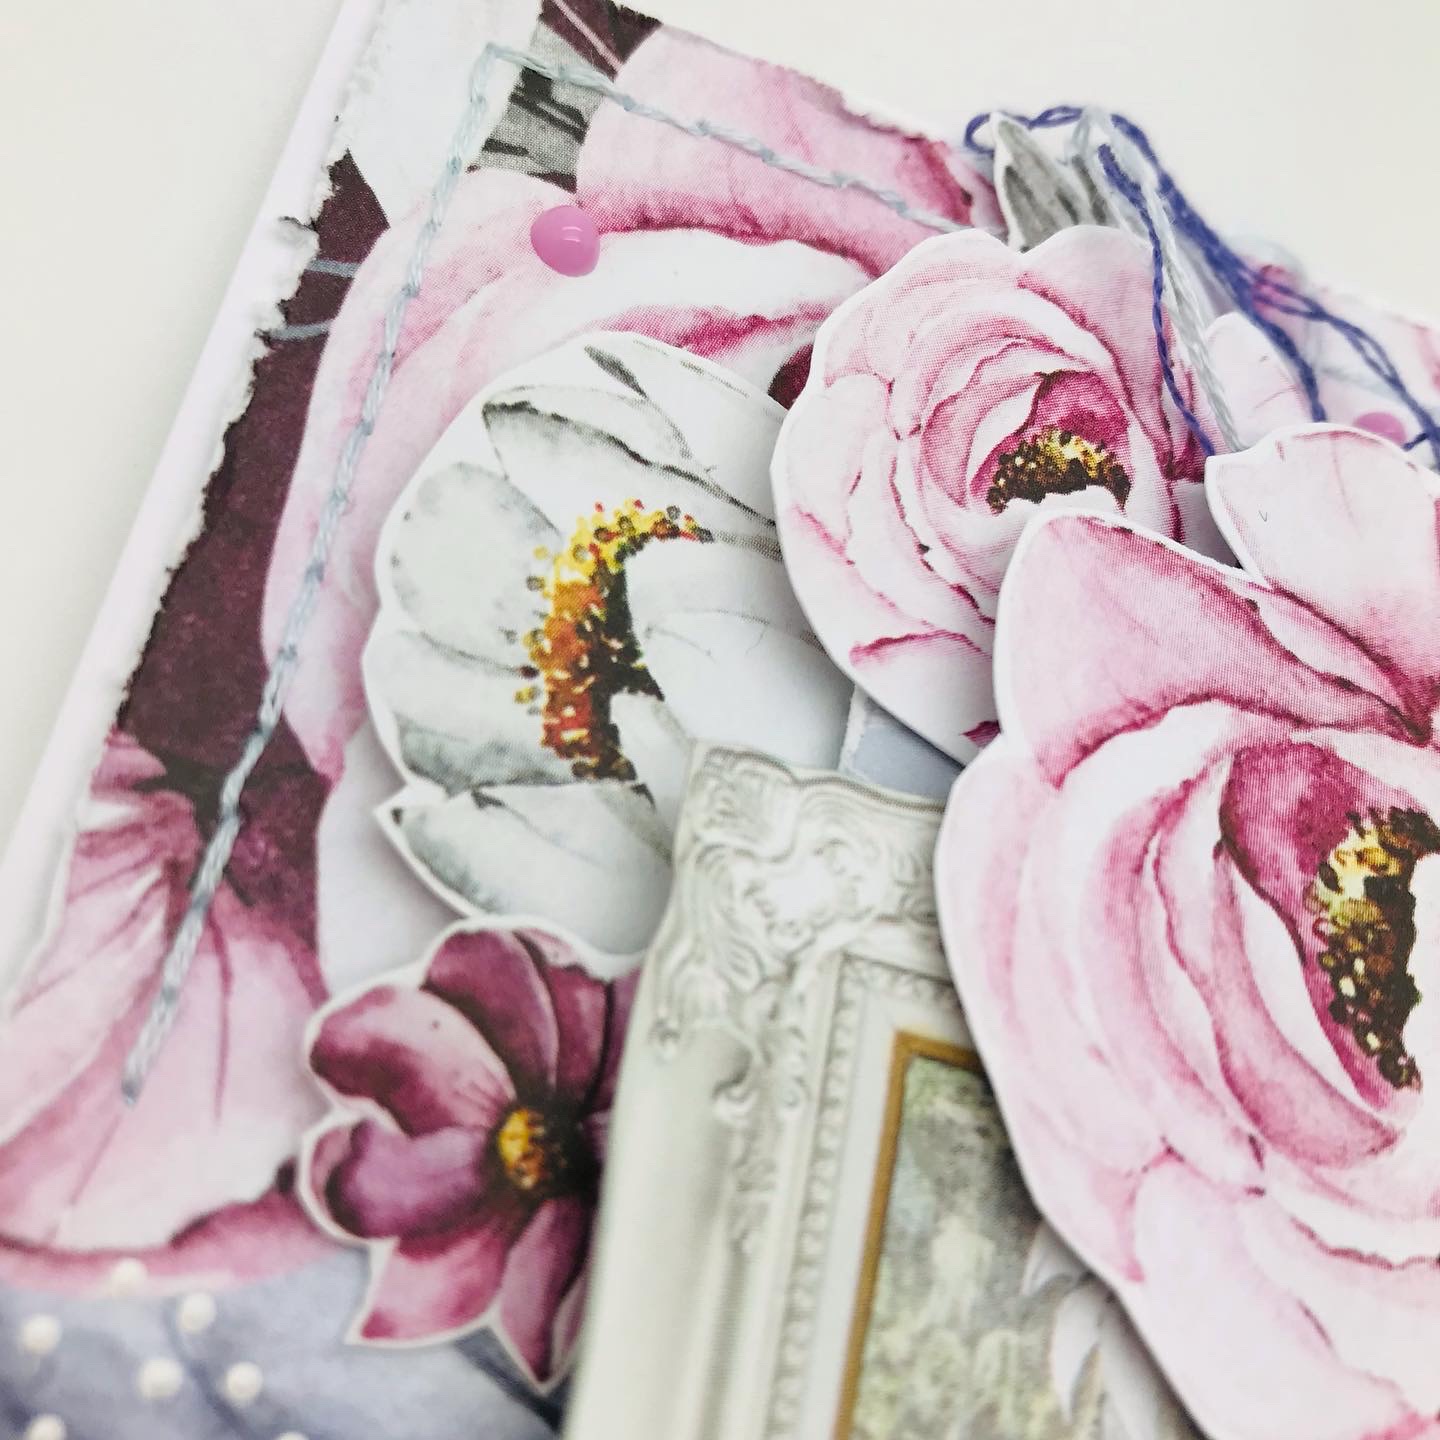
Then I took the paper Beautiful Moments and fussycut the right hand flower section and added it to the page but I lifted the left hand areas first (you maybe able to see the shadow in the photo). Here is a closer look down the path, I matted this photo on a piece of dusty pink from basics-paper-pack-12x12 that matches the papers.


Using some of the cardstock stickers I began to place them around the layout, some I added to card before using foam pads to stick down to give more dimension. In the photo below you can see I used 3 to make a banner.


The photo below shows the fussy cut piece nicely, it also shows a little bee teasing the bird lol, the bee was on the other side of the hello happy paper. You can also see the inking better too. I added a little sparkle to the wings of the bee and down the centre of the yellow butterfly.


Here is a closer look at the clifftop lol. To finish off my layout today I have added Nuvo drops and glitter glue. 


Thanks again for stopping by today, please leave a word or two to let me know what you think. Also I must say Janine has some wonderful collections in store and this one has many parts to it which I have not yet used so I encourage you to drop by. Her bricks and mortar shop is not open at the moment but she has a wonderful online store open 24/7 for those of us unable to sleep!! 

Take Care,

Sue.


Sunday, March 14, 2021

Birthday Wishes

 Hello again!

Well here I am sharing my second project for The Mad Scrapper Blog. Today I have decided to make a birthday card. I will be using products available in the store with all links within this post.


I have made my own card blank and layered Grey card first, then using the beautiful vintage-artistry-blush-soaring you will see I have used both sides on this cardstock. The pink solid first then the patterned side for the top. I added stitching to opposite corners and distressed the edges. To add to the card I mounted using foam pads.


Then it was time to collect together possible embelishments that I may choose to use. I stamped 2 butterflies on to the solid pink side and later cut them out. I grabbed some lace from my stash as well as pink twine and two tiny rose buds. Then I took a piece of cheesecloth, some mini flower and single flowers from the store but that wasn't enough I needed more so I used art-foam-blossom and art-foam-white to make some flowers of my own.


I started by placing things where I thought I would like them. Then removed and started attaching using my hot glue gun in most cases.


I needed a little something else so I grabbed a frame which was diecut in kaisercraft-glitter-cardstock-blush and I placed another piece of the paper underneath and mounted that over the top of the lace then I added my flowers along with some leaves. A little bow from the twine was added and I used my favourite Birthday Wishes stamp to create a sentiment banner.
To finish off I added some black glitter glue and the two butterflies which you can see I pulled up their wings as if in flight.
This card will have to go in to a box which I will make so it can be posted.

Thanks for stopping by today, hope you can leave a few words so I can see who has been.

Sue

Sunday, March 7, 2021

A Fab Day Out

 Hello,

Well here I am with my first post as a Design Team member over at The Mad Scrapper. I am so excited to be here & thank you to Janine for the opportunity. 

My first project is a layout and it uses photos from a lovely day out in Liverpool last September. We crossed the Mersey on the ferry and when we got off we came across the iconic statue of The Beatles! I couldn't resist having my photo taken with them.


Other photos share images of the day such as our lunch, Steak and Cheese melted sandwiches eaten in one of the  dock side cafés , the Liver Building and of course a view as we crossed on the ferry (yes we did sing the song lol). The last shows rows of padlocks attached to the chains around the waters edge, there were thousands.


Now on to the layout. I will list all supply's and links to the shop at the bottom of this post.

I started with a 12x12 sheet of pink card from my stash and inked the edges with the new Kitsch Flamingo distress ink. Then I cut down to 11 1/4sq the Heritage Harbour paper by Maja Designs  which shows images of old sailing boats along with a new café culture area which is in abundance around the dock area. I  covered  it with clear gesso and once dry using the Tapestry stencil by Finnabair I passed through some texture paste which I'd coloured with the Flamingo ink. Once dry I distressed the edges.


Now time to add everything else. Starting with a very old piece of vellum with music notes, I tore a square and on to that went 2 photos. Then I added the painted chain circle which pulls in the lock photo and all the others together. 


Once I was happy with their placements I added the flowers some of which I made myself using the foam instore and others from 49 and Market and the single daisy's (which are available in a plethora of colours). I also dotted about pearls and black enamel dots.


This next photo my hubby said I shouldn't add because it doesn't look too appetising but it really was delicious lol


I hope you like this as much as I did producing it. You can see more of my makes on my Instagram page  @paperpleasures or over on my Blog Paper Pleasure.   I will be sharing other things using products from The Mad Scrapper Store so I look forward to seeing you there.


Till next time take care,

Sue

I've entered in to the following challenge with this layout.

welove2create.blogspot.com

Please find below the links for all products used available to purchase in the store.

Kitsch Flamingo Distress Ink

Heritage Harbour by Maja Designs, out of stock at the moment but you may already have it from a previous purchase.

Iris Tapestry Stencil

Fiiabair Secret Notes stamp

Gesso

Scarlet Mini Flowers 49and Market

Art Foam 3 colours available.

Dusty Attic Mini Tabs 7

Dusty Attic Chain Circles

Daisy flowers 4cm   Daisy Flower Blue Grey 


Saturday, March 6, 2021

Beautiful Layers

 Hello,

Today I'd like to share a birthday card I have recently made for an order. The card is a 41/2 x 8 and I have used the beautiful diva-scrapbooking-paper-set which I found very hard to cut in to lol.


I've used a couple of the papers on the card as well as fussy cutting out flowers, tags, leaves and frames. I used texture paste through a stencil first and once dry I stitched on opposite corners using a silver grey thread.


I started by adding a blue grey paper first on foam pads after distressing the edges then I took a couple of tags and added frames over the top. I made a bow using purple and silver grey thread.


Then I set about building up the design on the front of the card. As you can see I glued seed beads to the centre of the heart which gave it some texture.


As you can see everything has been added with lift underneath. Flowers and leaves being tucked in to give volume of eye candy. I dotted pink Nuvo drops around the design for more texture.


You can see the height here in this photo.

Thanks for stopping by today I hope you can spare a moment to let me know what you think.

Sue