Wednesday, March 20, 2024

Santa Excitement

 Hello,

Today I'm up The Mad Scrapper Blog with this Ready to take photos layout. Did you buy some of these beautiful papers by Uniquely Creative and are still waiting to use them? Well why not make up a layout ready to take them when you get them printed.


I took two papers for this layout and from the Sparkle paper I fussy cut the central banner then I used the left over for the bottom of the page and then I took Bazzill Walnut Cream for the top joining just over the halfway point. Then I trimmed it down to 111/2 and matted it on to Bazzill Sweetheart cardstock. I decided to add some stencilling so I chose the Geo Star by Dusty Attic. Then I fussy cut cluster and added that to the left of the page and finished off will a couple of squiggly lines around the pink base.


Then I set about making the mats for the photos knowing the were going to be 3x4 in size so I found some green from my stash to add to gold mirri. I also made a couple of banners to go with one I cut from the paper and adding to the central line.


The next few photos show the finished results after the banner has been added along with a few extra bits and bob's such as extra Christmas Gnomes, gems and hearts.


You can tell from this photo that the banner is lifted off the page for dimension. The title is fussy cut from the paper.


I set the flag banners at different lengths for interest.


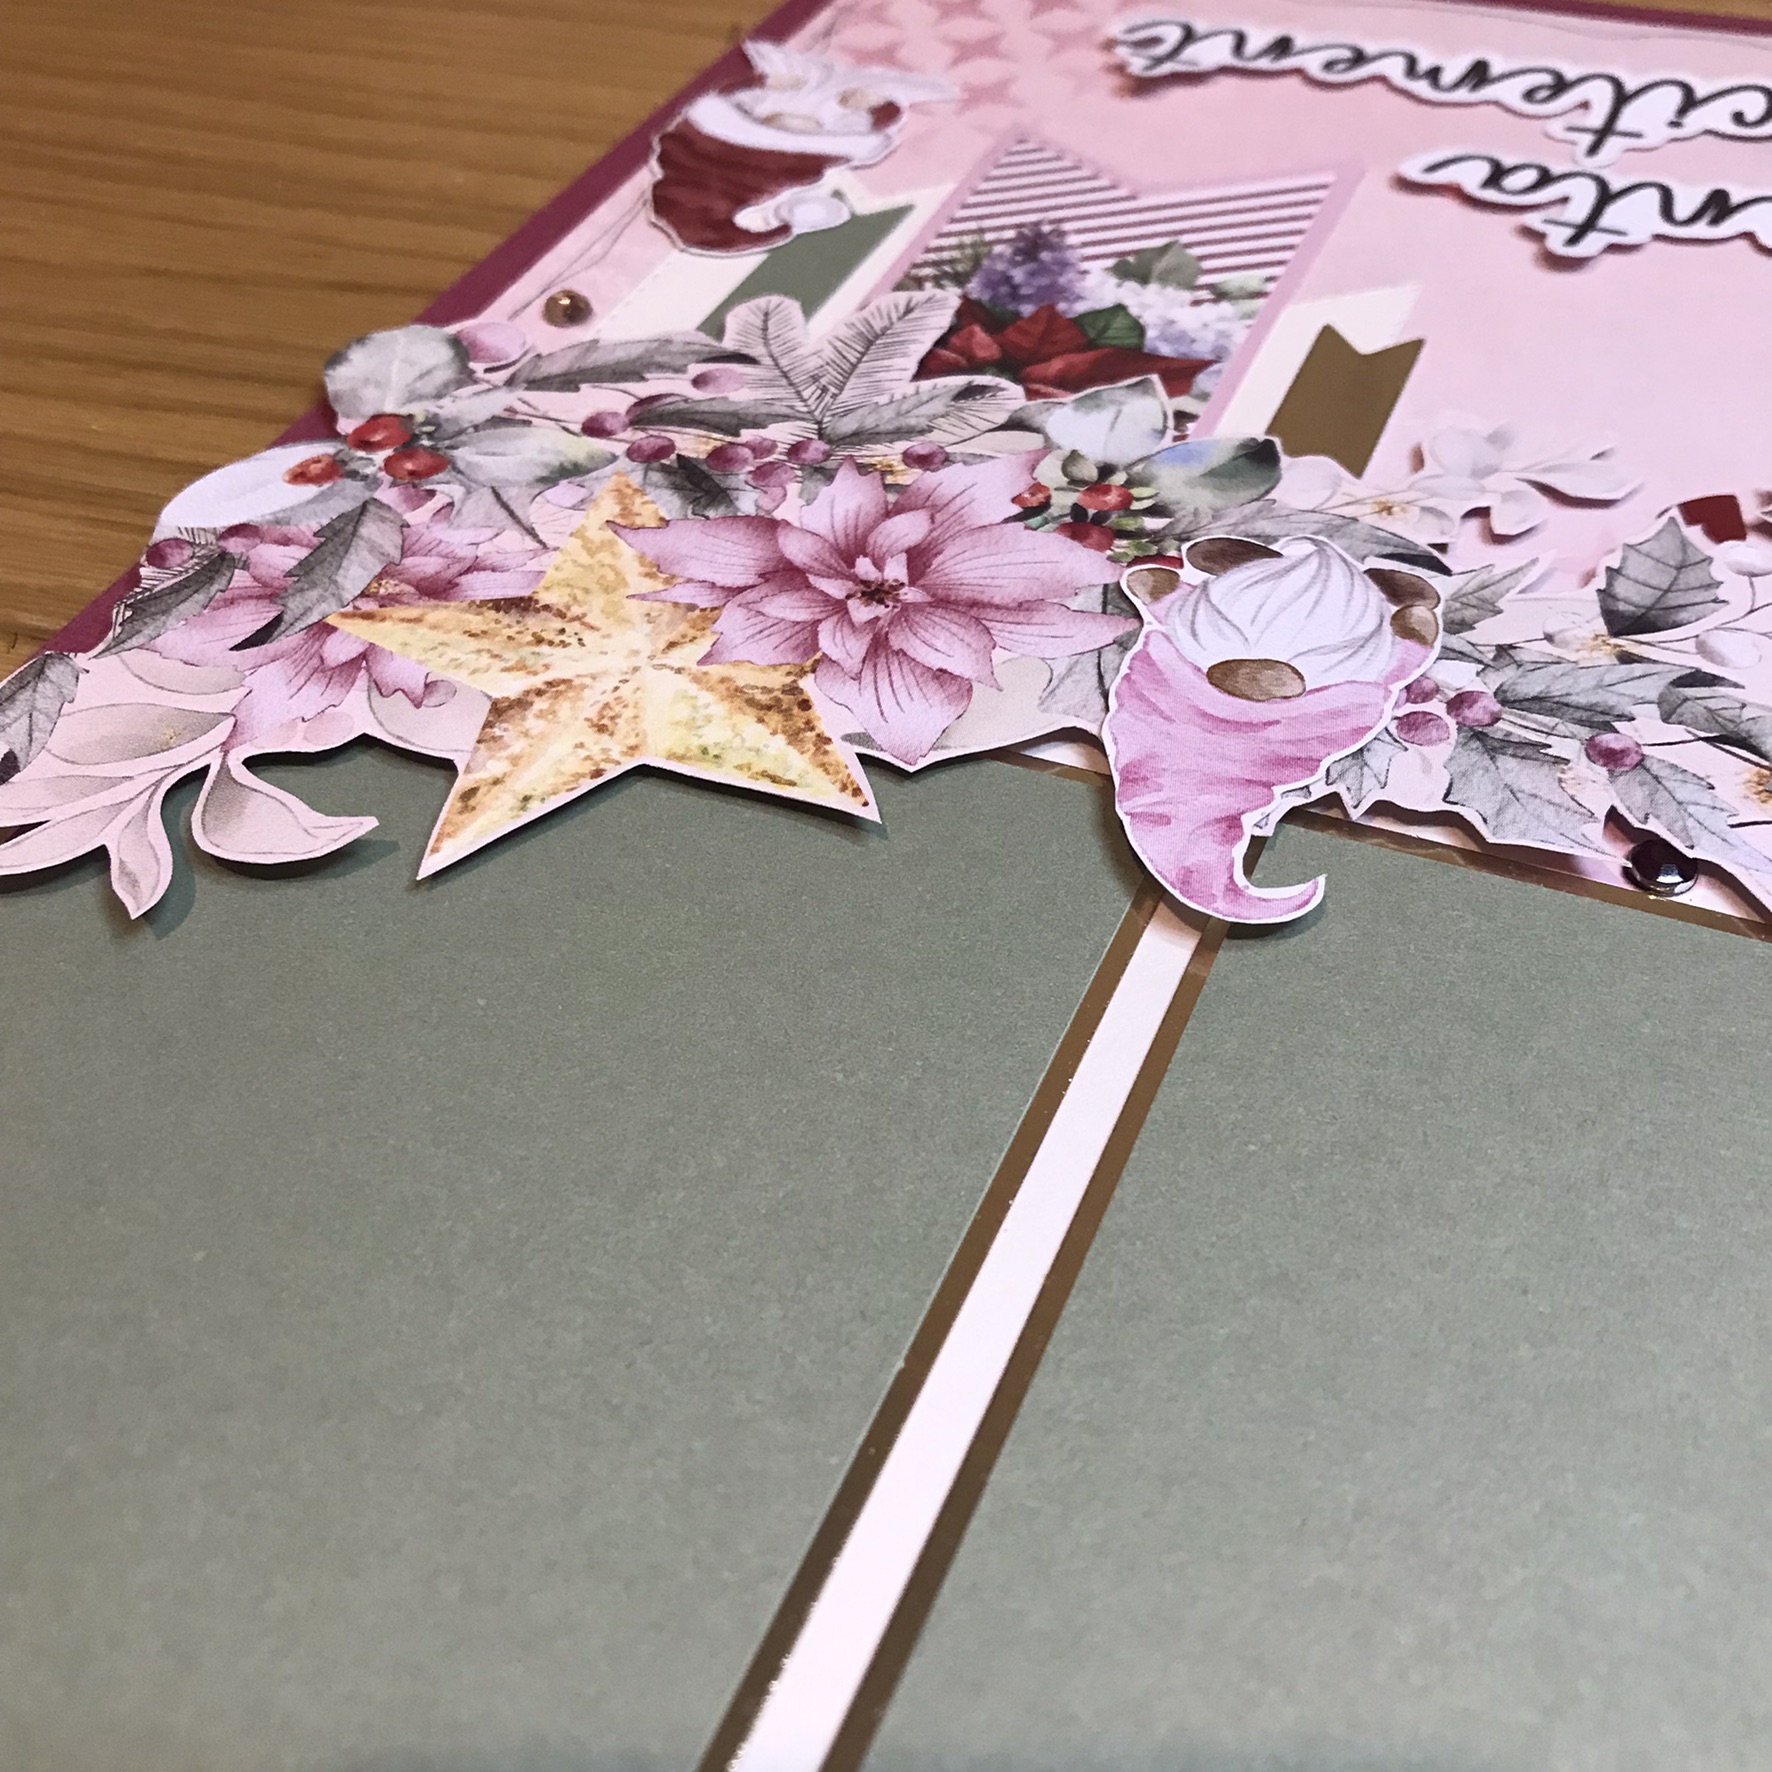
Here you can see the gap I have left for the photos to slip right in as foam is only added below the gold line.


Thanks for stopping by today, I hope you have found this of some help to get layouts ready. I know if you missed out on the individual papers Janine has the collection pad available in this set along with some newer designs all of which are stunning. Pop over to The Mad Scrapper  to check them all out.

Sue.

Here is a list of supply's used :
Pink Kaisercraft Gems
Gold Mirri
Green paper


Monday, March 11, 2024

Happy Life.

 Hi,

Today I am sharing this layout of my niece and her daughter for The Mad Scrapper Blog using beautiful papers and flowers available in store.


I started by gutting the black to give a quarter inch boarder all around, then after trimming the Gardenia paper I stitched around from the butterflies using floss in all the colours in the paper. After distressing the edges I stuck it down. Then I decided to add some more butterflies using rub-ons


Next I took 2 double hearts and inked then clear embossed to give a gloss finish which I think you can just make out in the photo!


Here you can see I tucked the each side of the photo. You can see one of the added butterflies too.


Here is the cluster at the top right of the photo. I tucked a little phrase snippet in there too.


Here is the bottom cluster along with a perspextive love heart and more snippets 


I have a full list (huge!!) of supplies used below. Thanks for stopping by today and don't forget to check out all the beautiful things available from Janine in The Mad Scrapper  shop or online.

Sue.

Here is the list:
49andmarket - Butter & Lilac Rub-ons
49andmarket - Beached Ephemera
49andmarket - Rustic Bouquet - Tomato + Blue Jay


Friday, March 1, 2024

Fish Town

 Hello,

I'm just sharing this layout from our day out in Brixham AKA Fish Town!  We went on a lovely walk with my sister & hubby along the cliffs and dropped down in to town for a coffee and cake at the harbour side. It was a beautifully hot day so everywhere was busy which was lovely to see.

I have used 2 beautiful papers from The Mad Scrapper  the base is Amazonite from the Shades of Boho collection by Maja Designs and Legends of the Sea by Pion Designs both I have had in my stash for a few years now but maybe you have them too. 


Here you can see a closer look at the top cluster. I am following along with a sketch challenge and you can see that below, I have twisted the sketch for my layout. The sketch uses multiple circles in its design and I have chosen colours from the photos. 


I have used a new to me fish stencil under both clusters as well as a few diecut fish. I have added glass drops and perspextive circles and stars.


I loved the mermaid image so decided to leave it untouched. Whilst walking about they told us about a TV series that was filmed in the town telling the story of the community and some of its key residents so when we got home we watched it. It was good because we had seen everywhere they were talking about.


Here is the sketch I have followed, it's by Allison Davis who's family own and run the Scrapbook Generation store in USA


Thanks for stopping by today, I hope I have inspired you today by using up old stash and remember if you are stuck for an idea a sketch is always a great place to kick start your mojo.

Sue.