Saturday, March 6, 2021

Beautiful Layers

 Hello,

Today I'd like to share a birthday card I have recently made for an order. The card is a 41/2 x 8 and I have used the beautiful diva-scrapbooking-paper-set which I found very hard to cut in to lol.
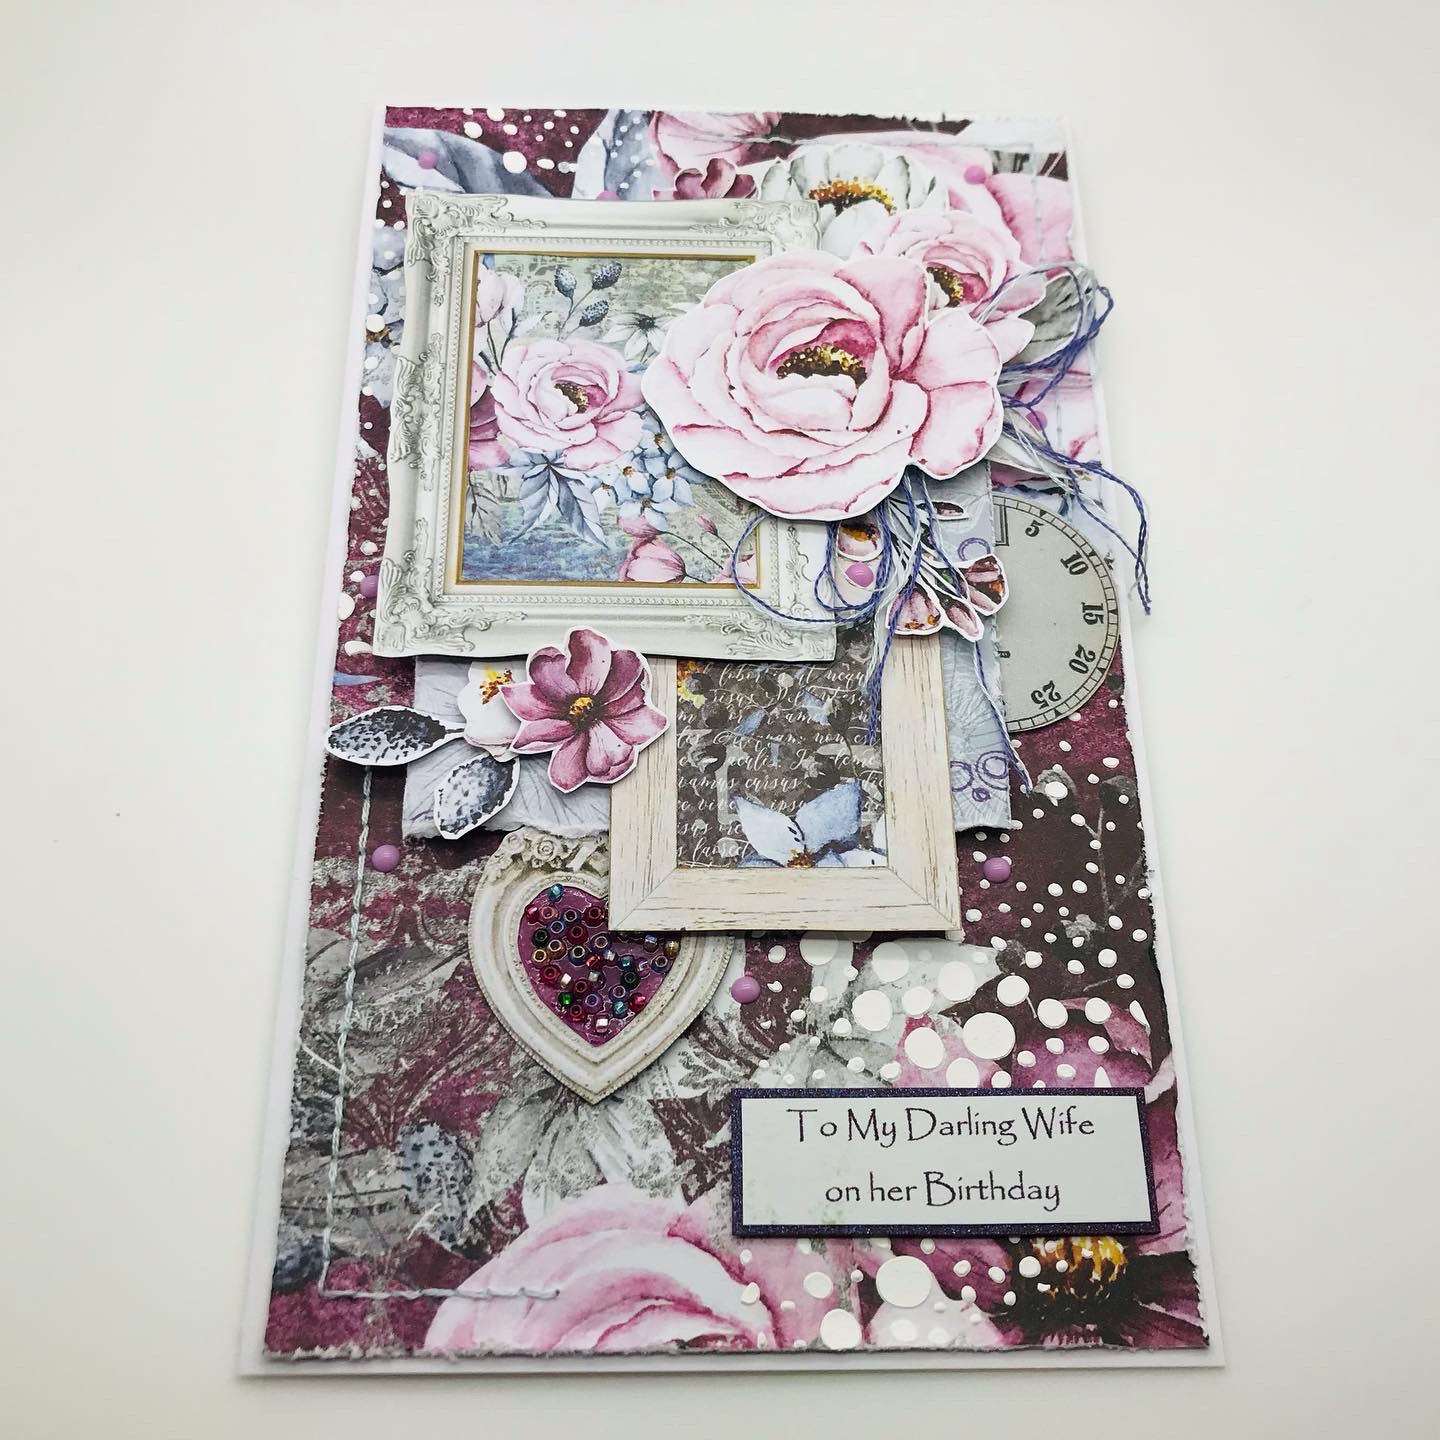

I've used a couple of the papers on the card as well as fussy cutting out flowers, tags, leaves and frames. I used texture paste through a stencil first and once dry I stitched on opposite corners using a silver grey thread.


I started by adding a blue grey paper first on foam pads after distressing the edges then I took a couple of tags and added frames over the top. I made a bow using purple and silver grey thread.


Then I set about building up the design on the front of the card. As you can see I glued seed beads to the centre of the heart which gave it some texture.


As you can see everything has been added with lift underneath. Flowers and leaves being tucked in to give volume of eye candy. I dotted pink Nuvo drops around the design for more texture.
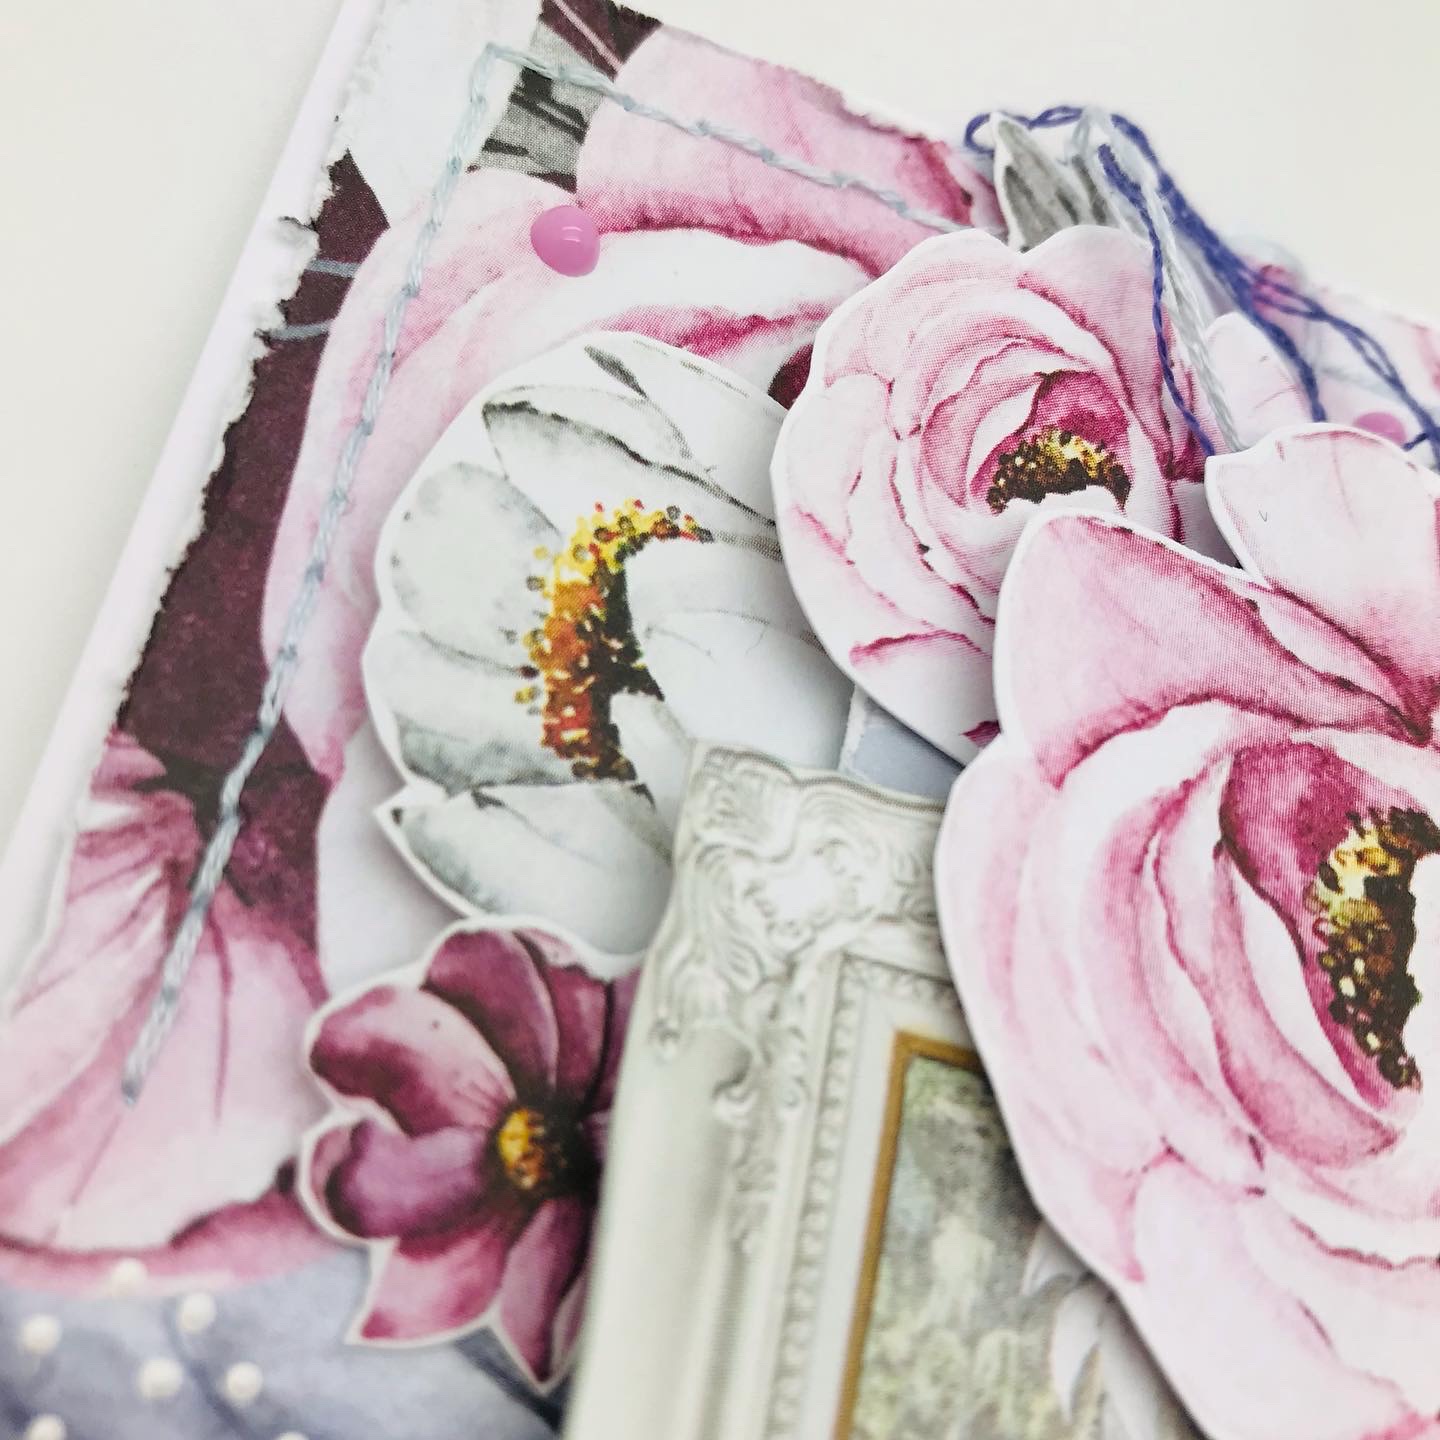

You can see the height here in this photo.

Thanks for stopping by today I hope you can spare a moment to let me know what you think.

Sue


Sunday, February 28, 2021

Together Again.

 Hello,

I'd like to share with you all today a 8x8 page I made for my sister to go into a box frame. The colours used match the room she wishes to hang it in. 

The couple in the photograph are my parents recently reunited after my mum passed away a few weeks ago. This is one of her favourite photos of them both and fits the situation perfectly.


I used a paper from AB Studios and added coloured gesso through my stencil , a bit of tearing and tucking in a touch of teal cardstock completed the base. 


I added a piece of lace to were the base of the photo was to be and then I took a chipboard circle frame and embossed it with WOW powders in totally teal and hot chocolate but because I didn't want to waste it I cut away a section and added it to the bottom left. I also did a few twigs too.


Then I set about adding my flowers and leaves along with other embelishments. I embossed a couple of tiny hearts and dotted about some gems and pearls.


I had these pen nibs in my stash and had seen them used as a body for a butterfly so I cut one out and added a touch of colour to its wings before placing it down. Finally I needed a title and searching my stash I found this rub on sentiment and meaning, so with fingers crossed I added it (only one tiny bit that wouldn't take). I knew I'd kept it for a reason lol.


Thanks for stopping by today, I hope you like this as much as I do and maybe you'd like to leave a word or two so I know you have been.

Sue.

I'm joining in at the following sites

welove2create#3

Creatalicious Challenge 206

Supplies from The Mad Scrapper

Merly Impressions


Friday, January 29, 2021

Christmas Memories

 Hello there,

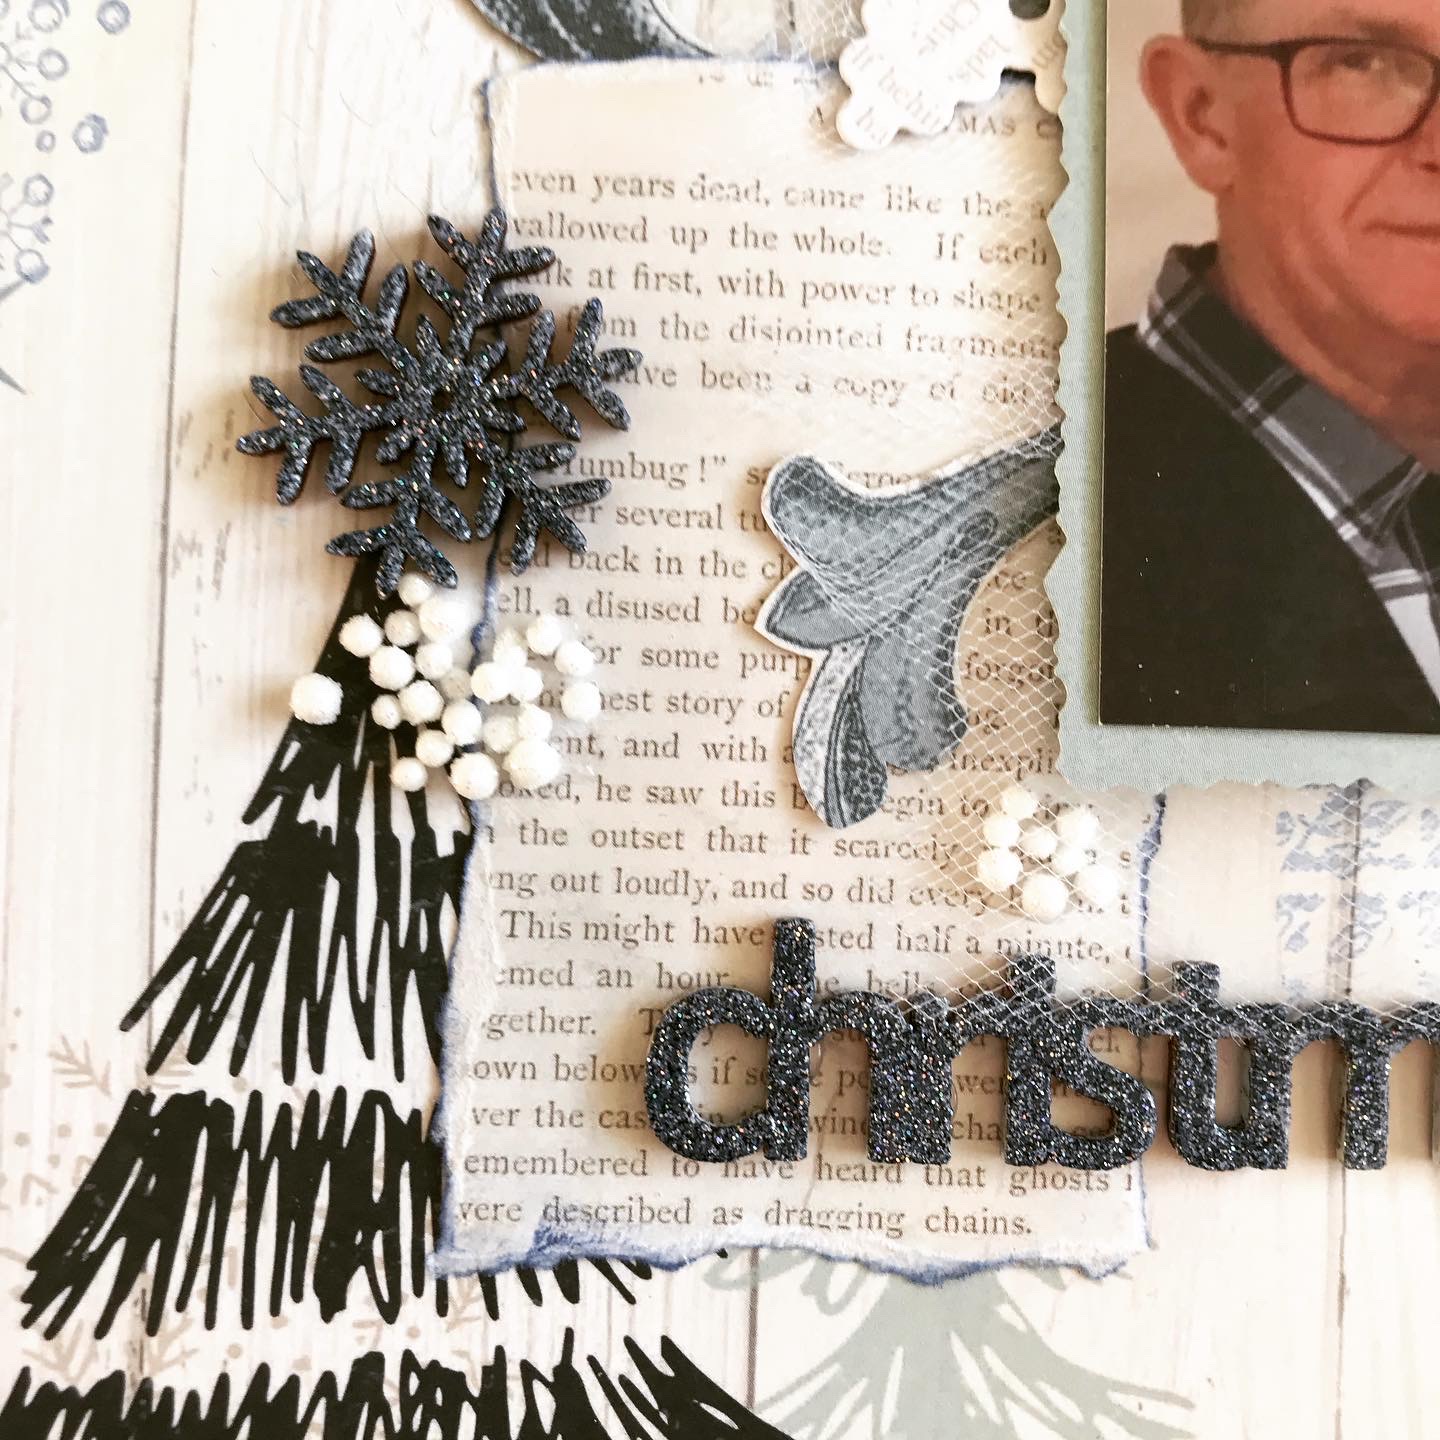
Today I'm adding a first for me, a layout with a photo that's less than a year old LOL!


This photo was taken this last Christmas Day (2020) . I love Christmas papers but never remember to take any photos so this is a first.


I have used paper purchased at Merly Impressions it is called Wonderland I have used other bits of papers on here too.


The photo was added to a mat with net under to soften the edges. I embossed using WOW powders 2 snowflakes and a Christmas chipboard shape.


The December 25 is a stamp from Verve Stamps who are now sadly closed.


I added some polystyrene balls around the page along with fussy cut hearts, trees and stars to complete the page.

Thanks for stopping by again today, leave a word or two if you can as its always nice to see who has been here.

Till next time take care.


Sue

Thursday, January 28, 2021

Sent with Love

 Hello,

I'd like to share this pretty card I made yesterday for an order. It uses a sheet of paper by Mintay.


I used a paper from my stash as the first layer after stitching around the edge (one of my favourite things to do) then I inked the edge of the floral paper and fastened a ribbon around the centre. I lifted this layer by adding card underneath.
Then I cut a doily and the Happy Birthday sentiment and placed it on the ribbon surrounding it with paper flowers and a pretty bow. A sent with love sentiment was added to the bottom and a few dots of blue glitter glue and we were finished.

Thanks for stopping by today, keep safe.

Sue


Wedding Day

 Hello there!

I've been busy again doing another layout using my box of photographs brought from my parents house.

This layout uses a photo of me on my wedding day back in 1986! Taken on the stairs by my uncle who took quite a few for us before heading to the church.

I have used paper from Scrapboys called Premavera then I added pale green gesso through my newest purchase from the mad scrapper a stencil by TCW called tile mania. I've never shopped at this store before and I can recommend it as they sell some different company's papers & other goods.


I had this stack of paper/card in my stash and chose a green to complement the Primavera to go underneath after gutting the circle for the photo. I fussy cut flowers and leaves and then another circle from another page of Primavera, I ran this circle through an embossing folder before adding it to the page. I softened the photo by rounding the edges and adding cheesecloth under.


As you can see I added some beautiful lace to the right and then started to add some paper flowers along with some Foamiran ones I had made myself. More were placed at the top of the photo's along with a tiny bit of lace to give the idea of my veil.


To finish off I added pearls in shades used on the layout along with a little frame which I painted with left over green gesso.

Thanks for stopping by today, I have another page coming up tomorrow but using a much more recent photograph!

Take care and don't forget to leave a word or two to let me know you have stopped by.

Sue. 

Saturday, January 23, 2021

Christmas Bauble

 Hello there!

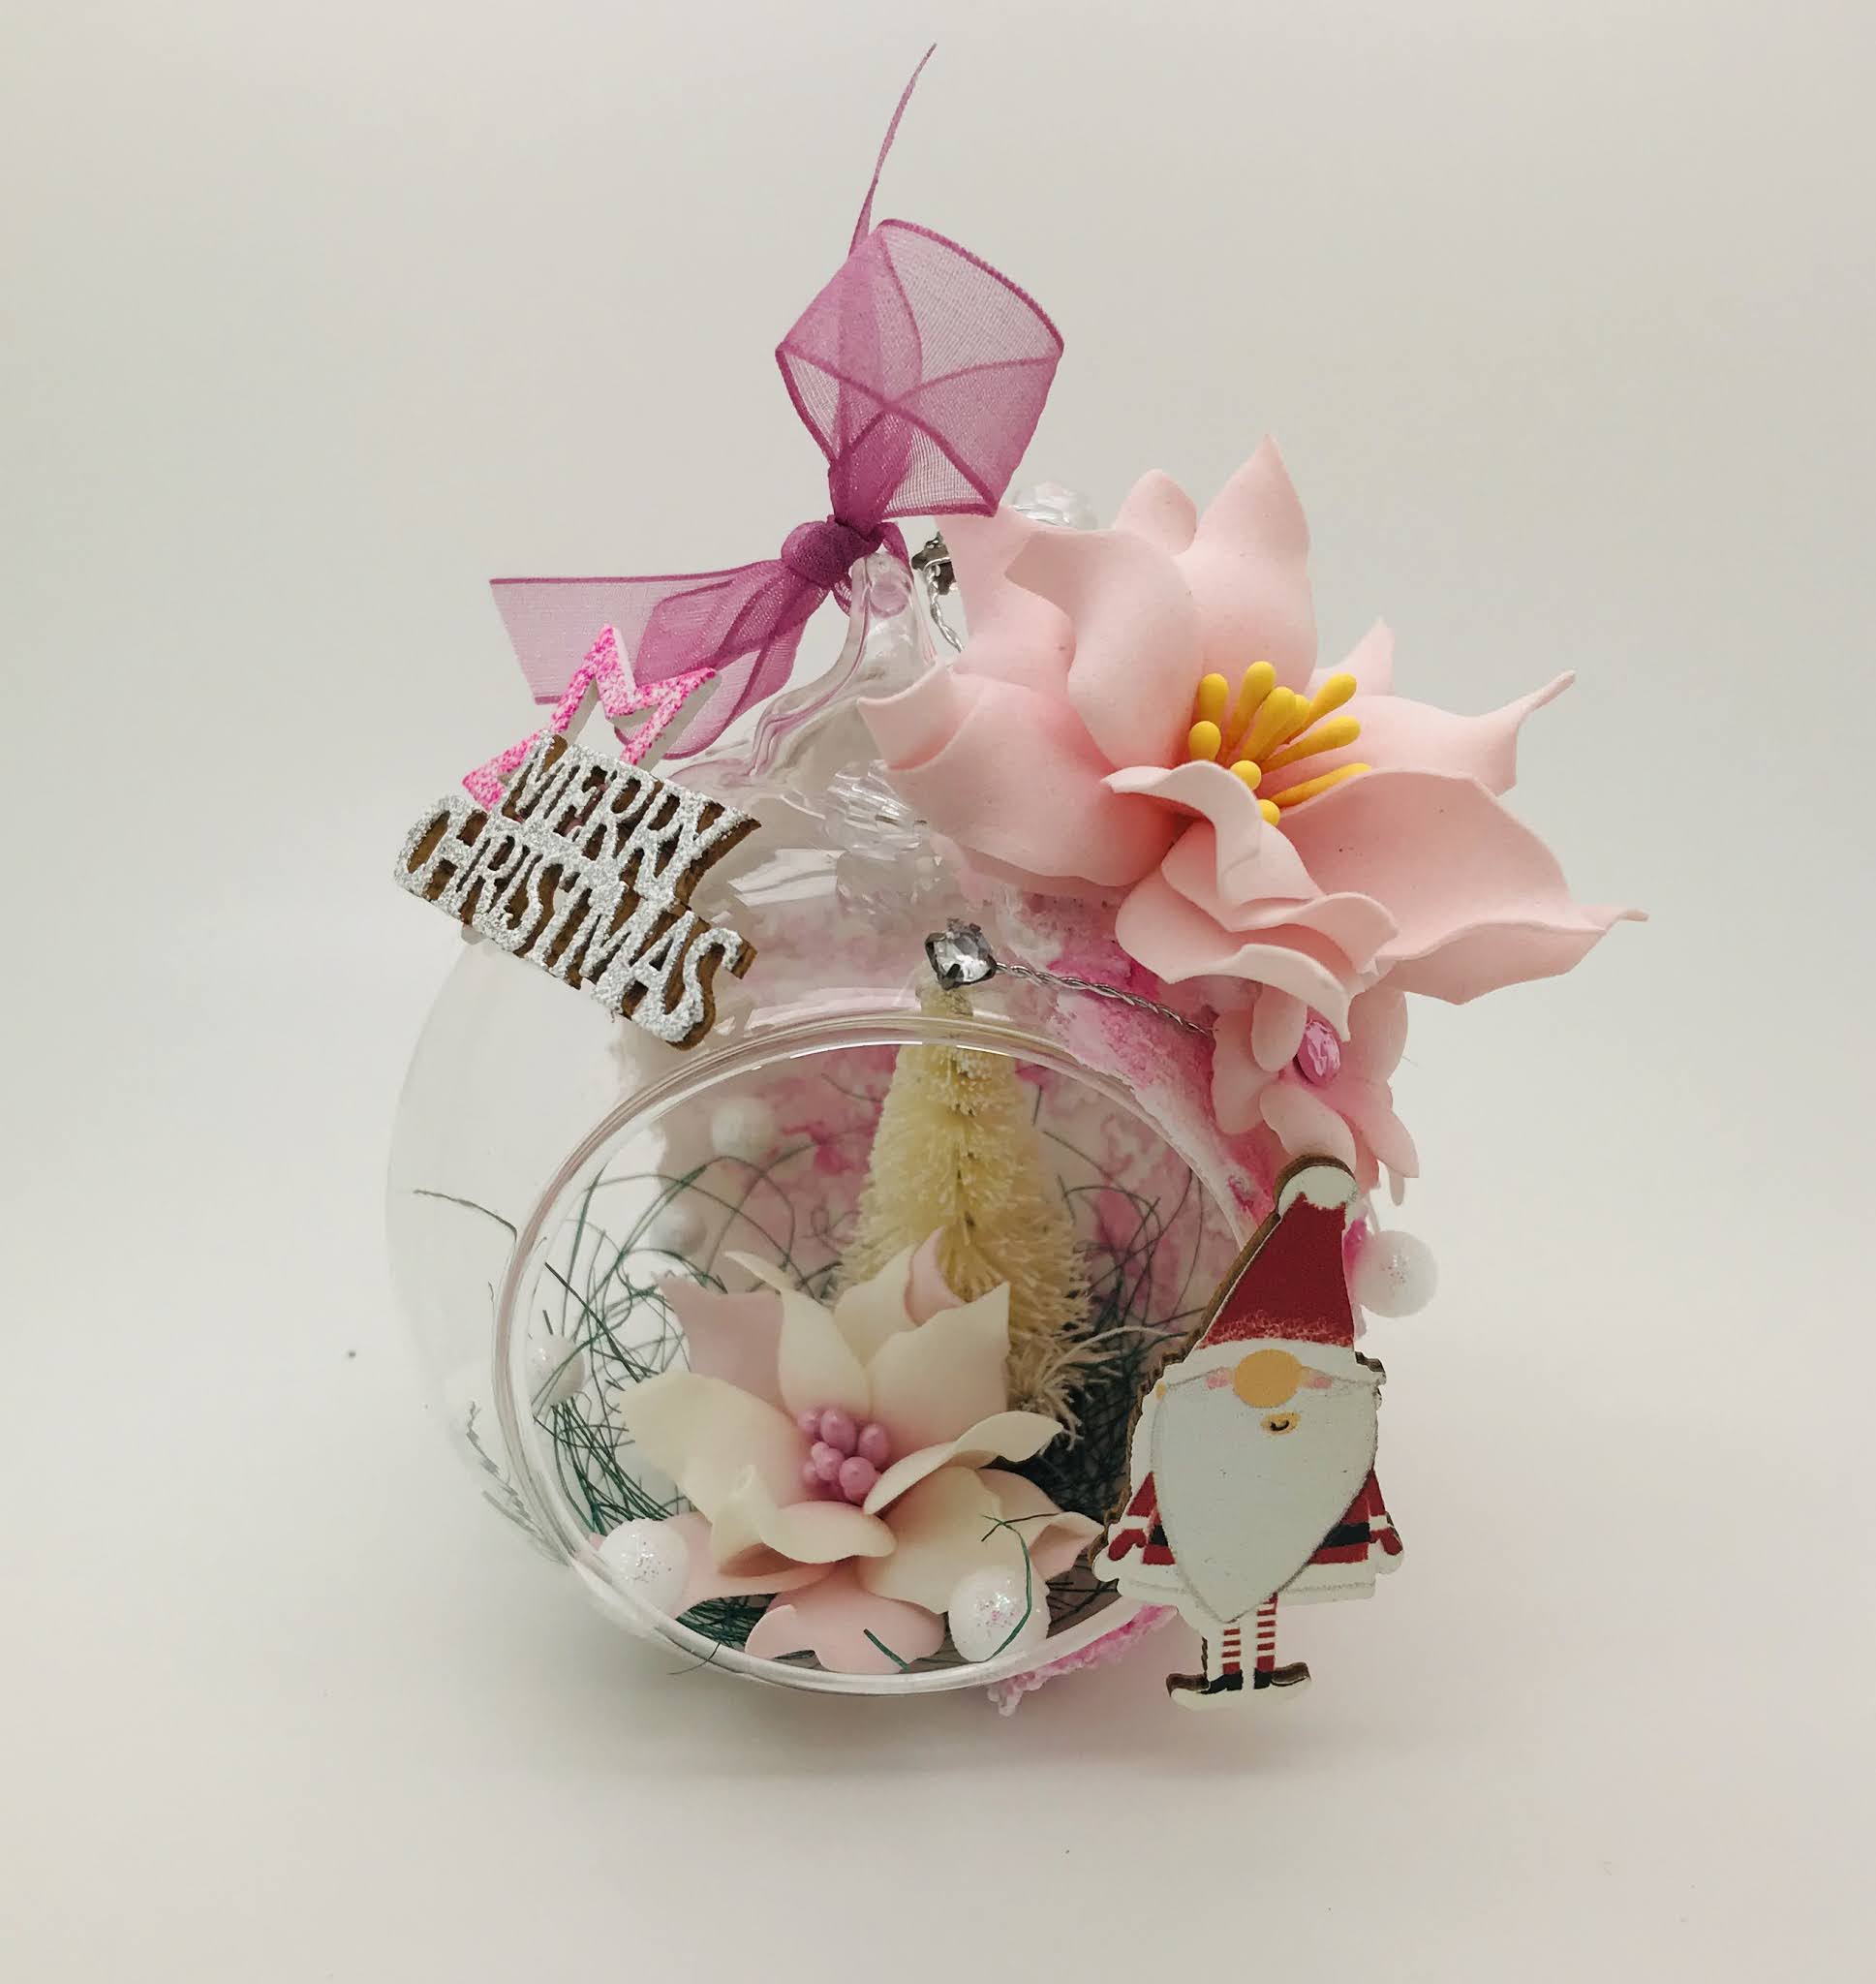
Today I'd like to share a little project I worked on last month as a gift for my mum who is in a care home and we are unable to visit.

In her room there is no where to put a Christmas tree so I thought this would look nice on her side table where she puts her little treats.


I started with a clear plastic bauble from Hobbycraft bought in the January 2020 sale (I'm sure they will have them in store in the sale when they reopen) and covered areas in white gesso letting it dry then I added medium stones and after drying I covered with crackle paste and then white paint.


I then used distress spray paint, blotting off some areas as I didn't want it too pink. I added glitter to areas around it too.


Then I started to decorate using pink and white flowers I made using Foamiran along with snowflakes and glittery polystyrene balls. I had a silver branch with clear gems on which I saved from crackers years ago and that went on top along with a greeting and a open star both I embossed to complement the colours used.


Inside I used a little Christmas tree another flower I made all sitting on some green threads.


I spotted the Christmas gnome in store early December, so of course they came home with me and one found its way on the front.

I hope you like this and maybe when the shops open you will find something to alter for yourself. Thanks for stopping by and maybe you can leave me a comment so I know who's stopped by.

Sue.


Friday, January 22, 2021

Life is a story, make yours the Best Seller.

 Hello and a Happy New Year to you all.


I made a commitment to myself to go through and use up a selection of photographs from a tin I collected from my parents home. I thought I'd start with a couple of them from way back in 1953!


I have used some of the  beautiful papers from AB Studio Diva-scrapbooking-paper-set-8x-12-x12-bonus-page.html along with some corresponding cardstock from my stash.


I have fussy cut some blooms and added stitching to the page along with texture from a stencil. I took a chipboard frame and embossed with WOW powders matching up the colours. I then mounted the photos to that. Placing more flowers underneath along with some lace trim.


This shows the layering and stitching better.


I've added pearls and trim all about the fussycut layer which itself has been lifted using foam pads.

Thanks for stopping by today, I hope you can leave me a few words to let me know you called by.

Take care & keep safe.

Sue.