Monday, April 26, 2021

Birthday Card

 Hello,

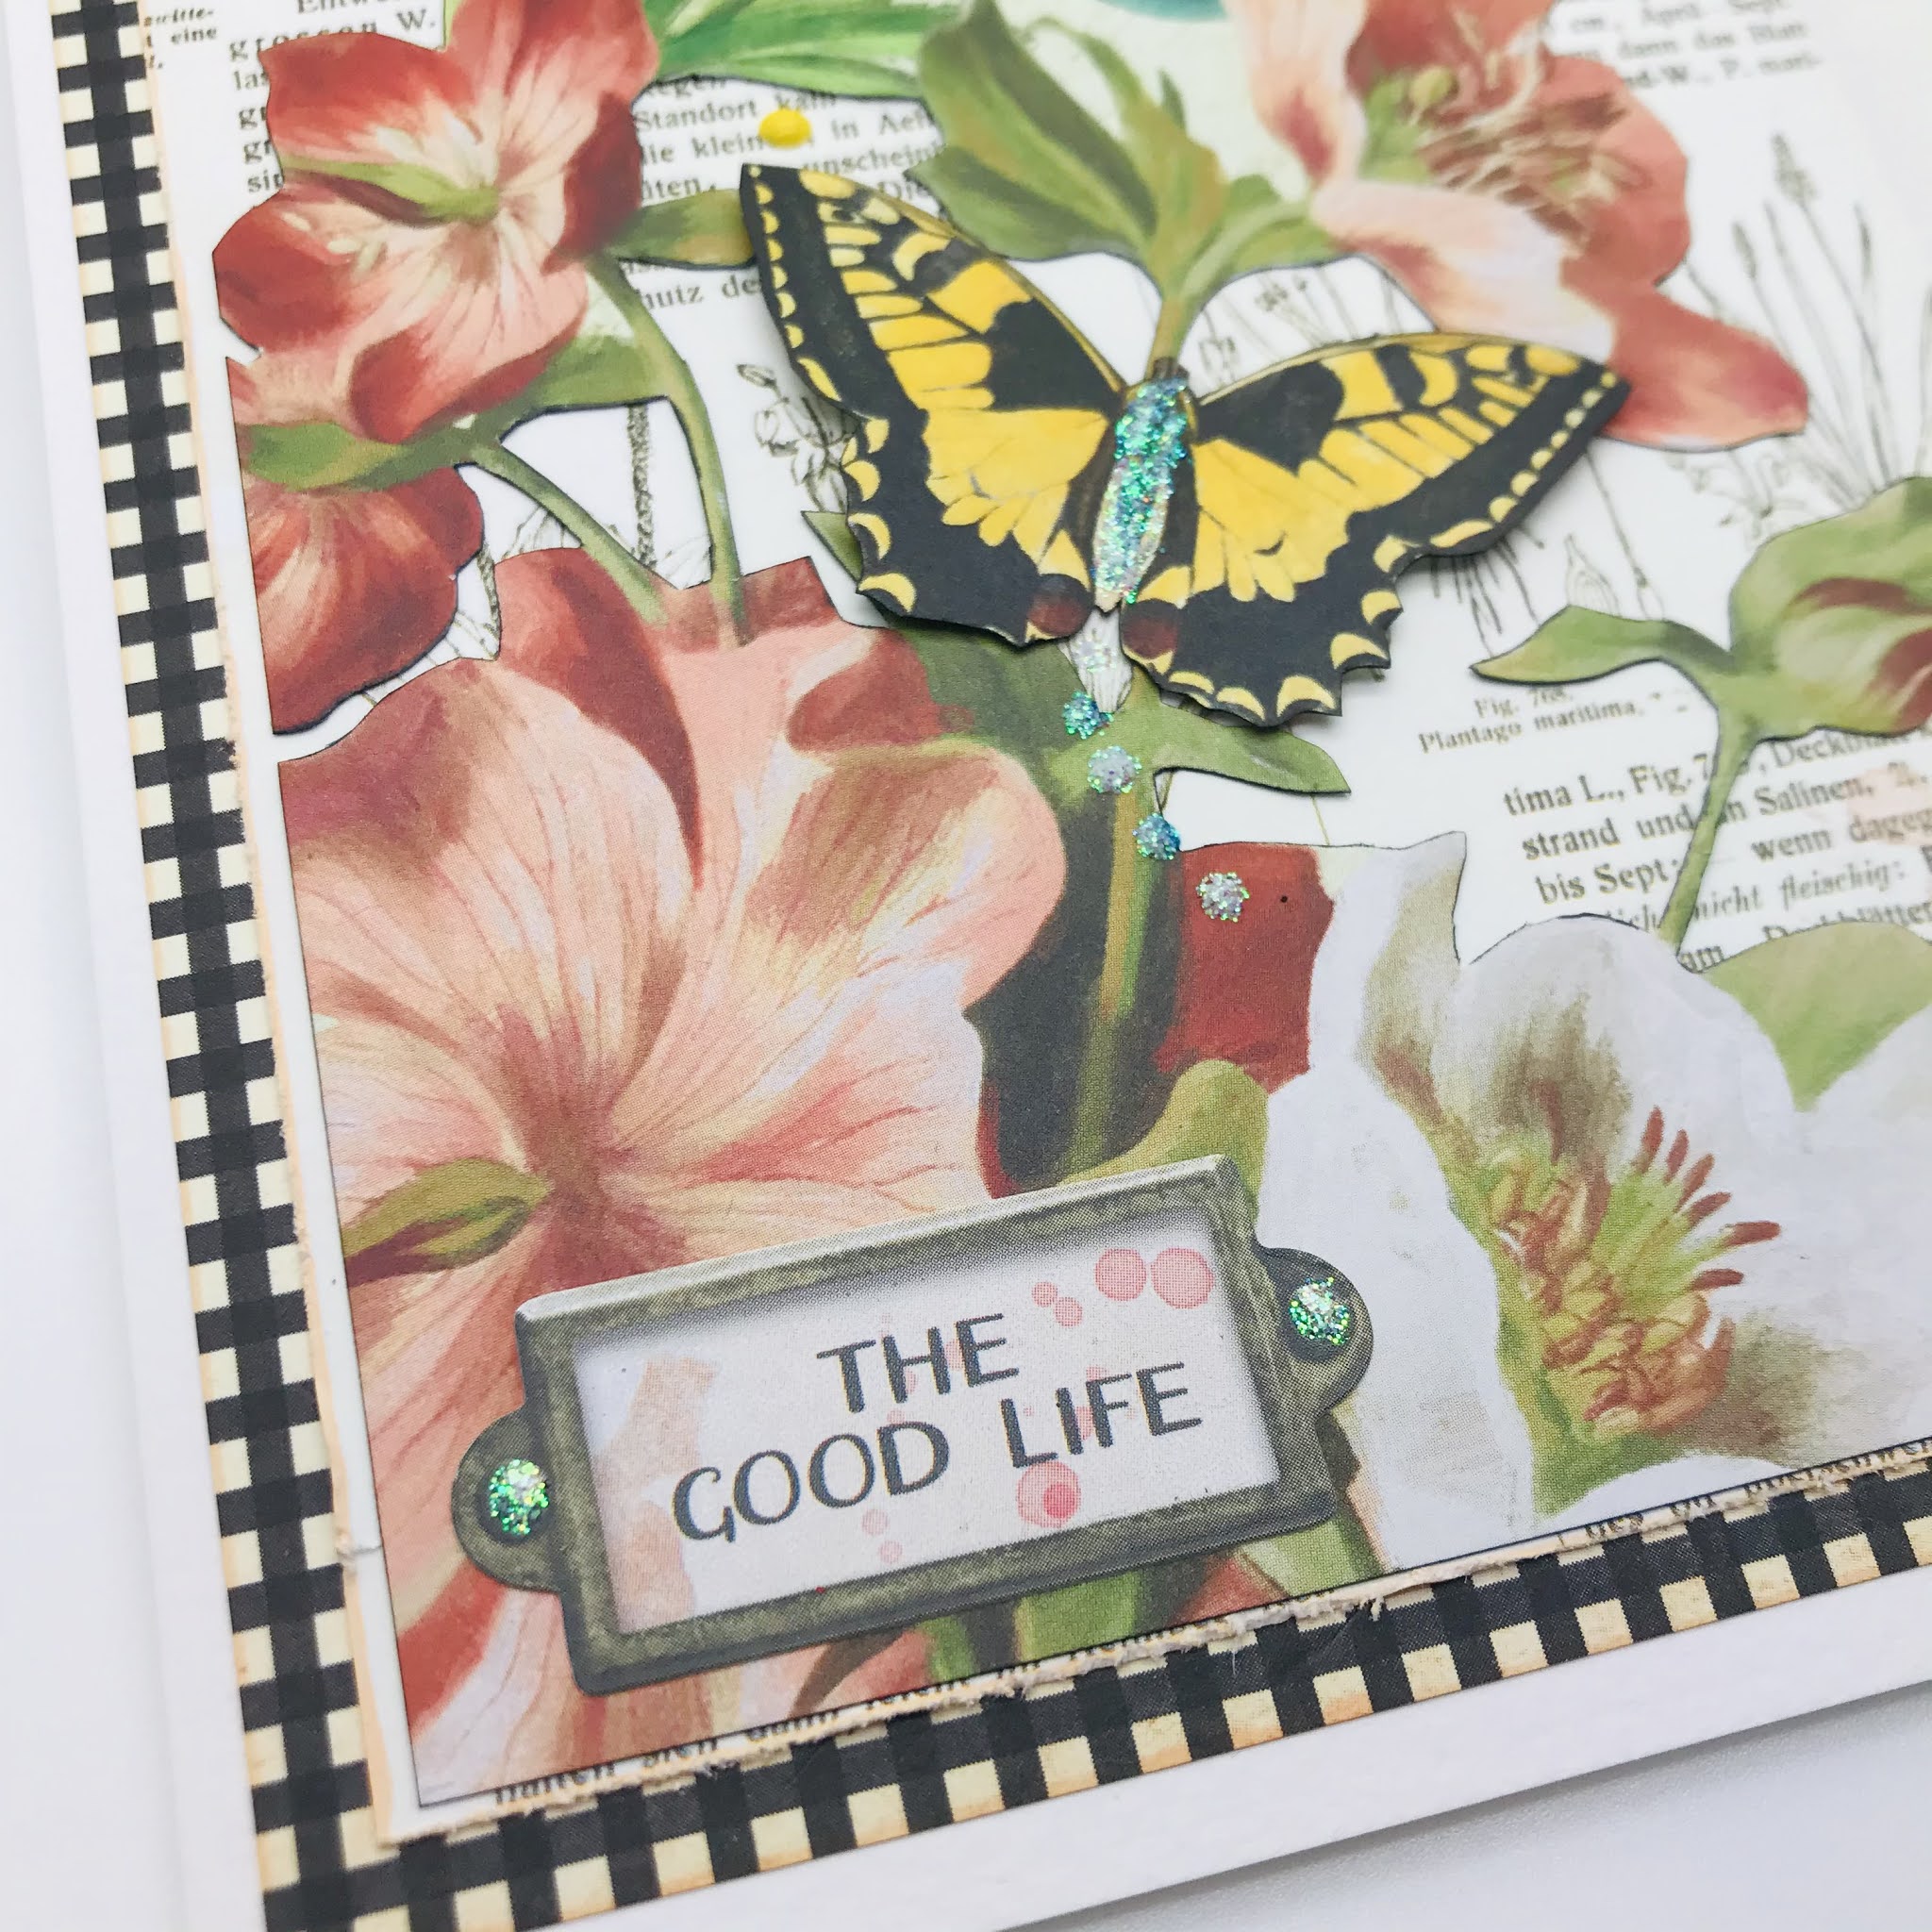
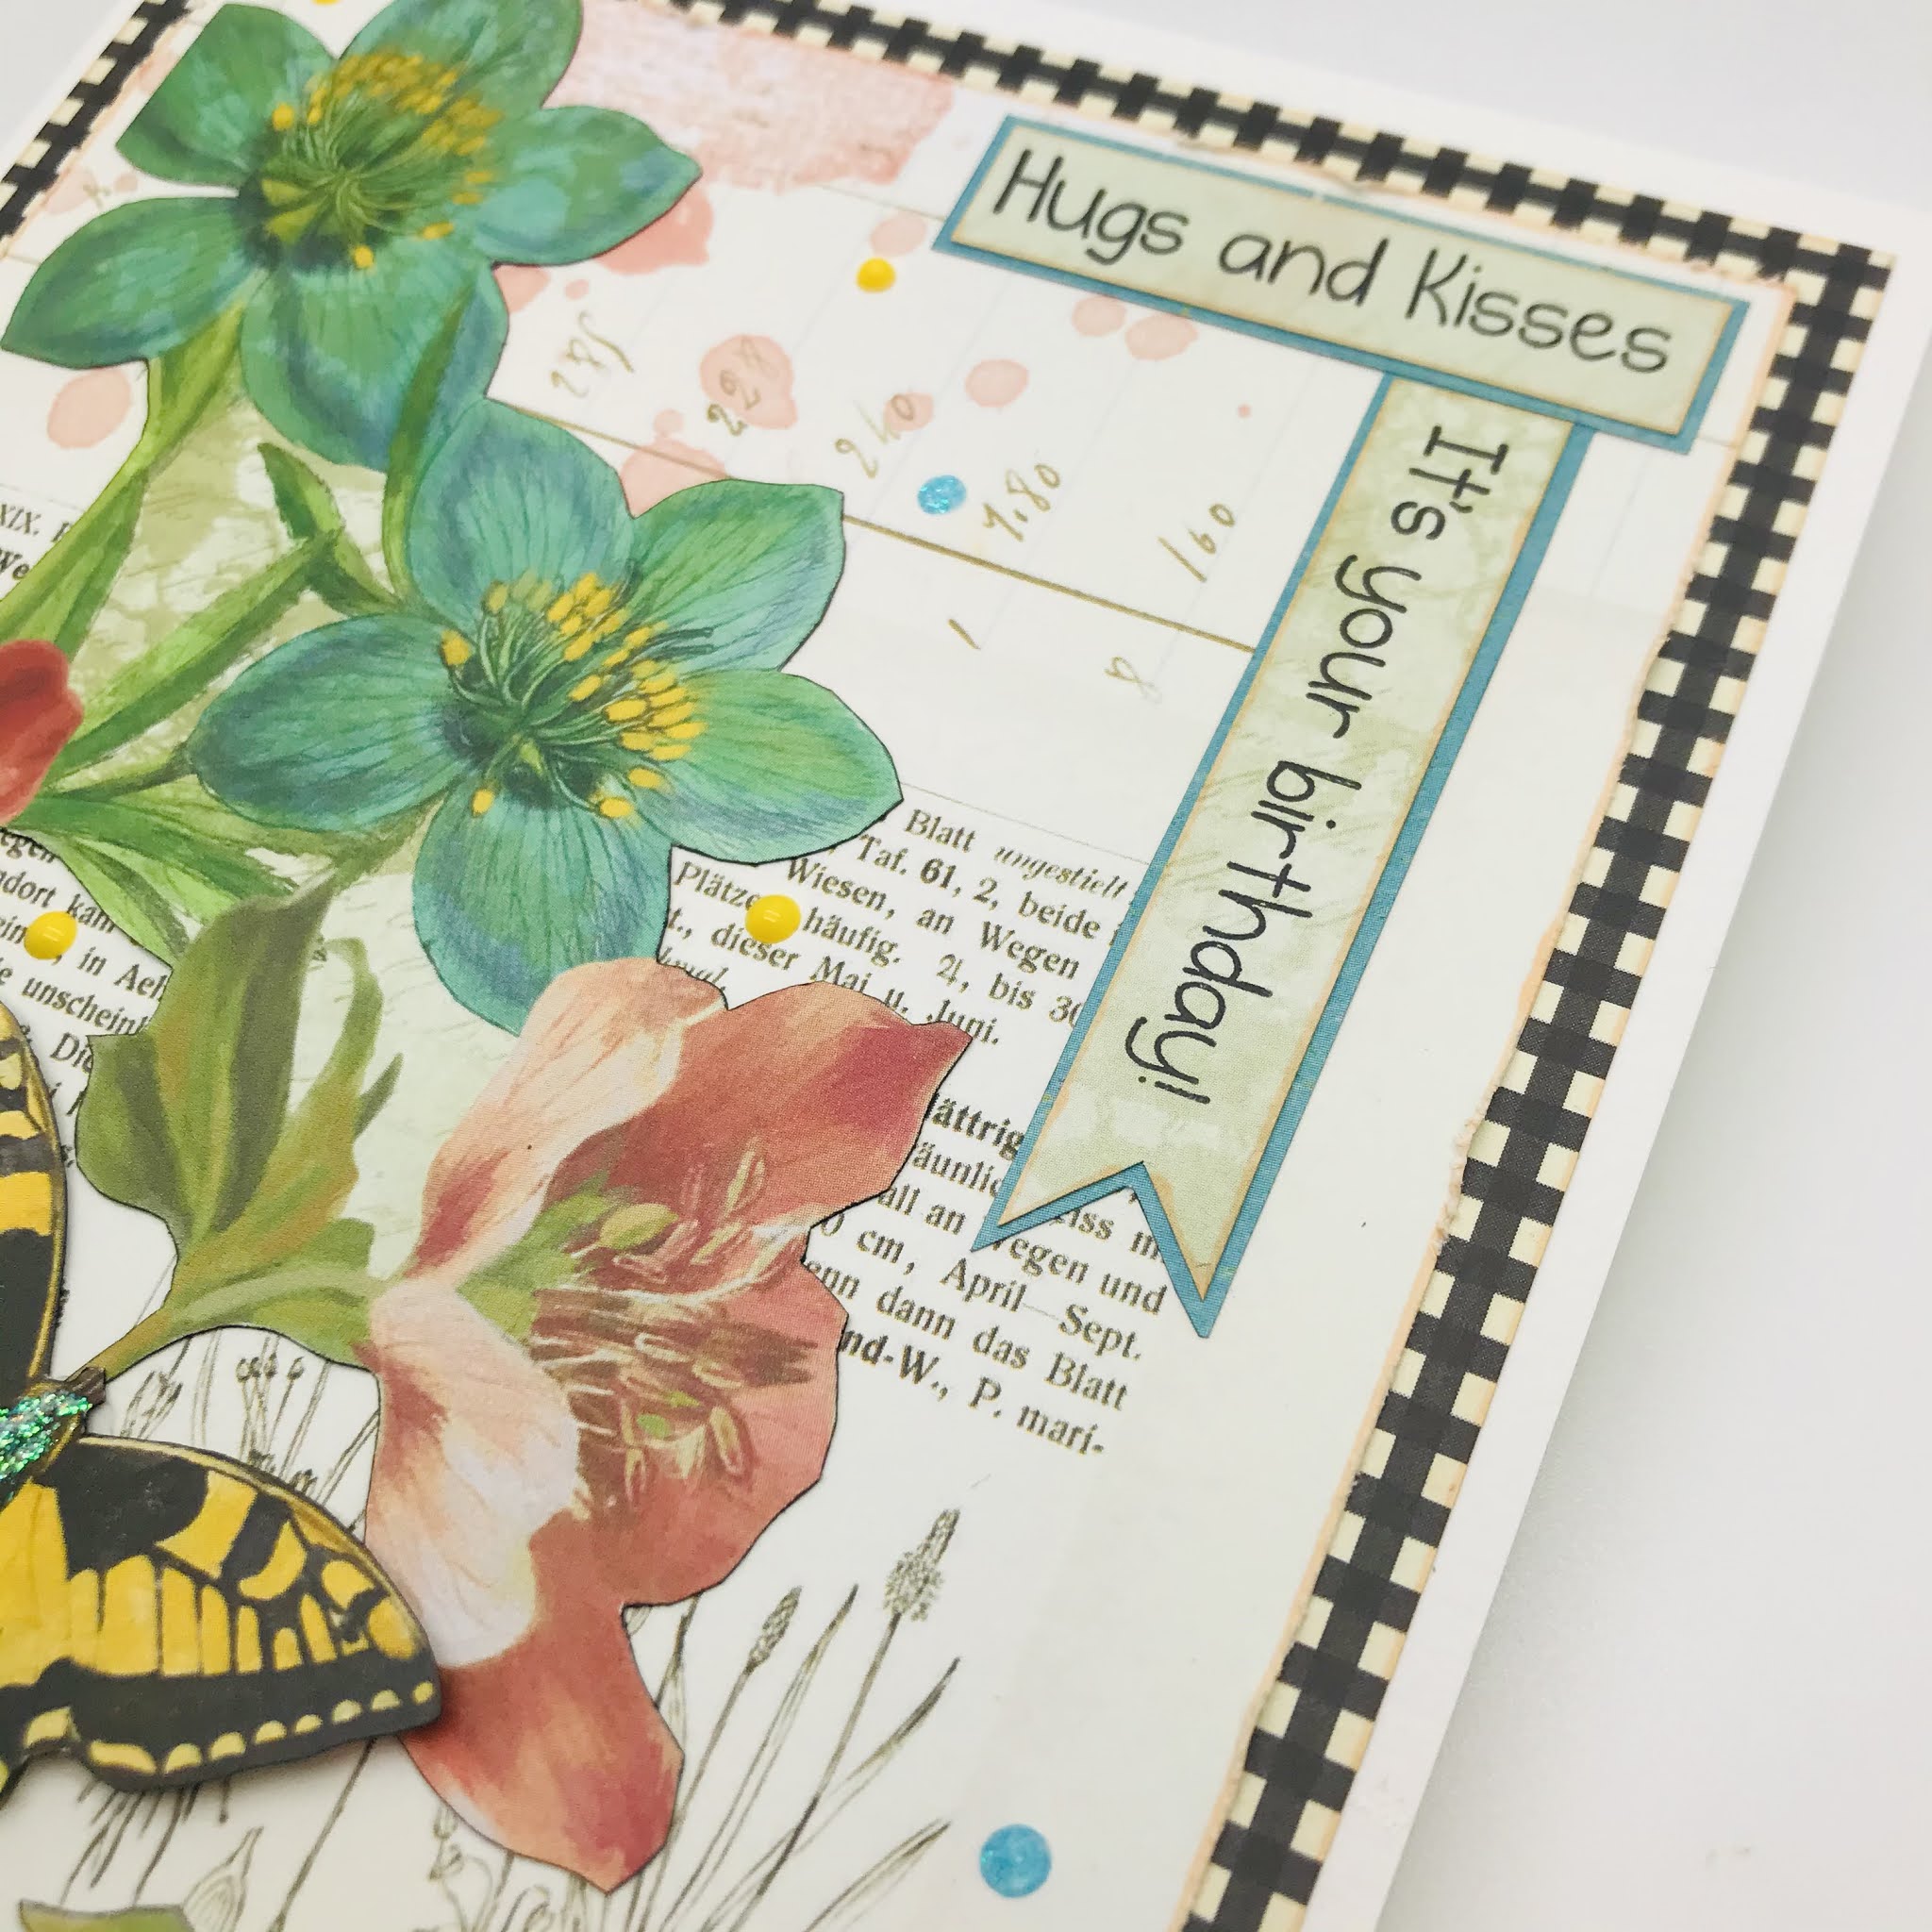
Just a quick post today to share a birthday card I have made using up a small amount of a AB Studio paper I had left.


I have used both sides of the paper, the back is the shabby look and the floral is the main side but because I was adding paper flowers I just added the small amount to the centre. I distressed the edges first and then added a ribbon before adding it to the card base with foam pads for lift.


I have used a Tonic Studio die set to cut out the centre design and the corners. I popped a little pale green under the die cuts as it is in the floral pattern. It's such a pretty die set I don't know why I don't use it more!!


I chose a selection of flowers including this big pale green daisy.  Underneath I added dark green leaves along with gold foil leaves from AB Studios picked up at Merly Impressions Chrissy is carrying a lot of different brands now. As you can see I added a few rhinestones in wine from here too.

Thanks for stopping by today, take care

SUE


Saturday, April 24, 2021

2nd Birthday.

 Hello,

Today I'd like to share a birthday card I made in a flash for my neighbours son who was 2 yesterday! I had bought these papers from Janine over at The Mad Scrapper to do a layout (which is below on the blog) they are just perfect for the little people in our lives. She a has girl themed collection too this one I have used is called Little Dreamer-Boy collection and there are papers, stickers and lots more in there.


I wrapped a ribbon which has "vroom vroom" on it to the left and then added it with foam pads. Then I took 2 panels and mounted them on corresponding card to one I added a Birthday Wishes stamp tucking it under then added those to the front at a jaunty angle. I fussy cut a speech bubble and added that.


Here you can see I have added a 2 which I cut with my Cricut and a few stars which I dotted about. Finally I added a ribbon tab to the bottom because I couldn't read Vroom after I covered it up over on the left!


Thanks for stopping by again today, keep safe and see you here soon.

Sue.


Hugs and Kisses

 Hello again,

Today I'd like to share with you a card I have made which needed to be fairly flat to go in the post. I struggle greatly with these nowadays as I can't help myself with adding a little embelishment here and one there and always raised lol.


This card is A5 in size, I made my own card blank using a off white stock. First I took a black & cream chequered paper and placed that down. Then on top of that I used a piece of Sweet Life by Simple Stories from their Vintage Cottage Fields Collection.


As you can see I have edged using a Kaiserfusion-skintone-beige pen but any peachy colour would do. I did distress the edges before adding it to the card.
Then I took the leftover paper I used on my todays-little-details  layout called Beautiful Moments and fussy cut out the flowers and added them but not before I went around the edges with kaiserfusion-cool-greys-slate pen to help make it pop.


I used a sticker from the many beauties found on the SHEET


I also added one to the back too. Well there are so many little filler ones to use up.


Then I took a couple of stamps from my stash and printed 2 out but placing them down the edge seemed to help fill up that side. I couldn't help myself but I added the butterfly using some glue gel just to lift it a tiny bit! He was cut away from the top blue flower.

I added glitter glue in blue around the card along with some yellow too.

Thanks for stopping by today, please leave a word or two if you can. Also don't forget to pop in to The Mad Scrapper online store where I know you will find something you can't do without (I know I do every time) from papers to mixed media something for all.

Sue.


Thursday, April 15, 2021

I Love Your Smile!

 Hello All!

Today I'm sharing another layout for The Mad Scrapper Blog. This time it is one of my son who is now 28! As you can tell I don't scrapbook in chronological order but when the right paper catches my eye.


The papers I've chosen to use today are from Echo Park's little dreamer collection there are some wonderful designs to be used with stickers, stamps and a stencil too! I started with the star side of Twinkle Twinkle paper and to that I added a strip of Play all day but not before I added a few chevrons which are found on one of his shirts. 

                                                                              
I also took the3x4 journaling cards and cut a few out but also the backside is rows of little cars so I fussycut a few strips and added them too. On the backside of the yellow stipe you find lots of speech bubbles so I cut a few of those out too.


Other things I have added are mats for the photos and journal cards using Bazzill Basics in red, carrot cake and candle glow. I also added hearts through a Tim Holtz stencil using fired brick distress ink. When I first started crafting all those years ago I purchased a set of those clothes size tags which were all the rage and I had one left so I attached that to the stripe strip using a brad.


Here is a close up of the fussy cut Vroom Strips along with a homemade enamel dot, there are others dotted about the page.


This photo shows 2 of the Little dreamer 3x4 journaling cards where I have cut them up and added. The photo shows him getting his first Power Ranger toy for his 8th birthday (he still loves them now).


This last photo shows the title using a Dusty Attic Mini Tab #7 which unfortunately is out of stock right now but you may already have it, if not there are others available. My tab I coloured in using Peeled Paint distress ink. You can see more of the hearts and speech bubbles here too.


I love how this layout has turned out, the papers are wonderful and there is a Little Dreamer Girls collection too which has such gorgeous papers in there.

Thanks for stopping by again today. Please shout out if you have been so I can come and say Hi to you.

Till next time, take care

Sue


Monday, April 12, 2021

Always

 Hello,

Today I'd like to share a layout I made using the front cover yes I said front cover from the beautiful Diva collection by AB Studio's which I purchased from Chrissy at  Merly Impressions.


The backside of the cover has a almost made layout on it and it is just perfect to use with some additional embellishments . Here you can see both sides


So as you can see I cut out the inside of the frame ready to place my photo behind. I cut lots of extra flowers from the Ego paper along with leaves too. Then I gathered other things I wished to add such as cheesecloth to soften the edges, a rub-on for the title, extra pixie-petals flowers, gems and the little bee from my stash. 


I decided to add some crackle paste through my Prima-stencil-iris-tapestry but first I lay down some blue paint to fill in some of the white space. Then I added the rub-on which I have to say is years old and so took an age to get to stick!! I also distressed the edges of the page.


Then I went about adding the flowers & leaves and all the other things named above. 


Now you see those glass domes they are Melange-art-pebbles and they come in clear and there are over 40 in the jar and are perfect for adding that little something.


Above is a close up of the little bee and a last minute addition of the family tab. This is another thing in my stash for years. I should say that the photo is myself (left) and my two sisters taken about 54 years ago. It started out black & white but my brother in law has an app and so coloured it up for me.

Thanks for stopping by, again hope you like what you've seen today.

Sue.


I've joined the challenge over at welove2create.blogspot


Sunday, April 4, 2021

Oh Happy Day!

 Hello again,

Today I'm here sharing another layout for The Mad Scrapper Blog this time it shows another place we pass whilst walking our dog here in Milton Keynes. It is the peace pagoda overlooking the lake at Willen.


Today I have used a paper and stickers from simple stories vintage cottage fields collection. 


I started by taking the Embrace Each Day paper and adding some pinky gesso through a stencil around the area I knew my photo would be. I also added the Finnabair-clear-stamp Secret Notes using gold ink and finished off with some white paint splashes (this was my first time so a bit nervous lol) around.


Then I took a small section of Geometric Panel by Dusty Attic and added some Gold Flakes I placed some under where the right side of the photo would be. I also added some to the top left.
I took a small piece of an oriental paper which I coloured using my alcohol pens to match the colours in the paper tucking under the panel at the bottom.


Then I took a Polaroid frame and added my photo behind,  I matted it on to 2 scraps of paper from the collection adding a little sticker above. I also added to the frame too.
I decided to add a mixture of handmade and purchased flowers and you may see also a few cardstock-sticker ones too. I clustered them on the bottom left for balance.


I have also used the flakes just smudging them around the paper as you can see on the image above. I have added some cut out pieces from the  2x2-elements sheet. Also I have added a few birds flying around the page and to finish a few kaisercraft self-adhesive rhinestones in aqua.

Thanks for stopping by today, please leave a word or two as it's always nice to see who has been. Also don't forget to pop over to Janine's shop The Mad Scrapper you will be amazed at what she has in stock with new goodies arriving weekly!

Take Care

Sue.