Wednesday, April 26, 2023

40th Birthday Card

 Hello,

Today I'd like to share with you all a card I recently made for The Mad Scrapper Blog using pretty papers from Maja Design  along with flowers from the store and a few stash items.


I started by making a shaped card blank from white heavyweight card and added to it 3 layers each getting a little smaller and 2 of which I distressed their edges. The request was to add a family photo to the card so I added it to a oval which you can see popping out from the top left. To allow this to tuck under I added foam to the underside of the flower paper leaving space for the tag to easily pull out and back in.


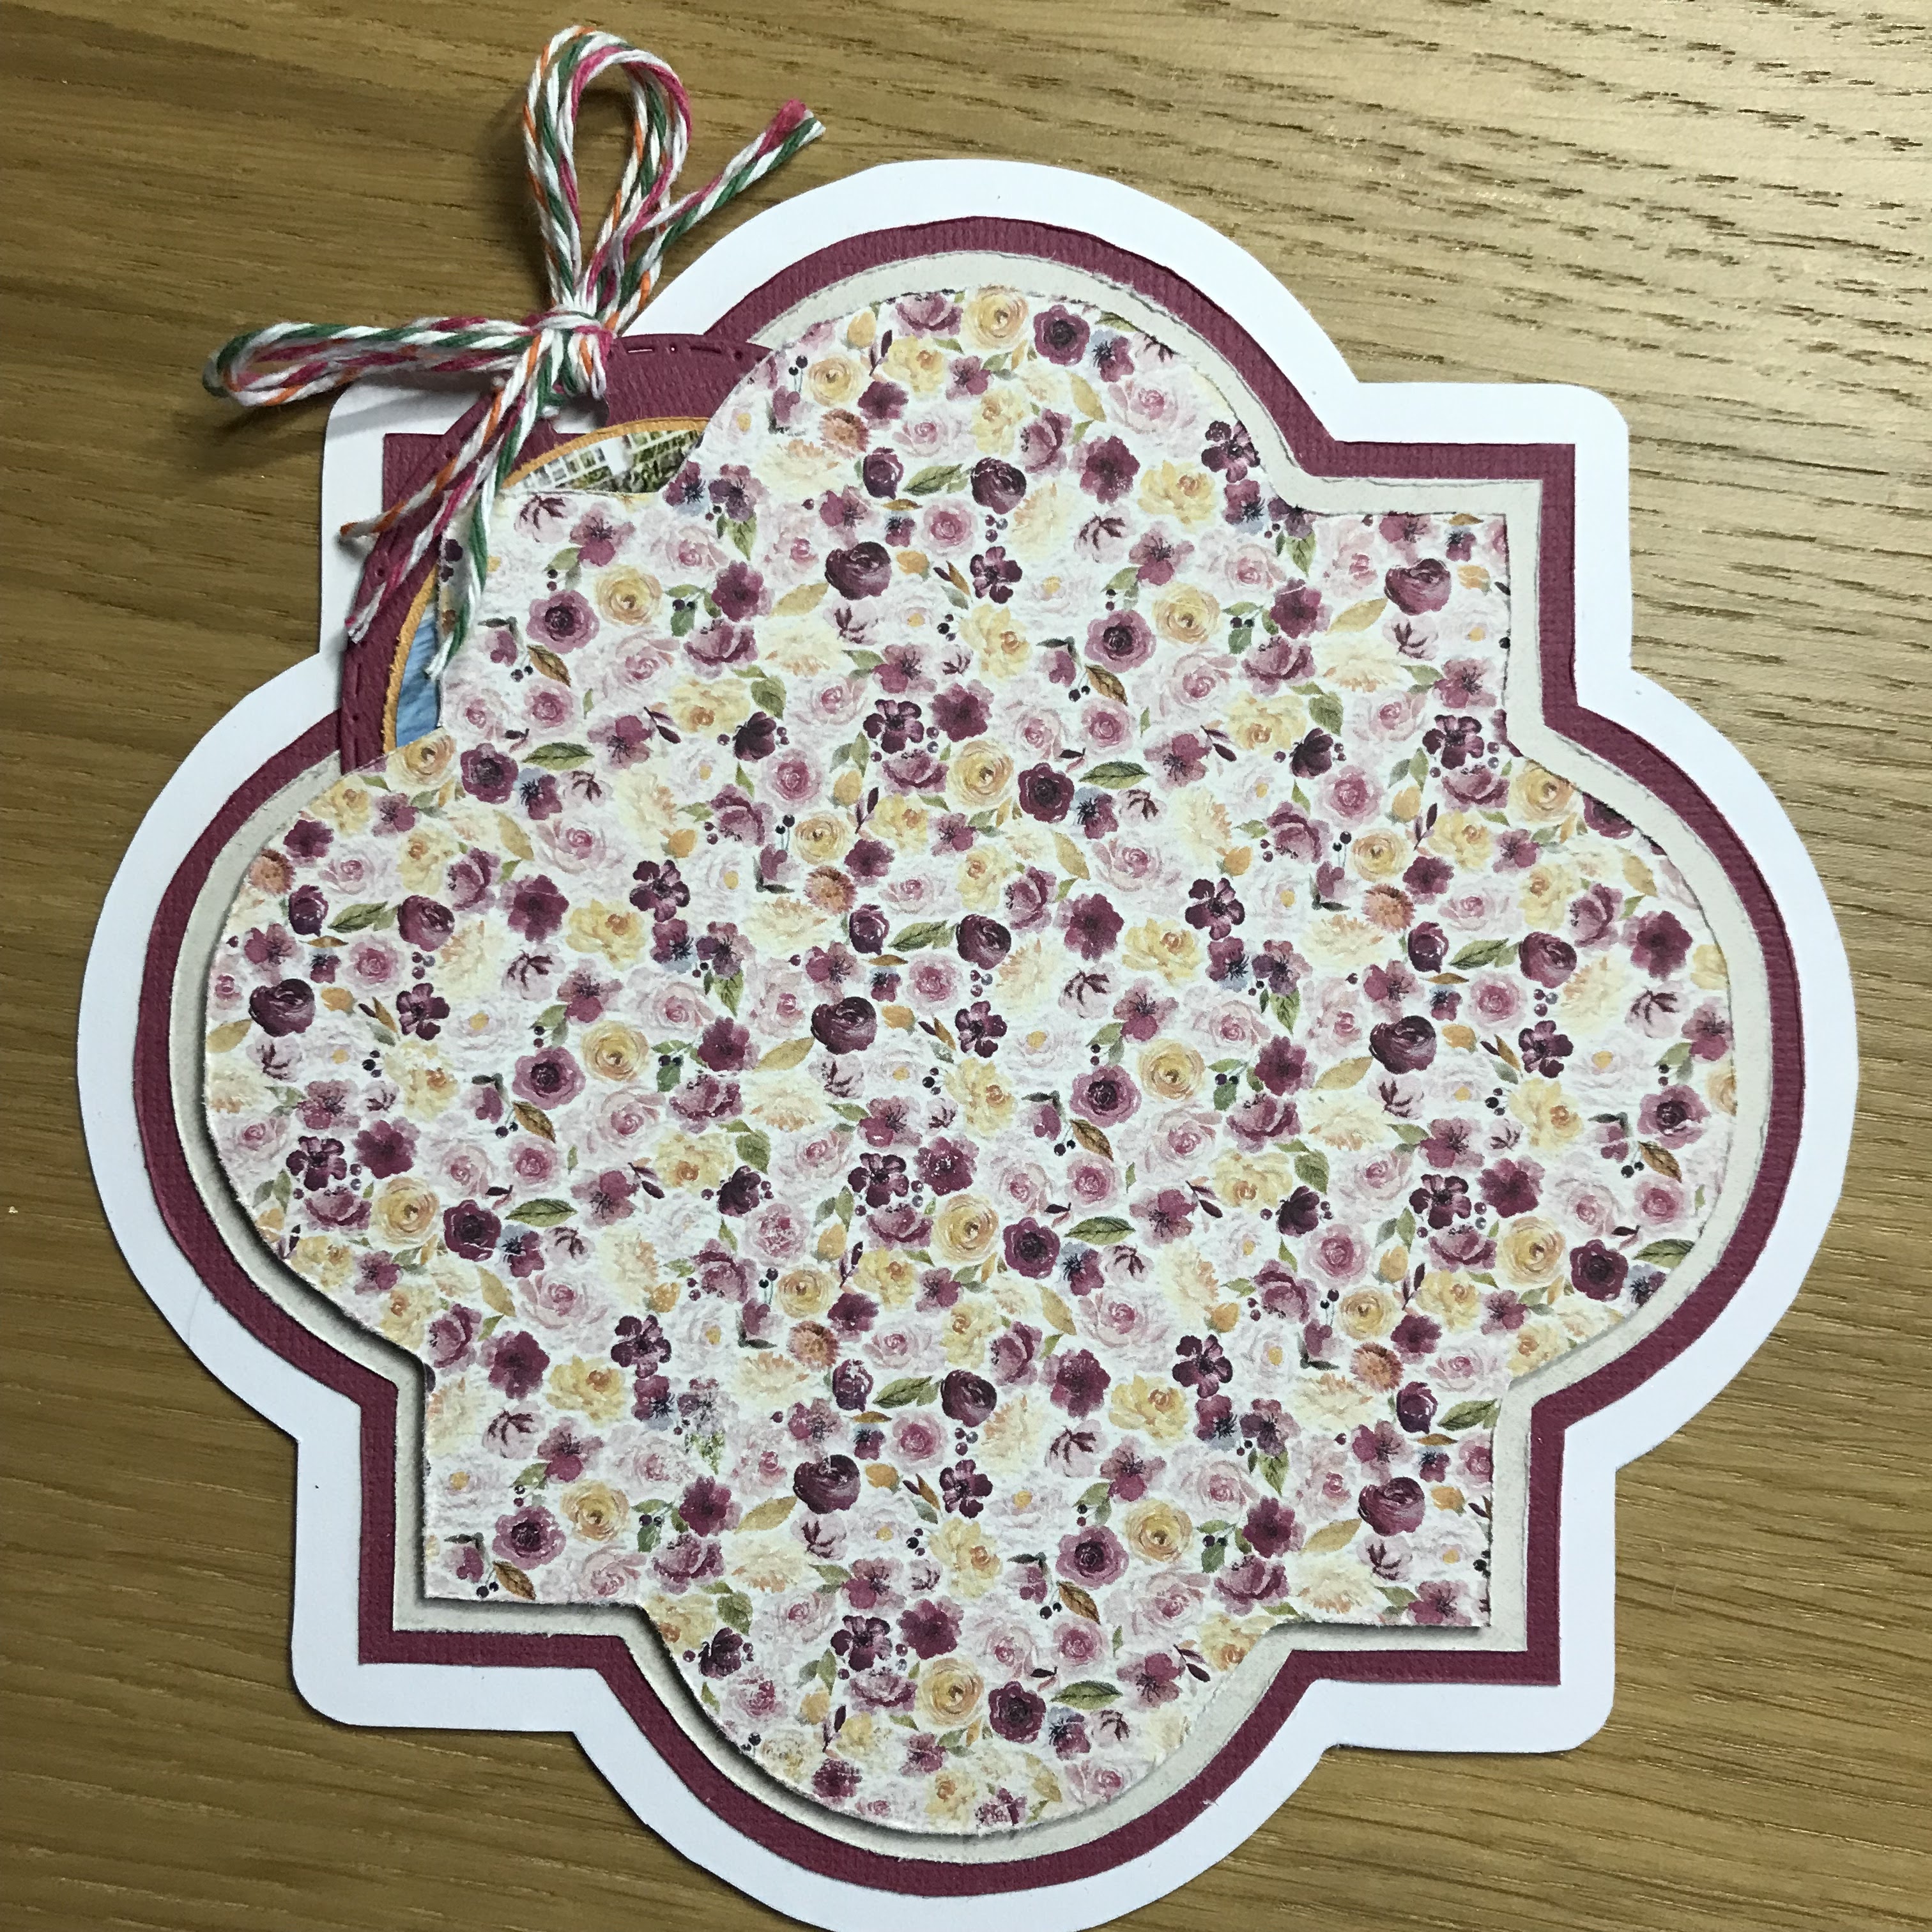
Once I did this I just gathered flowers, leaves, lace and other bits to add to the front for interest. I first added the deep lace and then a banner which sits on top of a cut off from one of the papers. I made a tassel to match the rose and banner.


I chose a little image from the papers to add to the right side of the card and clustered 2 Prima flowers and a leaf to its side.


I tucked a few pearls around the layout and some of the circles from the banner too. 


The card sits on a stand which I cut out and used the same soft green card to add the trellis front too.


I hope you like this card, it's a little different and I know it will have the Wow factor on the mantle.

Pop in to the store to see the full range of beautiful papers and embellishments Janine has available for use on your layouts or cards. If not go online as I do The Mad Scrapper  

Sue.

Here is a list of the supplies I have used:
Prima flowers were from the Thirty-One range, the large roses were from Kaisercraft 


Thursday, April 13, 2023

Baby Boy Exploding Box.

 Hello,

Today I'm up on the The Mad Scrapper Blog with his Exploding Box which I have made using the adorable 6x6 paper pad by Echo Park ( a full list can be found below) along with a few other items from my stash.


Here are the cutting instructions which I have used for this size box.

Take a 12x12 sheet of card and score at 4inch and the 9inch, give it one quarter turn and score again at the same to give you 3 rows of 3. Remove the outside squares to give you what looks like a + give each score line a good burnish. Then take a 93/4 square of card and score at 31/4 and 61/2 again remove the outer squares to give you the same + just smaller. The smaller box will fit inside the larger allowing enough space should you decide to add bulky embellishments.

I have made a lid for the box with a 3/4 inch side drop so remember not to load embellishments too high. I have made the lid 41/8 square so it fits easy on top.


The next photograph shows the first layer of papers added to the two parts of the box from the plain pad. It's such a good buy as you know it all works together.


Now is the fun part, look through the pad and choose your papers to go on top of the first layer. Of course you don't have to add another layer but I think it looks cute. As you can see I have used the same papers on both boxes purely because I hate waste and too many scraps left behind Lol.


Then I have added yet another layer, all have foam under for dimension. Everything is from the 6x6 pad.


This shows the inside of the box. I have made 4 frames to add photos behind I included a little tab to show which side it is to be added to.


As you can see every side is covered with something.


Here is a closer look at one of the frames, they could add the photo to this little bit of card for an idea of the size. They could change them out easy too.

Thank you for stopping by today, I hope I have inspired you today. Don't forget to stop by to see what other papers Janine has in The Mad Scrapper  I know there is a Baby Girl set too.

Sue.

Here are the supply's I have used today:

Our Baby Boy Paper Pad 6"X6" 

Our Baby Boy Solids 12"X12" 

Our Baby Boy Ephemera - Icons 

Buttons, pearls, enamel dots, floss for the lid all from my stash.

Friday, April 7, 2023

Birthday Joy-Fold Card

 Hello,

Today I'm here to share a birthday card I recently made for The Mad Scrapper Blog using papers from the new Autumn Poem collection by Maja Designs (full list of supplies at the bottom) and a different card fold than I normally use. I believe it goes by the name Joy-Fold and I have given cutting and folding instructions for this card too.


The card will fit into a 6x6 envelope. Below you can see how it opens for anyone who has not come across it before.


Take a 10x5 inch card and score at 53/4. Then take another piece of card 91/4 x 33/4 and score at 5, this smaller one will have its fold on the right side.
Choose your papers and these are for the larger card and 3 sizes to cut
 47/8 x 55/8
46/8 x 4
41/8 x 47/8
The next are for the smaller card with the right hand fold
4 x 35/8
41/8 x 33/4
37/8 x 33/4
You can see I have used the same paper on the inside of the smaller card and the outside and inside of the larger card. The darker paper is perfect for the back of the card front and it pops up again as mats to the sentiments and front panel too. The Thinking of You is off the manufacturers strip, they put lovely sentiments on these.

I just stamped a Happy Birthday inside with plenty space to hand write around, even on the loss leaf too if you don't mind writing on the pretty paper!

In this last photo you can see the front embellishments are made up of a flower cluster from 49andmarket along with a couple of pearls from my stash. I thought it worked well with the paper below them.


Thanks for stopping by today, I hope I have inspired you to try this card fold and to use some of your pretty papers you may have purchased from Janine at The Mad Scrapper  if you are looking to buy some more pop over there and check this collection out.

Sue.

Products used today:
From my stash 
1cm pink rose bud
Pearls
Kaisercraft pearls in pink and cranberry.