Monday, June 14, 2021

Happy 6th Birthday

 Hello,

Here we are again looking at a new card I have made for the themadscrapper.blog . This time I have made a card for a friends Granddaughter who will be turning 6 soon. Today I have used paper and stickers from the Little Dreamer/Girl by Echo Park. 


I have started with a 7x7 bright white card base and added 2 mats each slightly smaller than the last in admiral and ocean-breeze both by Bazzill.  


 Then I took the little-dreamer-girl-3x4-journaling-cards and turned it over to cut the next layer which I stitched around using peach floss to bring out the colours used in the collection.


Next using my Cricut I cut out a heart (similar style I thought) from the little-dreamer-boy collection using the Play all day sheet. I matted that on to some Bazzill coral card. I also took 3 of the many banner stickers from the cardstock-stickers sheet matting them on card and adding them using glue gel, I also added the Amazing sticker too.


Next I pulled off lots more stickers placing them around the card.


I chose to use the You Make Me Happy large sticker because I know this little girl indeed does.


I've used one of the 2 ballerina stickers here by Birthday banner which I pulled off the identity strip (nearly always something good to found on these now).


I hope you have found some inspiration here today. I love to scrapbook but this just shows these beautiful papers and collections can be used for other crafty makes.

Thanks for stopping by today. Please take the time to leave a word or two as it's always nice to see who's been by. Also if you can't get in to the shop Janine has a excellent online service over at themadscrapper.co.uk be sure to say where you got the name from.

Till next time, stay safe.

SUE.


Wednesday, May 26, 2021

Summer Fun.

 Hello there!

Today I'm sharing a layout I have made to join in with the challenge over at 49 and Market's fan page over on Facebook. It's also shared at themadscrapper.co.uk/blogs 


It uses vintage-artistry-butter-serenity paper which I trimmed down and matted on to Kaisercraft Antique paper, both papers were distressed. I fussy cut the big bloom from the left side and added it back using glue gel.


Above you can see where I have added white gesso through a doily stencil and I have stitched at 2 points along the edge. I also added splashes of black and yellow acrylic paint. Then I took a strip of 49-and-market/burlap cut it in half fraying the edges and placed that under a strip of badshorts which I had left over but not before I inked through my tim-holtz-layering-stencil-bubble. 

Then I took the cute Dusty Attic summer-fun chipboard and painted it with white gesso mixed with yellow paint. I took my 2 photos and matted them on to limeade-canvas by Bazzill adding little tabs using fawncanvas and black smoothies also by Bazzill. I added Devon under the bottom photo but you will see later I covered it up.


I added the now dry chipboard to the bottom of the page lifting on foam pads.


Then I set about adding my clusters of flowers. I made 2 daisy's using Foamiran and added paper flowers from Green Tara, 49-and-market roses from The Mad Scrapper 2 and 11/2 cm. I also added green leaves and a tiny rosebud in yellow and a few prima-melange-pebbles have been dotted about also.


Wanting to make it a bit more fun I added some stars in the paper cut offs used.


Here you can see I moved the Devon to the top tab along with the dates taken. We holidayed with these friends a few years running down in Devon. Not seen them in years! I am 2nd from left in top photo and end on left in the bottom photo. My eldest and younger sisters are here too.


Below you can see the bloom I fussy cut out from the left along with some added Nuvo drops and stars. I have also added the inspiration photograph.


Thanks for stopping by today. Do stop over at themadscrapper.co.uk you'll find loads of goodies to drool over. If you like what you see leave a word or two so I know who's stopped by.

Take care

Sue.


Friday, May 21, 2021

Get Well.

Hello,

Today I am sharing another card with you for the The Mad Scrapper blog . This one uses the beautiful paper home-grown by Heidi Swapp. Janine has 4 in the storyline collection plus a  Mini kit with texture-paste. These papers are so pretty. 


I have used just one 12x12 sheet to make this card along with a butterfly from hello happy by simple stories and a couple of pink 4cm-single-flowers.

The card design I have chosen today is known as a Joy Fold card. I have taken some photos of how I put it together for anyone who has never made one or like me forgotten as I had to look it up


I used white cardstock for this but you can use any, it looks wonderful in coloured especially if for a young person. Fold the large at 51/2 keeping fold to left. The smaller fold at 4 but have the fold on your right.


Here I show you the sizes of paper I have used for the card. Attach C to the inside of the large card and D to the front panel. Attach E to the inside of the small card and F to the outside. Just remember if using a paper with a definite pattern on it that you attach the right way up! Once you have added your papers attach the small card to the centre of the back card.
Here you can see the beginnings of my card, I have added a stamped sentiment where I have mixed shabby-shutters and kitsch-flamingo inks to resemble the paper colours. I also matted on black card to make it pop. I have added the butterfly and some clear glitter glue.


Now you can see I have added a couple of daisy's and leaves, buttons were added to their centres but you could easily have added brads or stamens. I added black dimensional glue to the corners. 


I decided the inside of this panel needed a little something else so I added another panel of the flower but matted it on black, this size paper is 4 x 2 3/4. I also added another butterfly but this is a cardstock sticker from simple-vintage-cottage-fields sticker sheet. I placed it on card first then cut around it and lifted it with glue gell. I also added pink glue dots here too.


This next photo shows how it looks when standing. As you can see the inside dotty panel allows you space to add a verse which I will do next. If you wanted to you could add a button or stopper to hold down the front panel. I haven't this time but if you do remember to leave enough room on the left of the card.


Thanks for stopping by today, if you have time leave a comment or two as its always nice to see who's been by.

*******

One sheet of paper was used on the card above, but I had a small piece left so I made a gift bag to put away in my stash.


Take Care

Sue.

Saturday, May 8, 2021

Happy Anniversary

Hello,

Today I'd like to share a card I have made for the mad scrapper blog It is for my sister and brother-in-law to celebrate their anniversary. 


This card uses the fun Sommartider-badshorts paper by Maja Designs. I have used both sides today along with a corresponding solid cardstock called starfruit-blisssmoothies by Bazzill. Janine has 4 different papers to show you in this collection and all are fun and zesty. I'm thinking they would be great for beach or summer layouts too.
Here are a couple of photos to show you the papers I ordered along with 49 and market flowers and single-flowers which come in loads of colours and sizes and the cute vintage rose in ivory which in the end I didn't use but I will soon.


Also I used the cheesecloth-pack and  Kaiserfusion Pen in blue and I can't make a card without pearls and this time they were snow. Again Janine has many different colours available.


To start with I took a 6x6 cardblank and added the plain yellow leaving a small boarder. I used the yellow side of the badshorts paper distressing the edges first, then I cut a slightly smaller size and used a curve edge die to remove a corner with more distressing on the other 3 sides. I added this to the card with foam square's.
I cut out a doily in the yellow and added a stitched circle to the centre. This was placed on the card and to it I added cheesecloth to soften the underneath of where the flowers will go.


Here you can see the flowers in place with the addition of a couple of brads (had those years lol) to the centres of the daisies and I have added some leaves in a lovely zesty lime green which is in the paper too.


To finish off today I have added lovely snow pearls about the layout to match those in the flowers. I also stamped a sentiment to a strip of yellow and added to the space at the bottom.


Thanks for stopping by today, I hope you can leave a comment just to let me know who has been. Till next time, take care.

Sue.

Monday, April 26, 2021

Birthday Card

 Hello,

Just a quick post today to share a birthday card I have made using up a small amount of a AB Studio paper I had left.


I have used both sides of the paper, the back is the shabby look and the floral is the main side but because I was adding paper flowers I just added the small amount to the centre. I distressed the edges first and then added a ribbon before adding it to the card base with foam pads for lift.


I have used a Tonic Studio die set to cut out the centre design and the corners. I popped a little pale green under the die cuts as it is in the floral pattern. It's such a pretty die set I don't know why I don't use it more!!


I chose a selection of flowers including this big pale green daisy.  Underneath I added dark green leaves along with gold foil leaves from AB Studios picked up at Merly Impressions Chrissy is carrying a lot of different brands now. As you can see I added a few rhinestones in wine from here too.

Thanks for stopping by today, take care

SUE


Saturday, April 24, 2021

2nd Birthday.

 Hello,

Today I'd like to share a birthday card I made in a flash for my neighbours son who was 2 yesterday! I had bought these papers from Janine over at The Mad Scrapper to do a layout (which is below on the blog) they are just perfect for the little people in our lives. She a has girl themed collection too this one I have used is called Little Dreamer-Boy collection and there are papers, stickers and lots more in there.


I wrapped a ribbon which has "vroom vroom" on it to the left and then added it with foam pads. Then I took 2 panels and mounted them on corresponding card to one I added a Birthday Wishes stamp tucking it under then added those to the front at a jaunty angle. I fussy cut a speech bubble and added that.


Here you can see I have added a 2 which I cut with my Cricut and a few stars which I dotted about. Finally I added a ribbon tab to the bottom because I couldn't read Vroom after I covered it up over on the left!


Thanks for stopping by again today, keep safe and see you here soon.

Sue.


Hugs and Kisses

 Hello again,

Today I'd like to share with you a card I have made which needed to be fairly flat to go in the post. I struggle greatly with these nowadays as I can't help myself with adding a little embelishment here and one there and always raised lol.


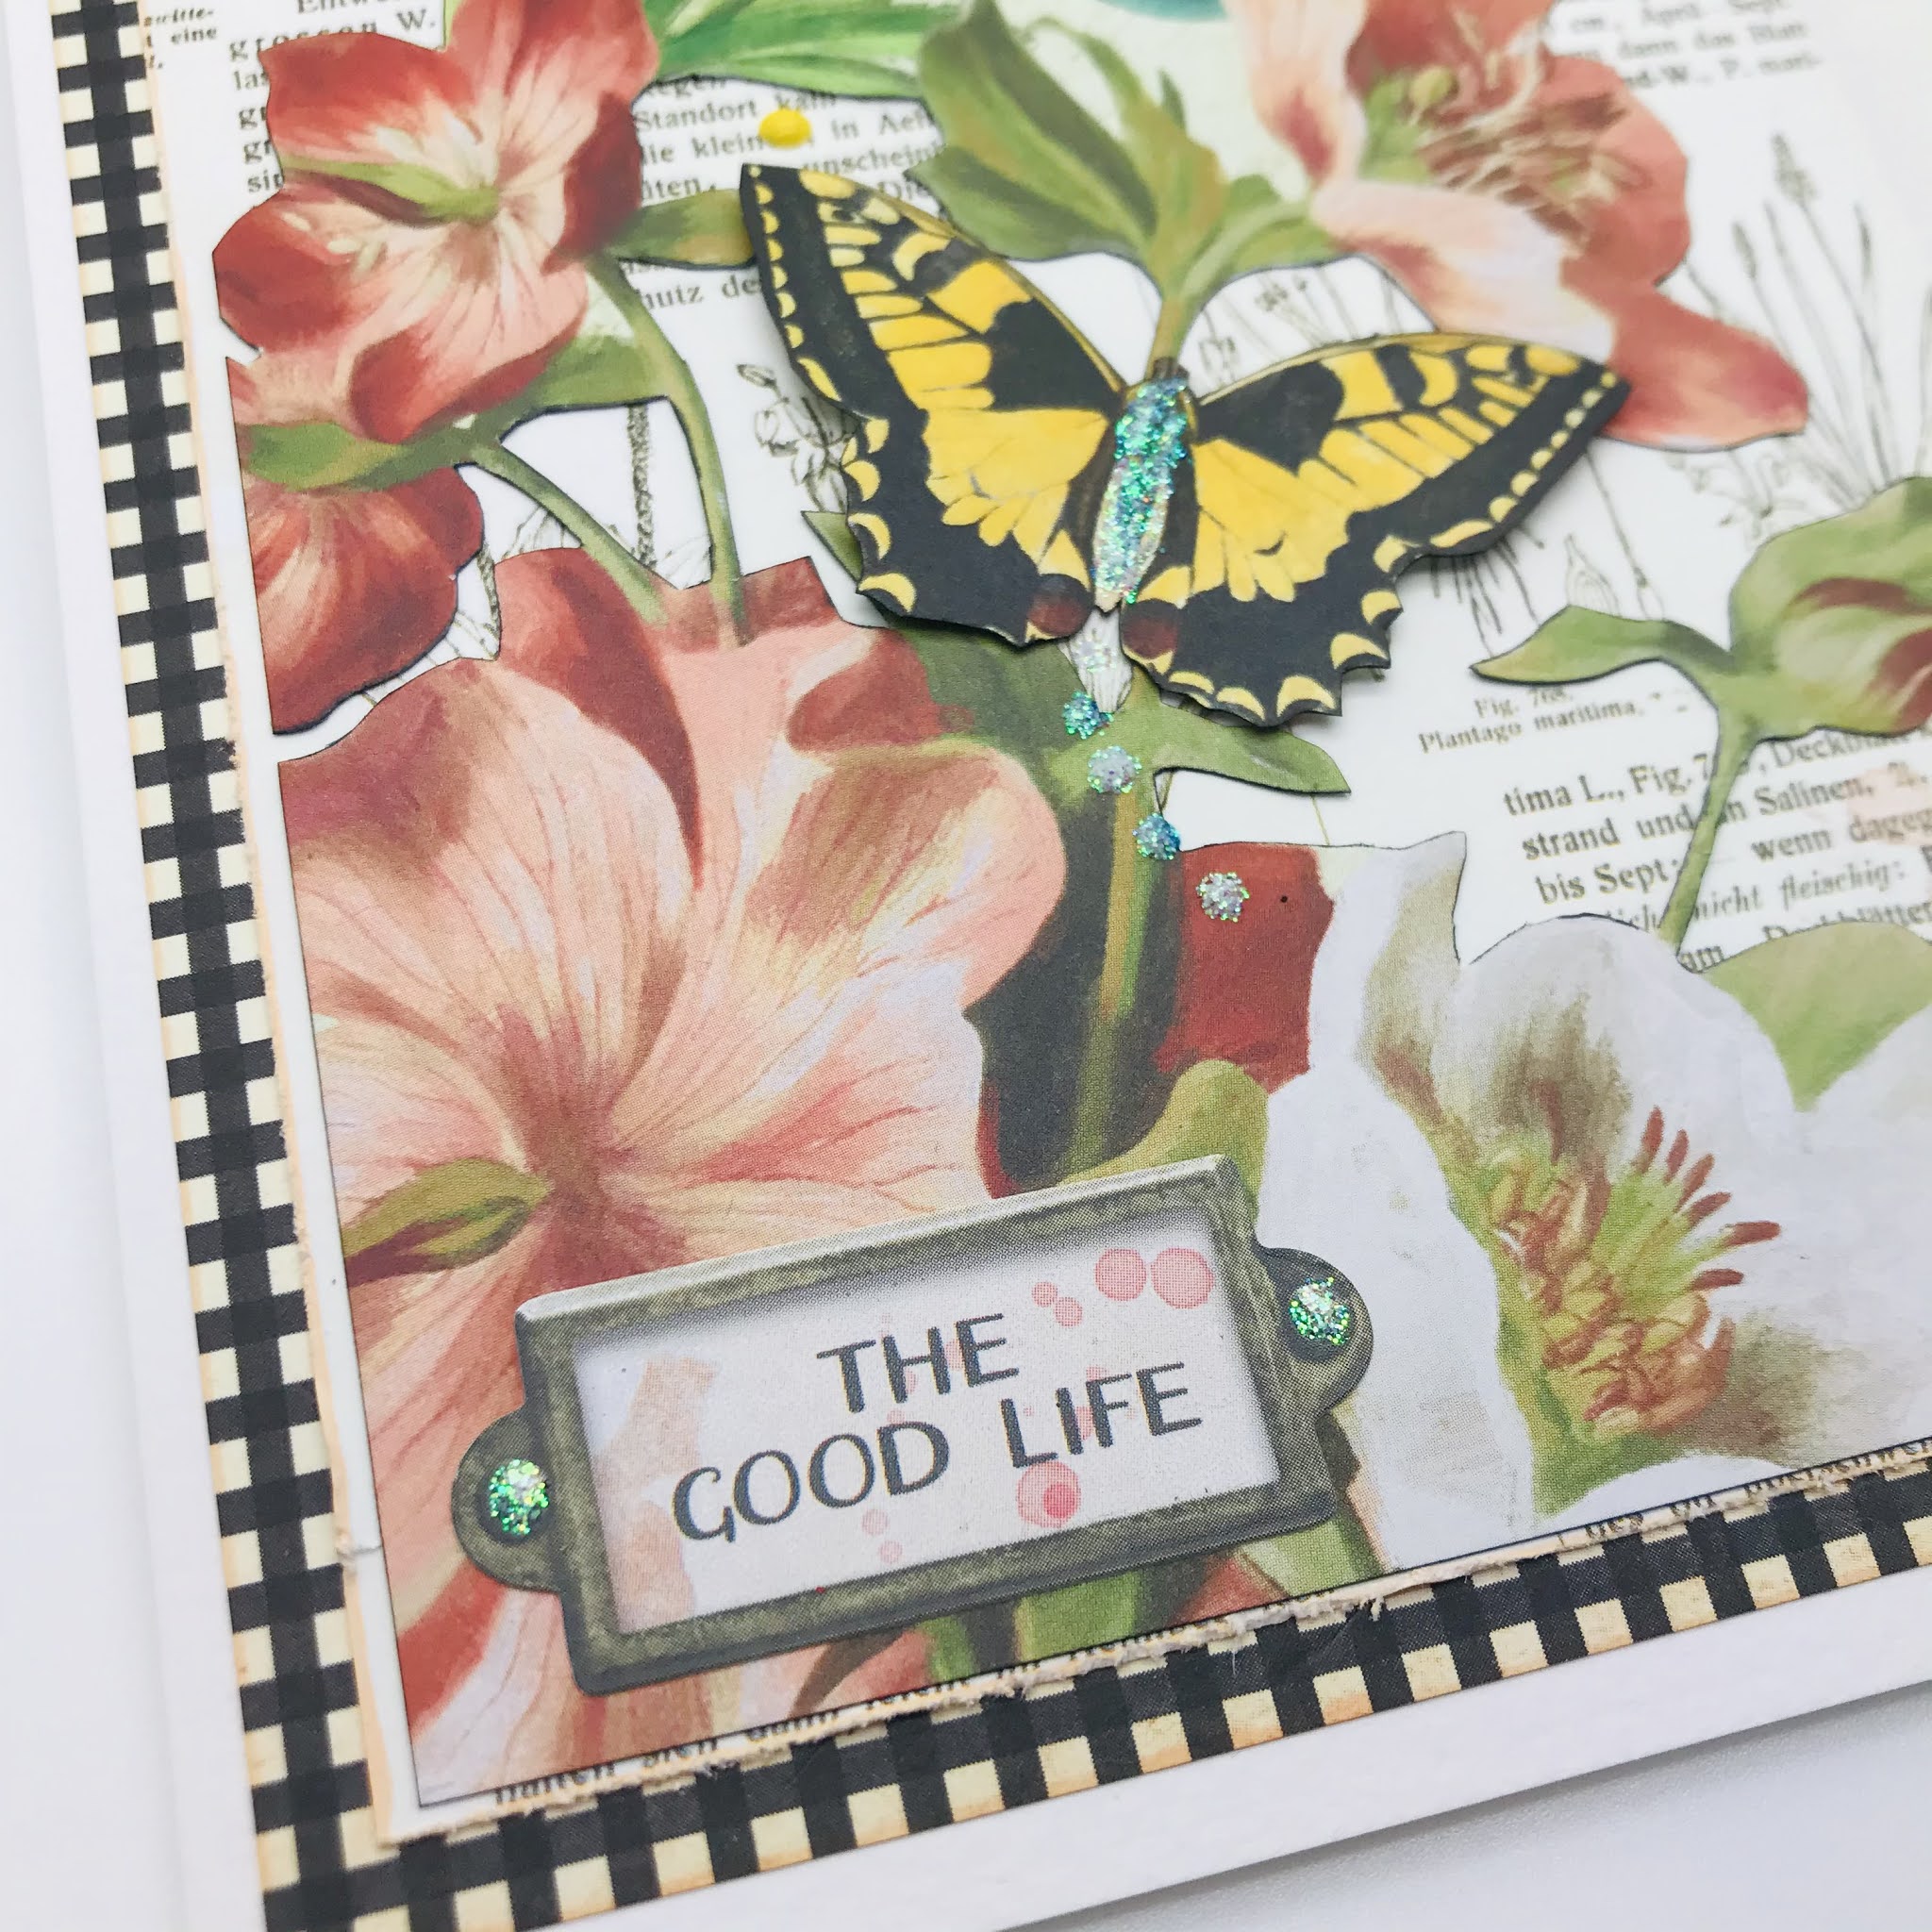
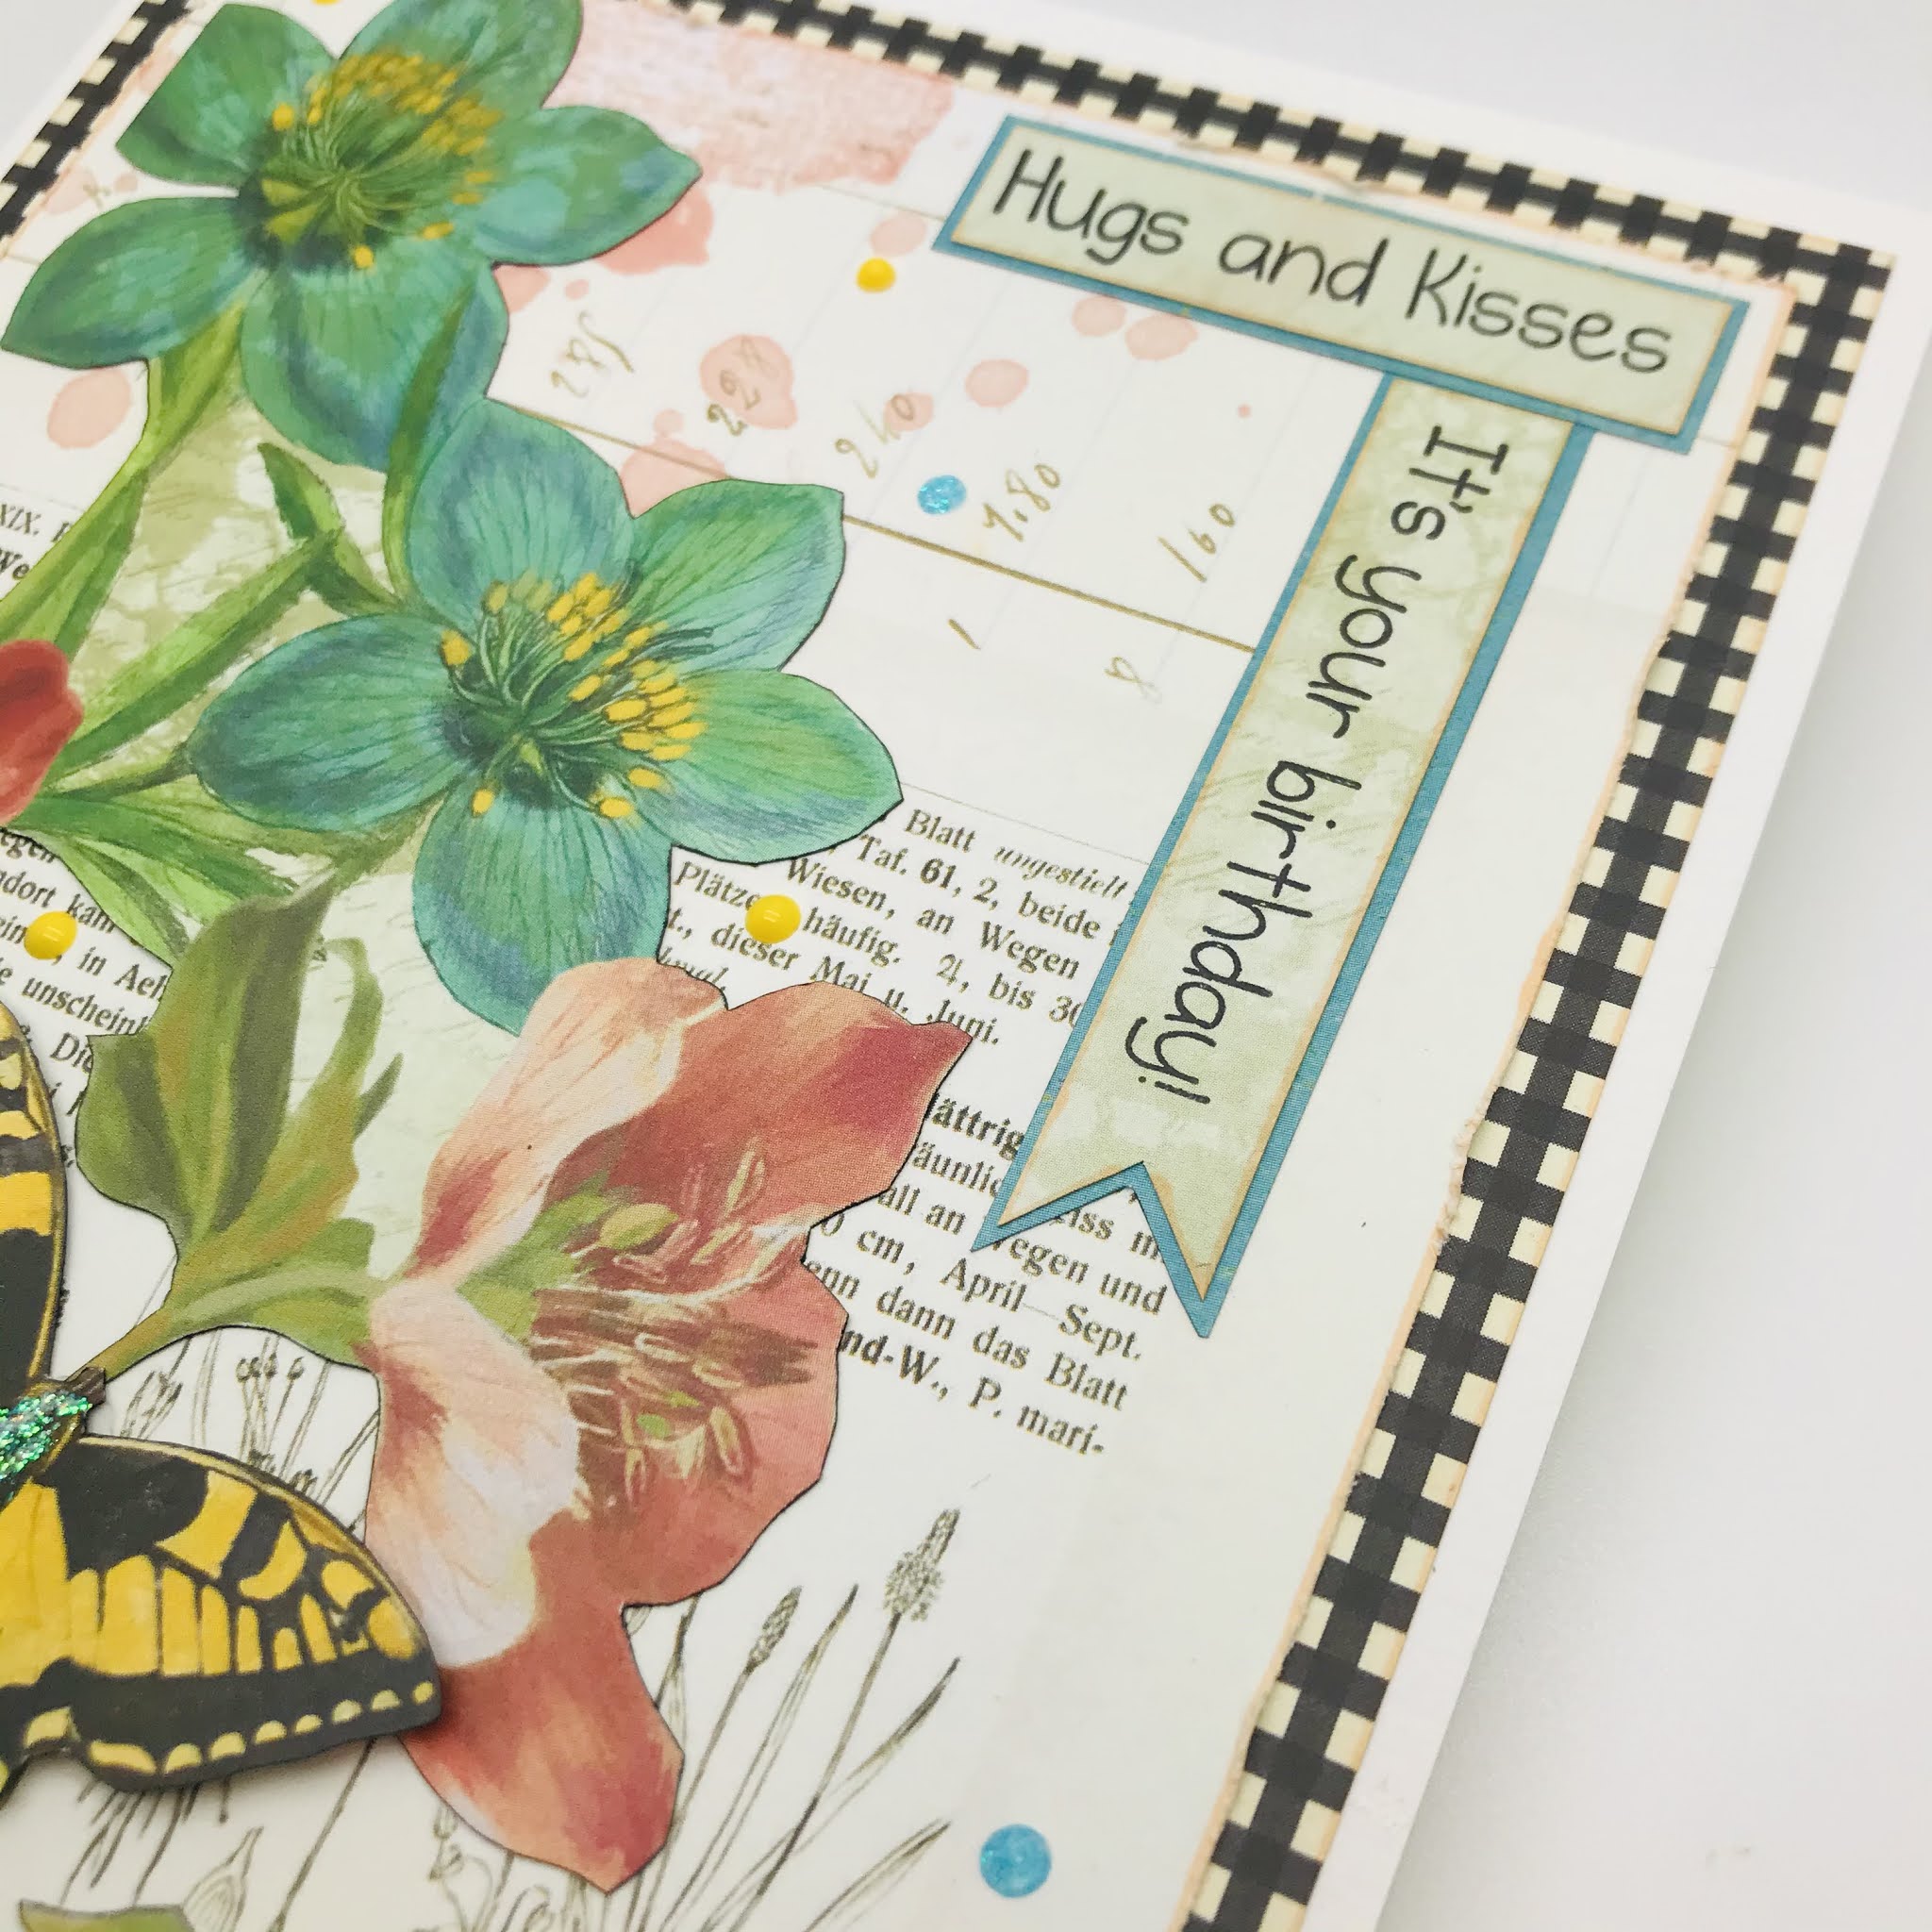
This card is A5 in size, I made my own card blank using a off white stock. First I took a black & cream chequered paper and placed that down. Then on top of that I used a piece of Sweet Life by Simple Stories from their Vintage Cottage Fields Collection.


As you can see I have edged using a Kaiserfusion-skintone-beige pen but any peachy colour would do. I did distress the edges before adding it to the card.
Then I took the leftover paper I used on my todays-little-details  layout called Beautiful Moments and fussy cut out the flowers and added them but not before I went around the edges with kaiserfusion-cool-greys-slate pen to help make it pop.


I used a sticker from the many beauties found on the SHEET


I also added one to the back too. Well there are so many little filler ones to use up.


Then I took a couple of stamps from my stash and printed 2 out but placing them down the edge seemed to help fill up that side. I couldn't help myself but I added the butterfly using some glue gel just to lift it a tiny bit! He was cut away from the top blue flower.

I added glitter glue in blue around the card along with some yellow too.

Thanks for stopping by today, please leave a word or two if you can. Also don't forget to pop in to The Mad Scrapper online store where I know you will find something you can't do without (I know I do every time) from papers to mixed media something for all.

Sue.