Friday, October 21, 2022

Super Sweet.

 Hello!

Today I'm up on the The Mad Scrapper Blog with this cute layout using papers and stencils from the store. I will as always have a full list below.


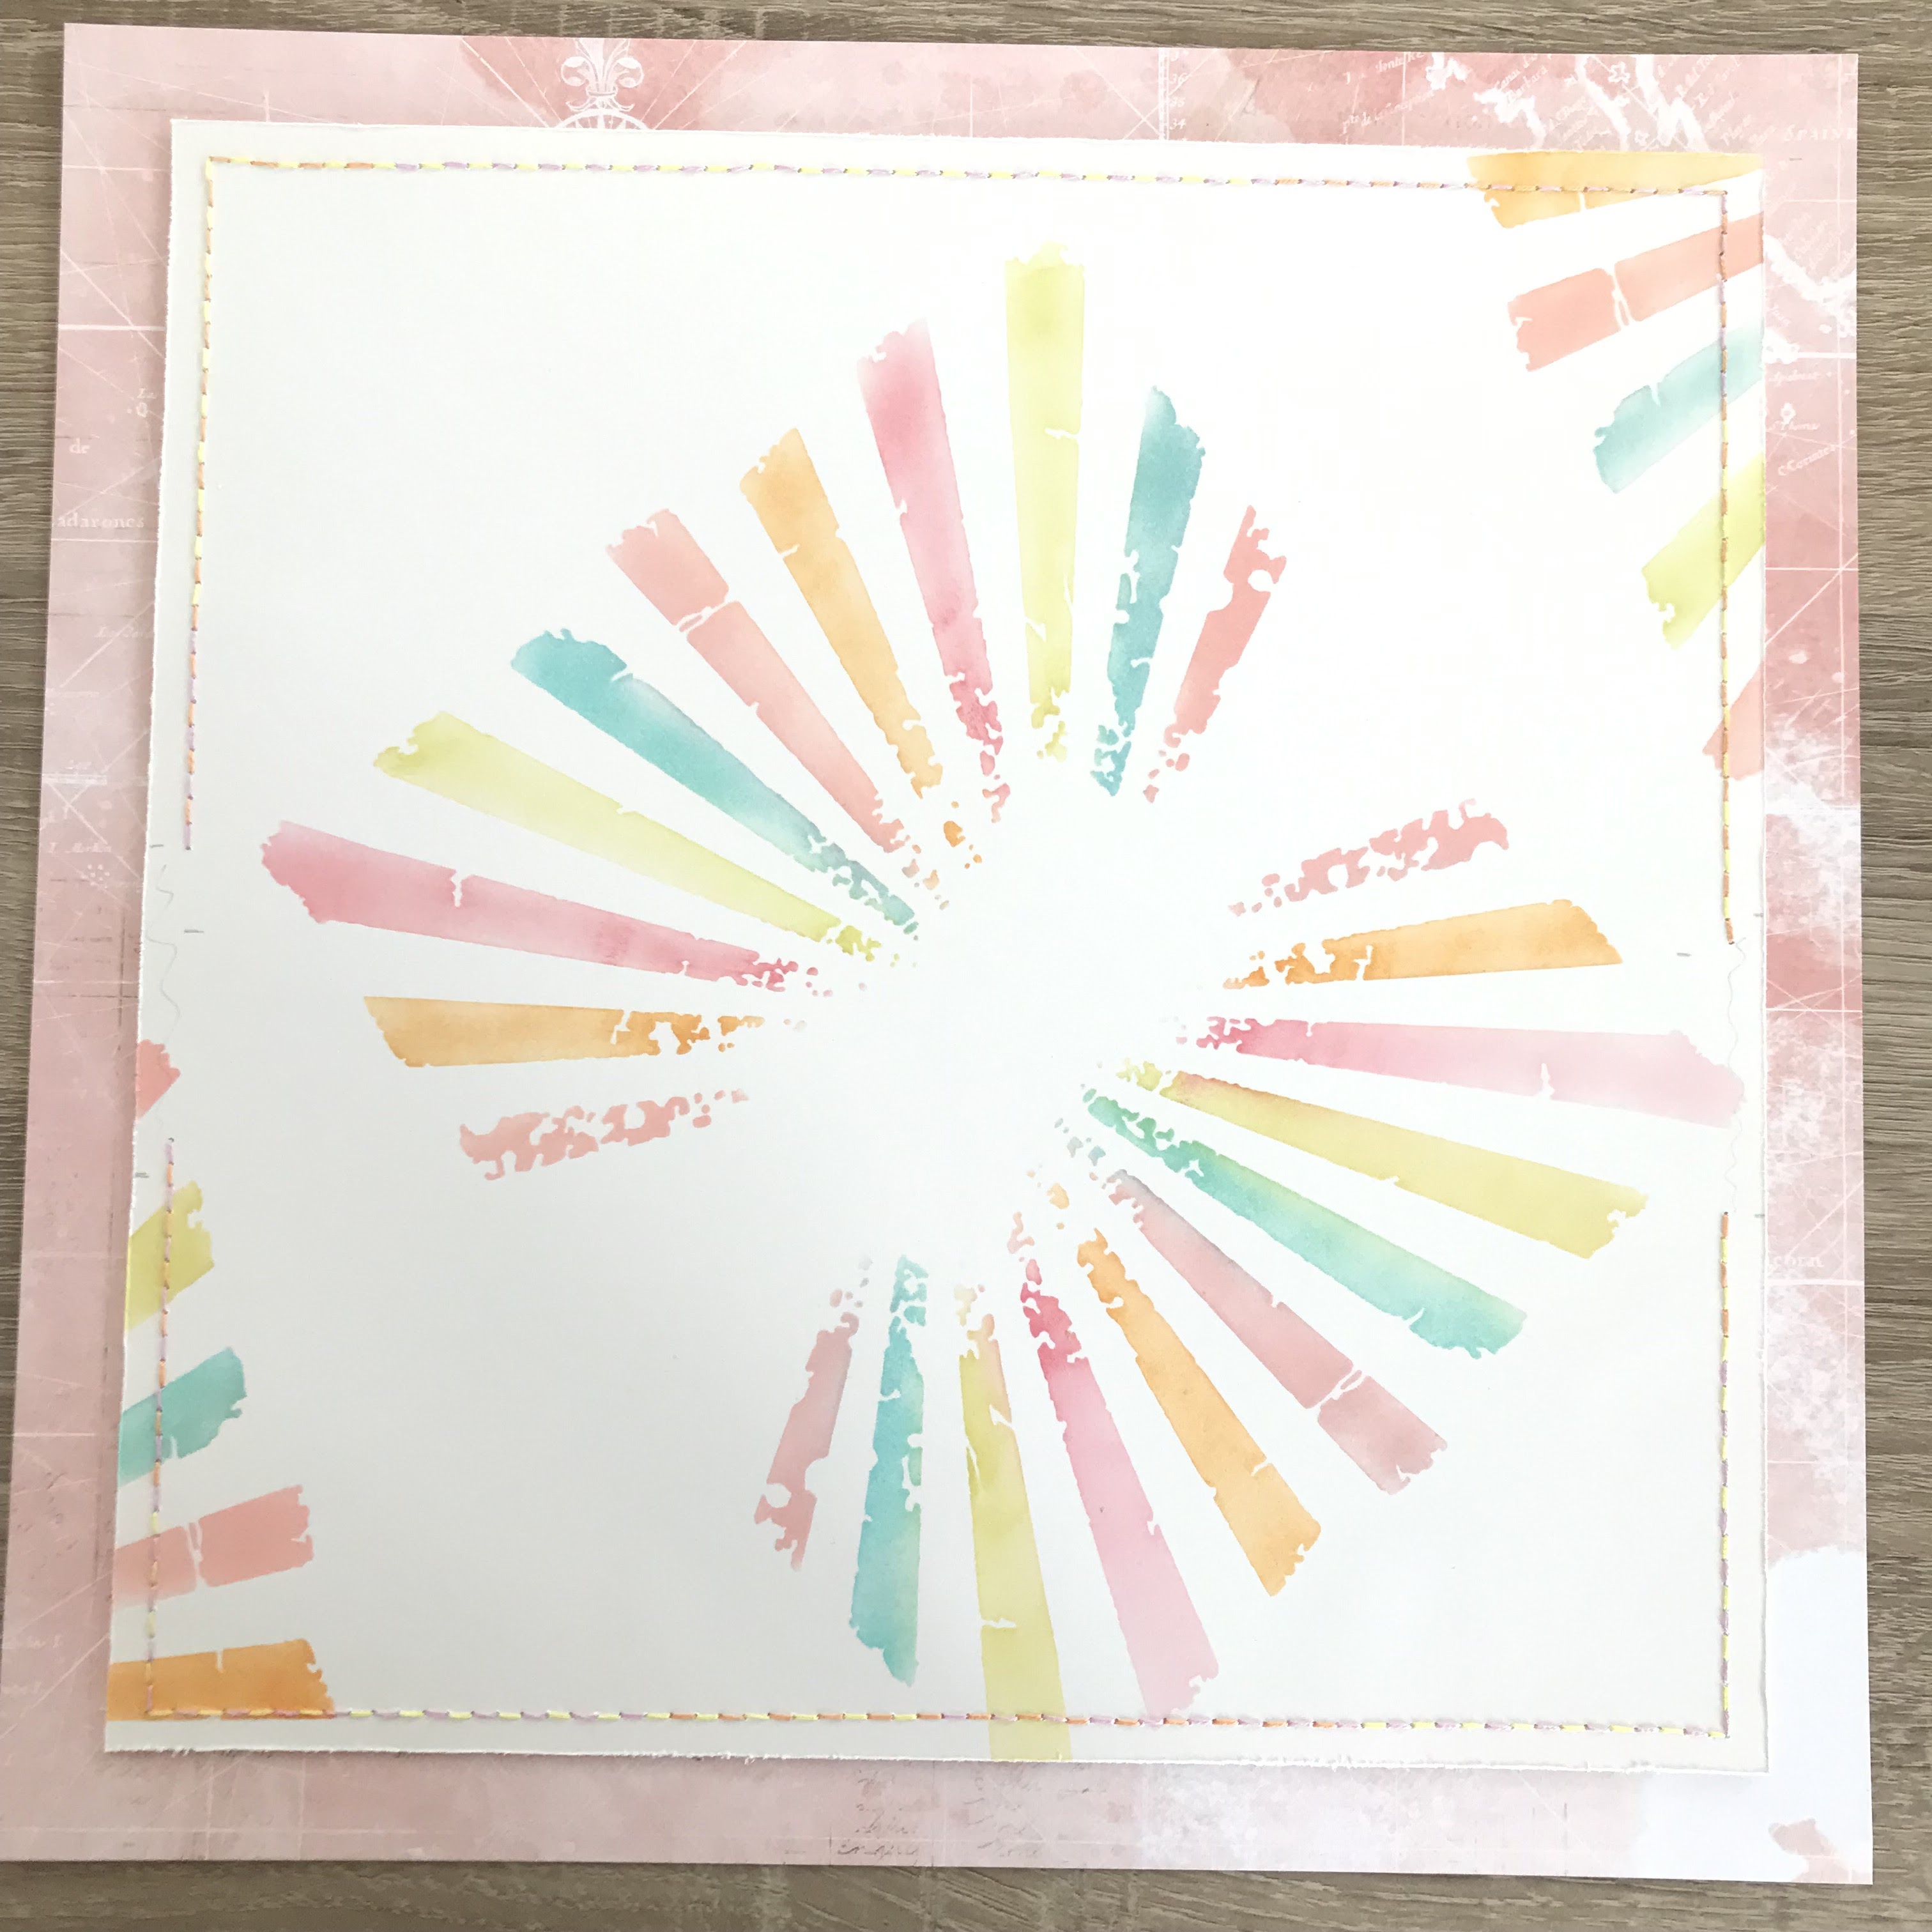
I took a sheet of smooth white cardstock and trimmed it down to 10.5inch Square and then using a selection of inks I brushed them through this Tim Holtz stencil towards the centre and around the edges.


Once I'd added the ink I stitched around the edges using 3 different colours mixing them up as I went along. Then I added cardboard to the back and then I attached it to the sheet of pink. As you can see there is a small gap in the stitching because I'm going to add a strip.

Here you can see I have added a 3 layer piece picking up the colours in the hearts.


I knew I was going to use 3 photos but wanted to do something different, so I die cut them into circles and kept that as the theme throughout. I had seen a layout done online and tried to keep to the style I'd seen.


Each photo has a different die used on it and at least one mat to pop it up. I have used ephemera from 49andmarket and stickers from Echo Park.


I have added sequins and Nuvo drops in similar colours to add fun elements.


A closer look at the title and the ephemera used.


Everything works so well together.


Here you can see how I have used the embroidery floss to complement the colours used.


Thanks for stopping in again. I hope this inspires you to cut your photos in to different shapes on your layouts. Don't forget you can get all types of papers and embellishments by shopping instore or online at www.themadscrapper.co.uk

Sue.

Here is the list of supply's used today:

Spectrum Sherbet ephemera pack- out of stock but you may already have them.
Echo Park Girl sticker sheet- out of stock but you may already have them
Sequin mix and Nuvo drops from my stash

Here is the layout I have used as inspiration 


Friday, October 14, 2022

Boho Baby.

 Hello,

Today I'd like to share a layout I have made for The Mad Scrapper Blog it uses a paper collection by Simple Stories called boho baby (a full list below). The photograph is of my cousin's granddaughter Sophia ๐Ÿ’–isn't she just gorgeous.


I started by taking 4x6 element sheet and used the B side, to that I added Born to be Wild but not before I cut it down to 11x11 and back stitched with caramel floss and I also used distress ink through my favourite tapestry stencil as well as on the edges too.


The next set of photos show the finished result which I am very pleased with, I do hope you like it too.

Here you can see how I raised the photo on 2 mats with cardboard underneath so I can add things under. I have added vintage lace in a caramel colour, and I have made two flags with a rolled-up edge.


The top edges have a dove tail and a notelet edge both have been inked. You can see I have added stickers and Nuvo drops.


This next photo shows some of the gorgeous flowers available in store which I have mixed together along with acetate leaves.


I made another little flag set and added a cute sticker. Don't you just love that leaf frong quite an impact 


Here's a better look at the main flower cluster along with the chipboard Love I added


I added a small cluster to the bottom right of the photo for balance. I also added peals in different sizes to the layout along with Nuvo drops.


Thanks for stopping by today, I hope I have inspired you to use beautiful flowers even on your baby layouts. Stop by the store if you're in the area if not go to   The Mad Scrapper   and shop from the comfort of your armchair like me.

See you next time
Sue.

Here is the list of items used that are available in store:

Nuvo Drops, lace, pearls, chipboard from stash. The acetate leaves are out of stock, but you may already have them.


Thursday, September 29, 2022

Capture Today.

 Hello,

Wow time is flying now, all downhill to Christmas ๐Ÿ˜ฒ as my husband who is a postie says and as you can imagine it's not his favourite time of the year delivery wise.

Anyway I digress, I'm here today to share with you all a new layout I have made for  themadscrapper.blog in fact it is a Double Page layout which I think is a first for me. I have taken inspiration again from a free sketch, these are excellent when you feel your stuck in a crafty rut as in all layouts seem to look the same or you've just lost your Mojo and lets face it we all suffer with that at some point don't we?  Well here it is and I have added 2 photos at the bottom of the individual pages.


Today I am almost finishing off the paper kit Gather at Home, all links at the bottom of this post. I had to do some clever cutting and patchwork which you will see below. I should have used 2 12x12 paper bases and to those add 2 8x12 stitched pieces but as you can see I didn't have them so I cut 4 12x31/2 strips adding 2 to both ends of the large green.


Then the other 2 I added the green strips which were 12 x 1 1/2 to them and added a cream card under all of those for stability. I wasn't worried because I knew my photos would hide all of this. I lay both out on the table side by side to make sure all fitted together perfectly in line phew!


Next I took 3 photos and matted them on to black card 12 x 61/4 leaving no gaps. They were then added on top of the cream side and hey presto you can't tell.


This layout shows photos from a day trip to Seattle whilst on holiday this spring. We first visited the Space Needle and that's where I pressed my quarter (not a penny as I said) I also picked up a few postcards one of which is this scene below. I have tucked under a little laser cut, a fussy cut flower or two from another paper and a couple of coffee cups, all have been added using foam pads.


A close up of the tight joins and the pressed quarter which I had to use Glossy Accents to adhere it to the page with. We did laugh at the fact it cost me a $ to get a quarter back!


Top of the needle, also you can see how you cant tell what's going on underneath the photos. The butterfly is a laser cut.


Here is another post card which I liked added under the main photo to this page. The sketch shows a large heart but as it's just for guidance I decided not to add it.


This next photo shows the title which is a puffy sticker by Simple Stories (which I won recently) you may have some in your stash I thought it fit the layout perfectly. A few more coffee cups and another laser cut.


Here you can see another puffy sticker, a butterfly laser cut and the text at the bottom is cut from one of the 4x4 journal cards in the kit. As you will have noticed I have matted everything on to black card for a pop of drama and this time I have typed my journaling to keep with the sketch plan.


This is a close up of the left hand page.


and this a close up of the right.


Thanks for stopping by again today. I do hope I have inspired you to try a double page layout, I had a lot of fun. It allows you to showcase more photos from your event, mine on this side were 4x6 but there's nothing stopping you from adding 6 4x4 you just need to alter the bottom piece after the green.

If you're looking for more papers and embelishments and you can pop in to see Janine great or go online to www.themadscrapper.co.uk and shop from the comfort of your armchair like I do.

Thanks again
Sue

Please find a full list of shop supplies:
Gather At Home Collection Kit   This pad has sold out but almost all the papers are available individually and here I have added them for you
Raven/Canvas  Bazzill basic


Here is a look at the sketch I used today.


Saturday, September 10, 2022

Birthday Wishes.

 Hello again,

Here I am today sharing a card I have recently made for themadscrapper.blog using papers and flowers from the shop. A full list at the bottom as always.


I was recently having a tidy of my shelves (as you do!) and found a unused stencil for a teardrop shaped card blank. The card is for someone I make for every year so always trying to keep things fresh and what better way than giving this a try. The overall size is 5x8 and I used bright white to cut it from.


I covered the front with V.A volume 2 paper 3 and the inside was covered in paper 4 but not before I stitched with green floss. Also all papers were distressed.


Firstly apologies for the next 2 photos I took them in the evening!  I gathered together flowers and leaves that would coordinate with the papers (if every you're stuck always contact Janine before placing your order and she will put you right as she has me several times), I also used a die to cut a doily to place them on from the papers already used and a disc for the centre. I printed out a couple of sentiments and layered them on to cardstock.


Here you can see I have placed down the first sentiment and the doily before I called it a day.


Next morning I went about placing down the flowers and leaves but to soften the composition I first put down some cheesecloth, it really makes a difference.


I chose 3 colours of flowers along with their leaves to use.


To the centre of the 2 largest I added some ice crystals to help it sparkle.


To finish it off I added some Kaisercraft gems from my stash as well as some yellow Nuvo drops oh and a little pale pink Perspextive.


Thanks for stopping by today. Do check out the store if not the bricks and mortar then Online at
www.themadscrapper.co.uk Till next time.

Monday, August 22, 2022

Happy Days.

 Hello,

Here I am sharing another layout made for themadscrapper.blog and today it is all about my husbands latest fishing trip.


I'm using Cotton Candy from 49andmarket but you'll find a full list at the bottom of the page. I have also chosen this fish net chipboard which I kept as is. I broke off a couple of pieces and tucked under my lifted photographs.


Next you can see I added some small fish which I painted white gesso on and then when dry inked over. I stitched some light grey floss and added a tiny bead as a float. You can also see that I have added some rub-ons around the page too.


In the next photographs you will see the finished close ups. Here I added a dragonfly from the laser-cut pack and it got a touch of glitter glue also some berries over a leaf rub-on which I added glossy accents to.


This shows another element taken from the laser-cut pack just added to the photo 


This close up shows a little cluster I made for this bottom corner which was looking a little bare, it's made from a couple of torn scraps which I inked the edges and I tucked yet another bit of the net in. The tickets and sentiment are from other collection in the store. You can also see the bright title which is a Perspextive from my stash.


Another close up this time showing the rub-ons and berries.


Here you can see another couple of tickets and butterfly rub-on as well as my journaling.


I decided to add some glossy accents like bubbles from the fish for a bit of fun, I also added them about the page along with gems and enamel like drops.


I hope you have enjoyed my layout and how it was made and its given you some inspiration to use up some of your lovely papers.
Pop in to the store if you're lucky enough to live close by if not do what I do and shop online at www.themadscrapper.co.uk

Sue.

Full list of products from the store:

From my stash I have used Kaisercraft purple gems and the title is a Happy Days | bramblefox perspextive