Friday, March 24, 2023

You Are Adored.

 Hello,

Today I am sharing another layout for The Mad Scrapper Blog and it's another using papers from 49andmarket (a full list can be found below) can you tell how I love them lol.


I started with the Butterfly Kisses page, removed the identity strip and added stitching to the top right and bottom right of the page. Then I lifted one side each of the 3 middle butterfly's. Looking what else I could do I plumped with adding Rub-On's to the right. I also added 2 frames to the base envisioning where the photo would sit.


The photo was matted onto a piece of brown and then on to a scrap of Posies, I tucked a piece of foam under to give lift. This allows me to tuck under a Laser cut green lace and flower spray. You can just see the frames peeping out. I added more rub-on's in the flower variety.


This next photo shows another layer of flowers along with a postage stamp and some Nuvo drops too.
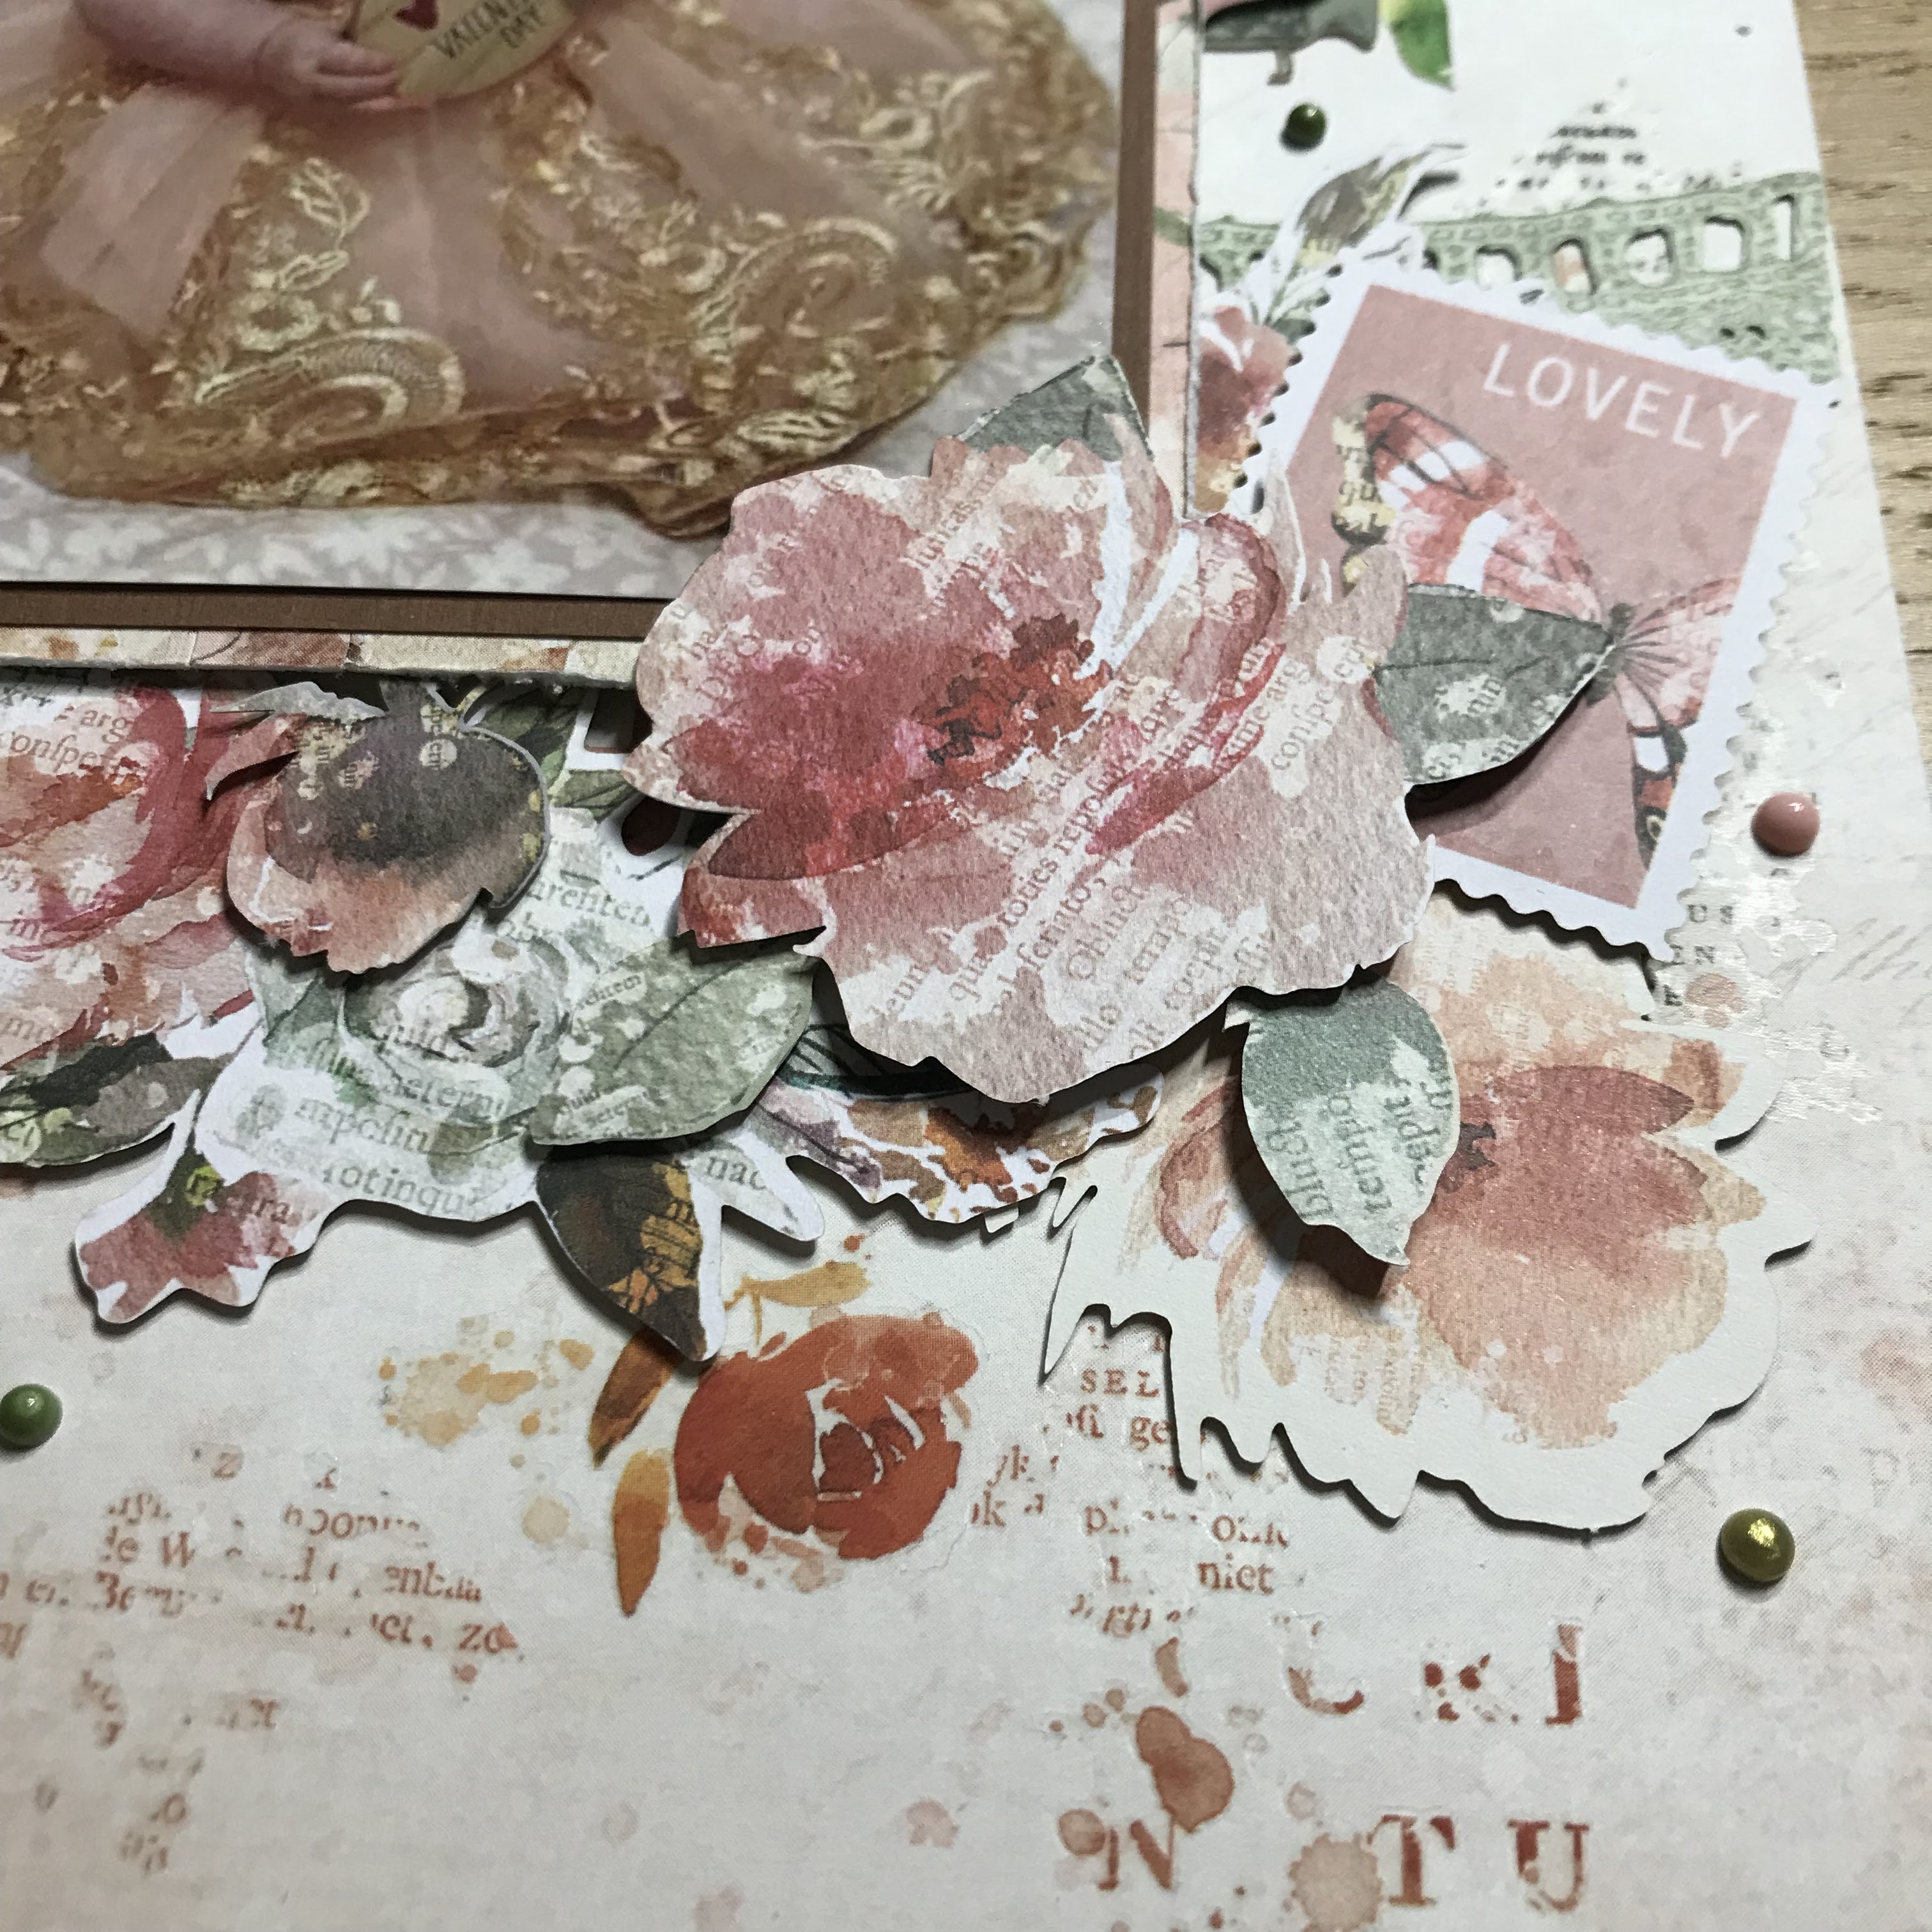

This is the other side of the photo with another cluster of Laser cut flowers, a postage stamp and even more Rub-on's.


I added extra Rub-on butterflies around the photo.
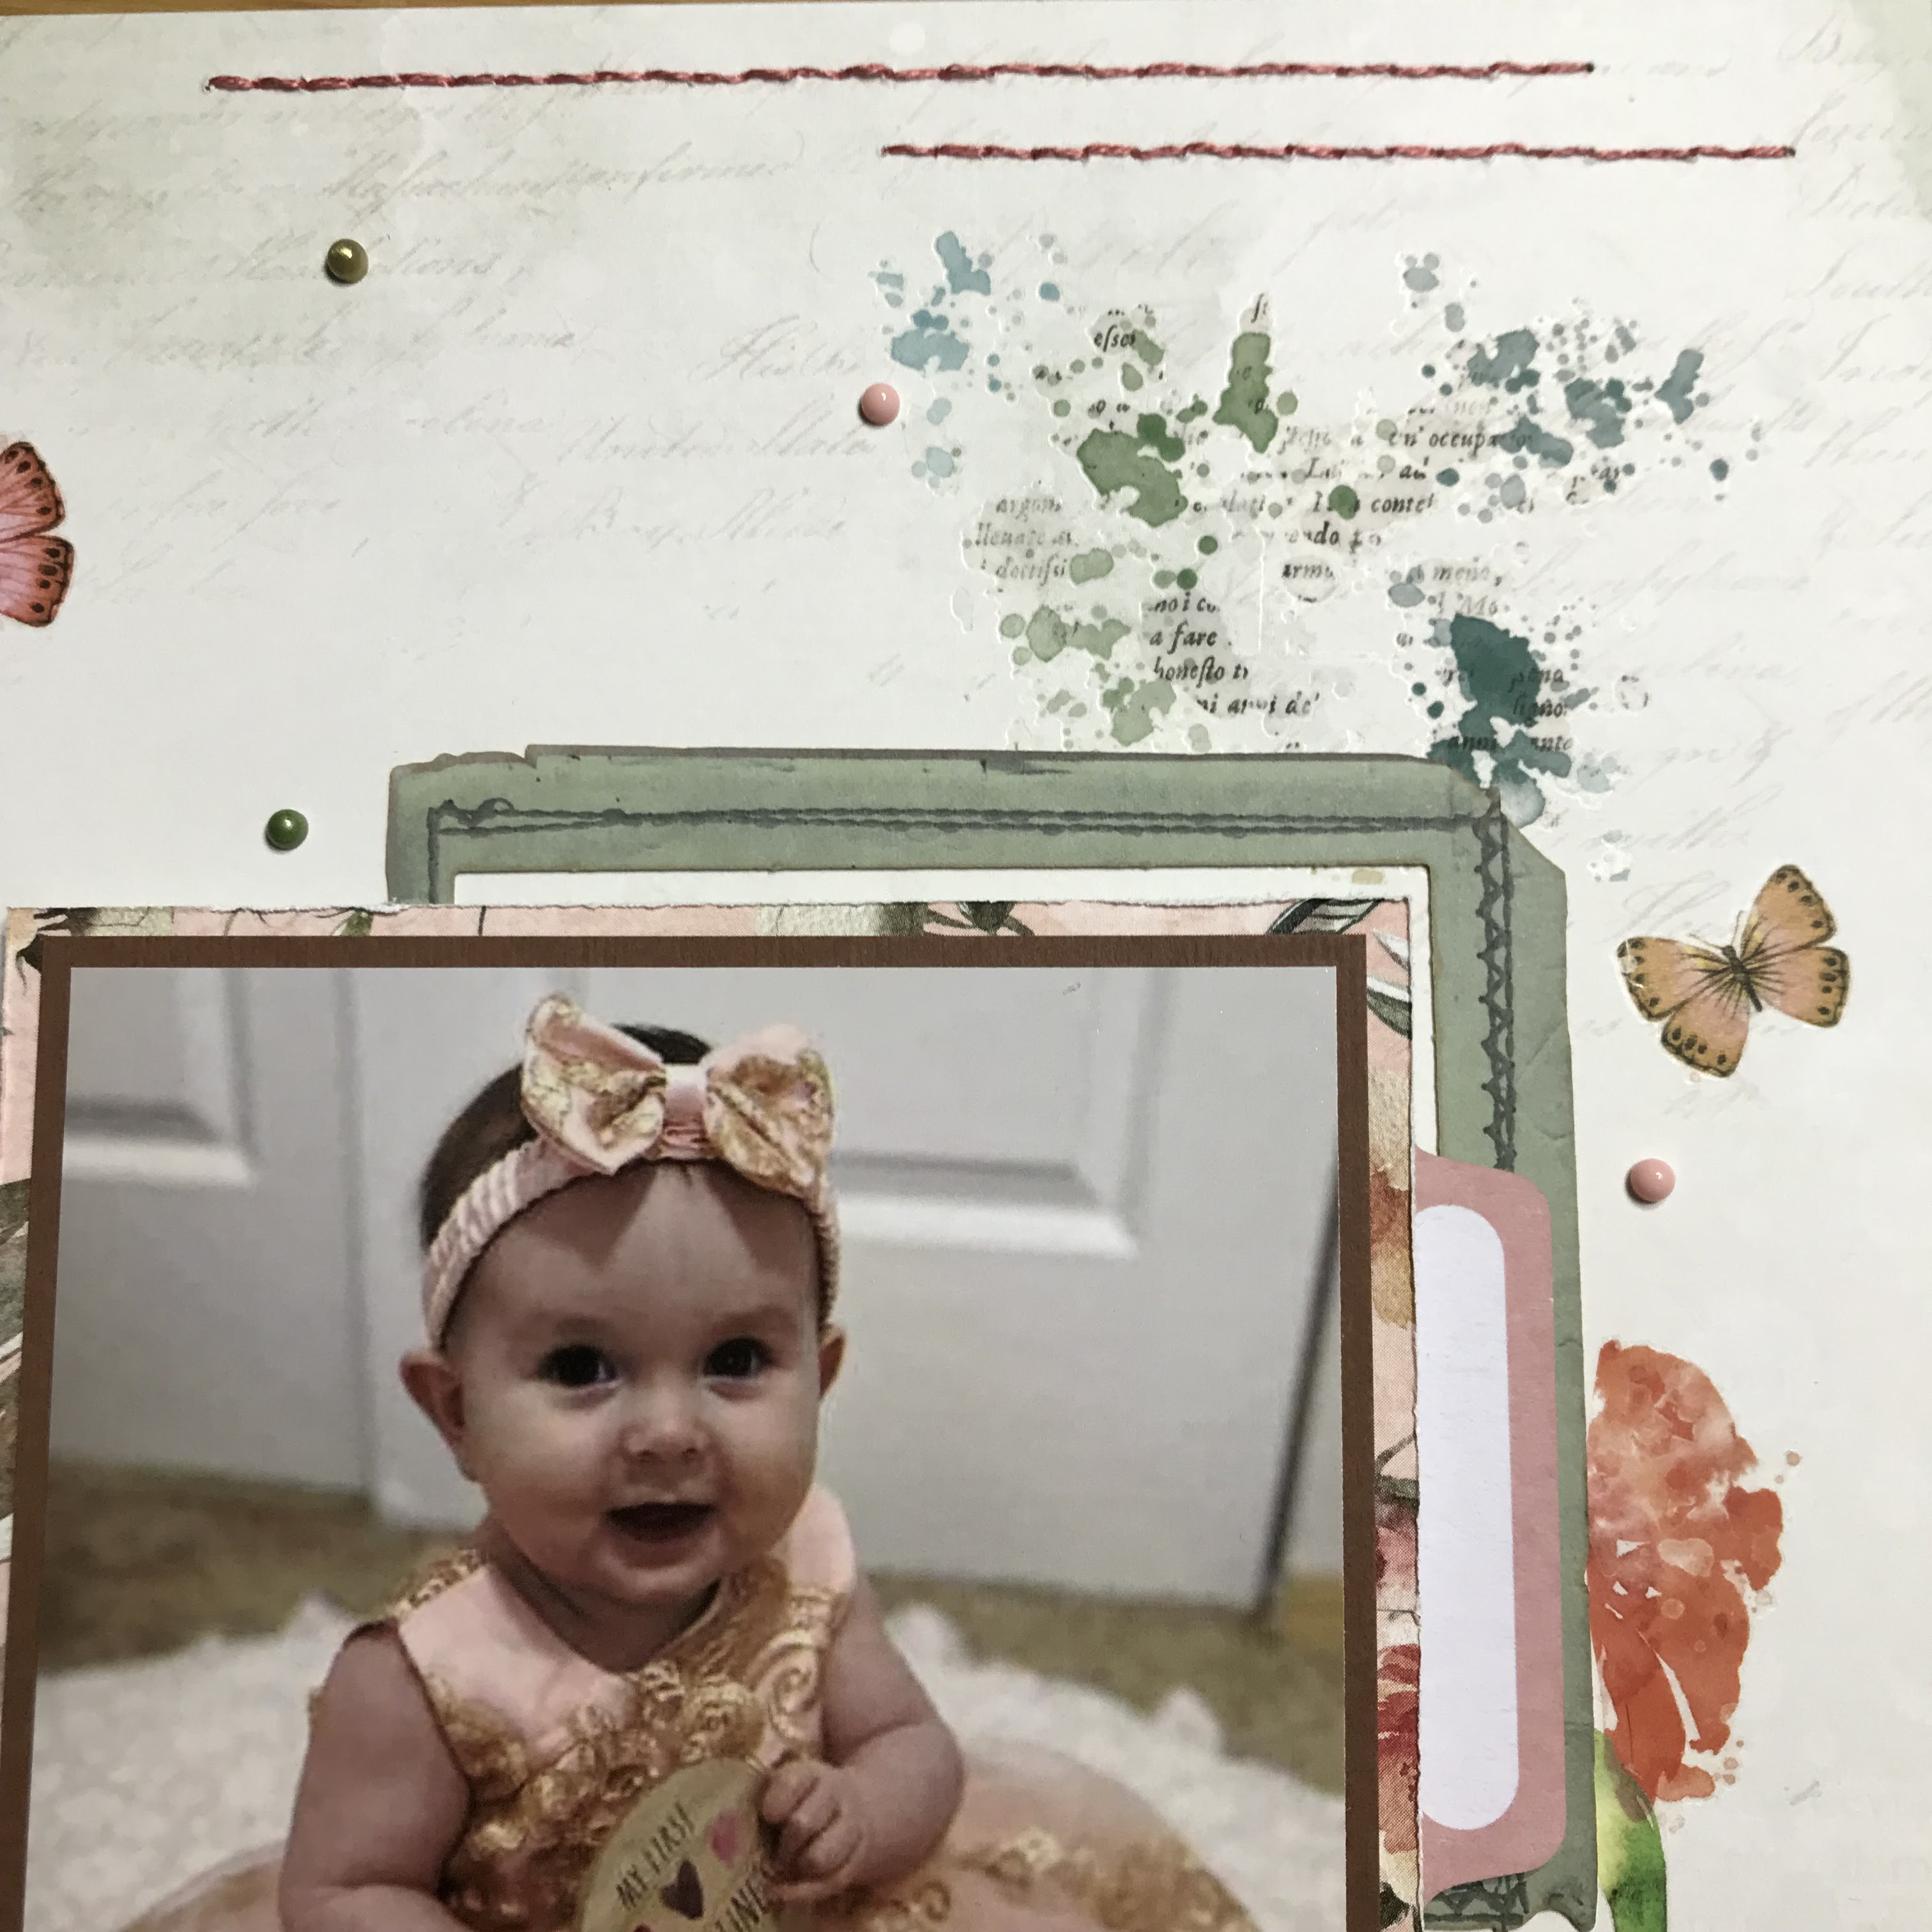

I needed a little something in the top left so I made the 2 little fishtail flags and popped on top the little So pretty.


To finish off I added the title using another Rub-on.


49andmarket make such beautiful papers and I find myself waiting for that certain photograph to come along to use them otherwise I just give them a little stroke every now and then LOL and I know you are just like me!
Pop over to The Mad Scrapper  and check out all the beautiful papers and embelishments you could want (and then some) and look out for your perfect photo.
Thanks for stopping in and I'll see you next time.

Sue.


Here is the list of supplies used :

ARToptions Avesta - Butterfly Kisses 

ARToptions Avesta - Posies 

Walnut/Canvas 

ARToptions Alena Rub-Ons 6"X8"

 Nuvo Crystal Drops - Pale Gold 

Art Options Avesta Rub-ons

Floss in pink/peach and green.

Nuvo drops in pink & green 

Wednesday, March 15, 2023

A Day At The Zoo!

 Hello,

Today I'm up on  The Mad Scrapper Blog with this layout of my son on a resent trip to the zoo. I've used papers and embelishments from 49andmarket and chipboards from Dusty Attic. A full list can be found below.


I started by gutting a sheet of yellowy green cardstock, I cut down the Airy sheet to 111/2 and inked the edges and distressed before adding it to the green card.  Then I decided to add some stitching to an area that has faux stitching on it, I also added some inking through the Dusty Attic leaf stencil once I'd decided where my photos were going to sit.


I added a couple of rub-ons to the right hand side and then I made a little cluster to go under one of the photos. The photo of my son with the Rhino in the distance has been matted on to the same green under the main paper.


I popped out the chipboard and gave it a coat of black gesso and when dry I added a light coat of gold acyclic paint, I think it looks a little vintage don't you? You can see I added a black outline to the leaves along with a gold pen vein to the leaves.


This next photo shows the name plate displaying the name of the zoo along with the visit date, these little chipboads from 49andmarket are a perfect way to display such things.


Here you can see a close up of rub-ons and the top of the cluster made from the collage stack.


The butterfly is a rub-on and the chipboard is from Serenity 


My sons favourite animal is the elephant and this one behind him is called Coco and is the eldest in the park and soon to be transferred to the West Midlands Safari to help with its breading programme. Coco followed him everywhere he walked around their enclosure (to be honest most animals do tend to approach him when he gets close to their enclosures) it looks as if it is talking to him lol.


Just another little look at the chipboard and also you can see that one photo has been matted 3 times and put on foam to give hight.

Thanks for stopping in again, I hope you like what I've made today and maybe you too could try adding extra to you main sheet of paper with either stencils or stitching etc.
Don't forget to pop in to The Mad Scrapper  to see all the beautiful things Janine has for you to gaze upon to start your next project.

Sue.

Please find below the list of products used today:
49andmarket vintage artistry essentials - Airy
49andmarket vintage artistry essentials - Journal Cards
49andmarket collage stack in natural
49andmarket vintage artistry everyday essentials Rub-ons


Wednesday, March 1, 2023

Right here, right now!

 Hello,

I'm here today to share yet another layout made for The Mad Scrapper Blog and today it showcases a couple of photos of my husbands second love, radio controlled sailing. I am pleased to say I'm his first ha-ha.


I have chosen to use papers from 49andmarket along with ephemera from them and some out of my stash. A full list will be at the bottom of this page.
I started by taking the Uncharted paper and cutting it down to 111/4, removing a circle from the centre and distressing inside and outside edges. Then I hand stitched around the circle. I took a grey Bazzill card and reduced that to 111/2 and removed the centre circle but not quite as big. I distressed the inside and then matted them together.


I put those two on to a sheet of Oceanic and distressed the edges. This paper affords me a almost sunset view through the cut away circle. I took my 2 photos matting one just on grey and the main one on two layers of spare card at a jaunty angle allowing them to come over the edges of the circle.


I looked through my stash to find beachy, sailing type embelishments which I can tell you was hard! I decided to grab a few bits out of the Beached ephemera pack along with Serenity chipboard pieces and stash item's.


The journaling is both around the edge of the circle and on this journal card. I tucked a camera diecut and sailboat under it and a good old deck chair on top. I decided the title was to be the perfect phrase on the chipboard.


The lake they use to sail on is highly visited by seagulls so this laser cut was perfect and I liked the tickets too which were a perfect place to pop the acrylic date.


Just a closer look around the page, this one shows another seagull and stitching 


Here you can see the clusters I have made around the page.


Thanks for stopping by again today. The papers I have used have a beachy theme but Janine sells lot of different papers and you will be bound to find some that will fit the theme of your photos. Call by today or go online to The Mad Scrapper .

Sue.

Please find below a list of supplies used, some may be out of stock but you could already have them in your stash:
Bazzill - Ash/Canvas 
Beached Ephemera Pack
Beached Laser Cuts
D.M.C. Floss-437
Acrylic date and seagulls by Bramble Fox 

Today I followed a sketch by Allison Davis of Scrapbook Generation USA


Friday, February 17, 2023

Forever!

 Hello,

I'm here today to share another layout made for The Mad Scrapper Blog and I have chosen to play along again with the challenge over on the Facebook page for 49andmarket. If you like me love everything about them you may like to join in too. Janine is up to date with all available products so you can always top up your stash there. The challenge is made up of a inspirational sketch and a colour to follow too this time around. I will add a list of all supplies and the sketch at the bottom of this page.


I started by taking my sheet of vintage artistry Blush - Soaring and trimming it down to 11.5 and then I gutted out the centre to give me a 8 inch square. I took a white card and trimmed it down to 10.5 and added it to a piece of green. I decided to add some stencilling to the white using a distress ink but I wasn't happy so I went over with some crackle paste, I also stitched around the edge with some grey floss. When dry I mounted it on to the B side of the Blush paper giving me a nice boarder of pink.


The 8 inch square I matted on to grey card but not before I fussy cut the butterfly and I also added stencilling to that too. In the photo below you can see the raised wings and a close up of the stitching and strip if lace used.


The layout is of myself and my big sister taken in what I believe is the summer of 1966 before my little sister arrived in December. My nana was a tailoress and so we were very lucky and had almost all our clothes made for us so we were always dressed alike. In this photo we are standing in the garden of my other nana.


As the colour to be used is pink I dragged out lots of  flowers, laser cuts and ephemera from different 49andmarket collections along with a splash of green.


Here you can see some tram tickets used along with flowers and pearls.


And on this photo you can see laser cuts and more flowers. That is me in the scarf!


Another laser cut along with ephemera and enamel dots.


This little butterfly is from the ephemera pack of Sherbet collection.


Another little look at the main cluster showing most elements to the page, including the beautiful lace which is a laser cut too.


Thanks for stopping by today. I hope I've encouraged you to join in with the challenge even if you choose not to the sketch is useful to have for those No Mojo moments we all suffer with from time to time. Don't forget to pop over to The Mad Scrapper  to see all the amazing collections Janine has for us from lots of different suppliers around the world.

Sue.

Here is the list of supplies along with the sketch.
Pearls, enamel dots and floss from stash
Spectrum Sherbet Die Cuts


Wednesday, February 8, 2023

Happy Valentines

 Hello,

Today I'm sharing a quick Valentines card with you which I have made for The Mad Scrapper Blog . It's a 6x6 inch white card blank with the 2 layers each cut smaller than the last.


I started by choosing 2 coordinating papers ( full list below) from different suppliers, I thought the little hearts worked well and I loved the kraft coloured one.


I cut a heart and a mat then I added the Dusty Attic stencil over it with the distress ink. The top heart is cut from the opposite side of the SO in love paper. Sorry about the light in the photo below!


These next few photos show the finished card closer. Here you can see I cut a Happy out of greyblue and added 2 further cuts under to give some depth.


Here you can see how I added Glossy Accents to some of the little hearts and I have diecut some layered hearts using a little kraft paper and papers on the card.


Also here you can see how I stitched around the edges of the card in a kraft coloured floss. I printed the Valentine's Day off my PC in brown.


Thanks for stopping in again today, I hope I've inspired you to make your own card this year. Janine has lots of other themed papers from collections by your favourite suppliers. Pop in if you live local or  The Mad Scrapper  online store open 24/7.

Sue.
Here is the list of supplies used today:


Saturday, February 4, 2023

Memory.

 Hello,

Today I'd like to share a layout I have made to join in with the January 49andmarket Challenge. Yes it's back again and there are 2 parts to it, the first is a sketch and the second is you must use their Serenity range. All my supplies are from The Mad Scrapper  and it will be available on the  Blog.


I started by matting my photo on to grey Bazzill but not before I punch the edges. On the sketch it looks like a frame but I didn't have one that big and remember the sketch is just to spark your creativity and not a MUST copy thing.
I decided I wanted some of the B side of this paper so I gutted under where I knew the photo would lie. (a full list of products used ill be at the bottom) and filled in with a piece of scrap. Then using a Dusty Attic stencil I added leaves with Vintage Photo distress ink. I added the blue lace lazer cut and then went back to my photo which I added a mat from 4x6 frame set, tucked some foam under and then added another mat (blue) from 6x8 spectrum sherbet collection. The photo below shows the stack.

 
As the photo is hubby and myself I didn't want too many flowers so I just made 2 small clusters and I tucked a note paper lazer cut under one and I also added a photo filmstrip but I used the B side for the grey. The rub-on is a bit quirky because he bought my engagement ring from a jewellery shop on the rows on Eastgate Street in Chester!


This next photo shows the larger cluster of flowers, all by 49andmarket. Also another beautiful rub-on, if you haven't used these give them a try because they come off so easily.


I have used a few chipboard pieces out of the set along with 2 colours of Nuvo Drop in pearl.


I made a little cluster of banners at the top right raising the edges of some. The opposite corner has a rub-on and a leaf branch and the bottom right has a rub-on too. I tore away two places on the main page adding ink, then tucked the B-side under so we can see that. All edges on the page have been distressed using my little tool and ink added to pop them.


Thanks for stopping by today, if you haven't any of this collection do pay a visit to Janine over at The Mad Scrapper  and then checkout the link over on the 49andmarket Facebook Page to add your page.

Sue.

Here is a list of all products used:-
Vintage Artistry Essentials - Rub-ons
Vintage Artistry Essentials - Collection Pack
Enchanted Petals - Parchment.
Nuvo Drops - Caramel Cream & Navy Blue.
Here’s the sketch I have followed