Wednesday, September 29, 2021

Beach Hair.....Don't Care!

 Hello There!

Today I'm sharing a layout for the mad scrapper blog and it's a fun one. Recently Janine sponsored a prize in the birthday hop over at peartreecutfiles blog so I popped over there and purchased a couple. This one caught my eye as I had just the photo in mind to use!


As you can see I was looking less than glamorous with my windswept hair do Lol.

To make the base I first chose papers from 49andmarket and Maja Designs

I trimmed the Windward bound paper to 11 1/2square and distressed the edges. Then I gutted the tropical-orchid before adding the windward to it. You can see that the edges of the sails have a pink to them which is why I chose the orchid as the base.


This is the cutfile which comes to you in white or black as you can see I chose white and then I took the hair & care and coloured them slightly with fired-brick distress ink and the beach and don't I touched the top with peacock-feathers distress ink to make them pop off the page.
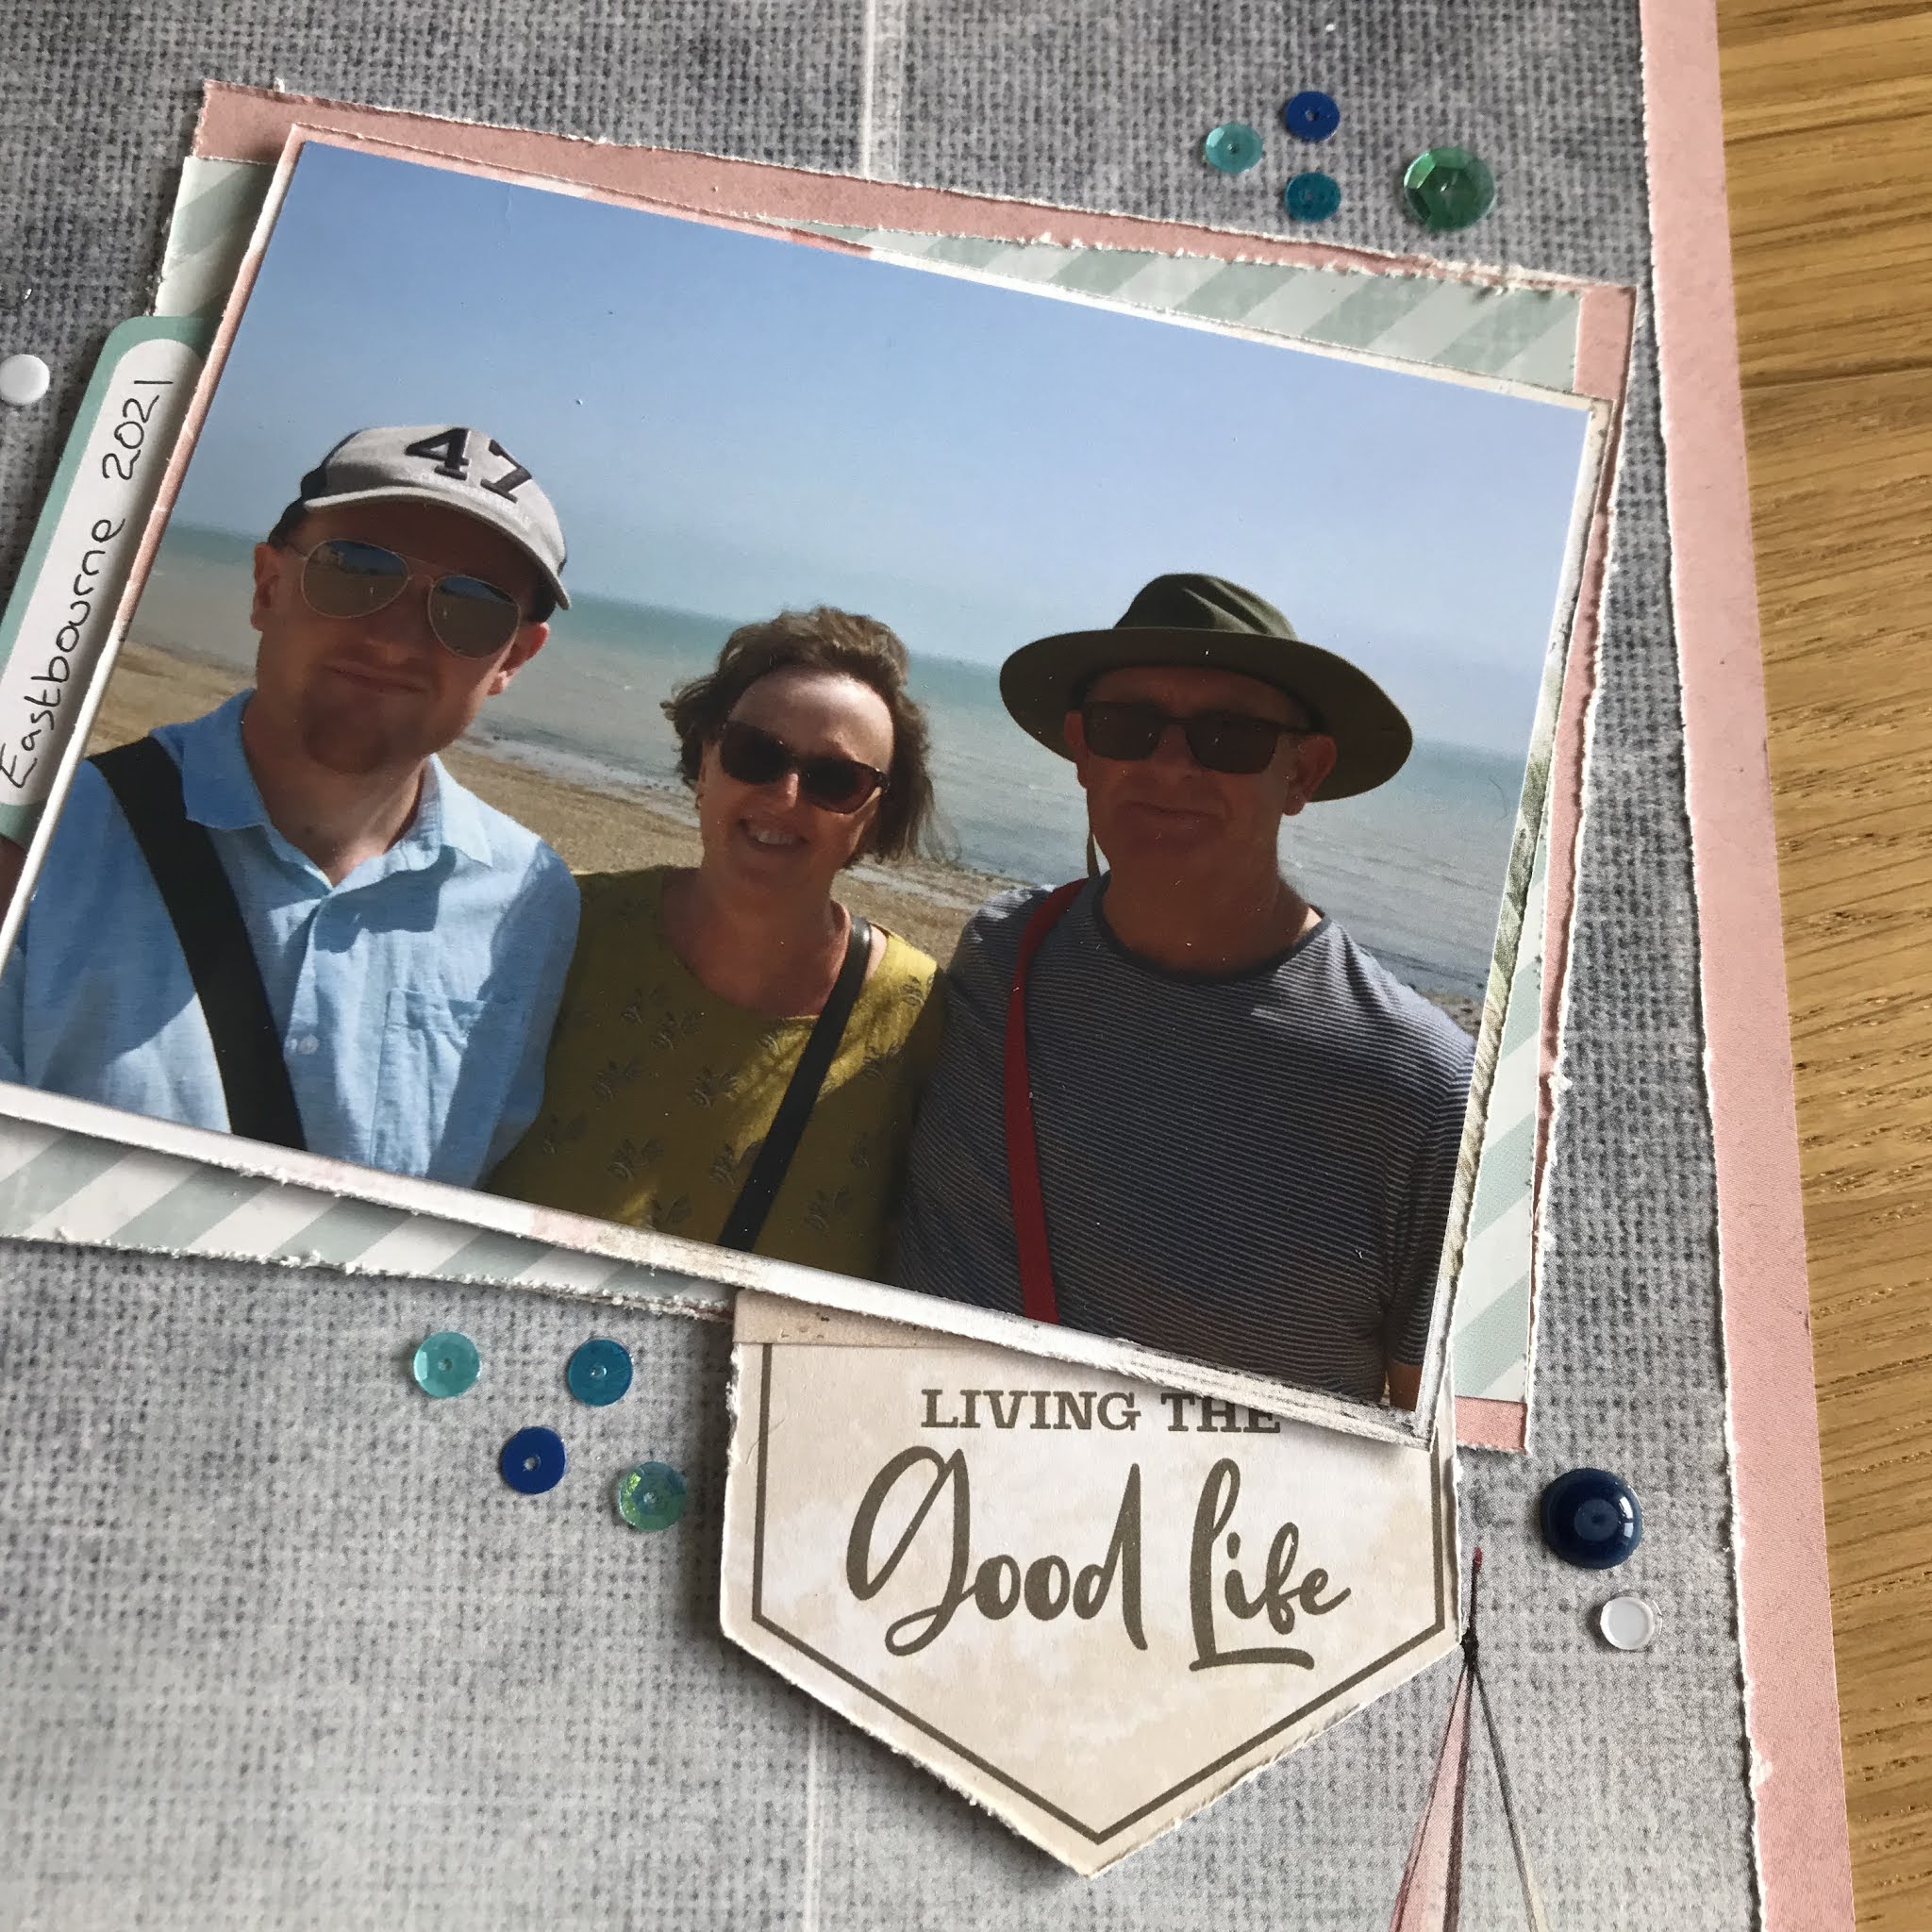

Ooh here's a look at my hair 😱 
I have used pieces of  vintage-artistry-beached-ephemera-bits and beached-journal-cards by 49andmarket about this layout. I even used the packaging from the ephemera as a mat under the photo! The photo was lifted on foam to enable me to tuck under the couple of tags.
In this next photo you can see I made a little cluster for the top left, you can also see a few sequins by spiegelmomscraps from the balloon festival range & glossy accents that I have dotted about.


This next photo shows a little cluster I placed at the bottom of the page to correspond with what was printed on the paper. A couple I have lifted on foam.


This last photo shows the ship and text also printed on the paper. I bought the paper because my husband loves everything to do with the sport. I didn't quite know what I would do with it but hey we all do that don't we lol.


Thanks for stopping by again. Please leave a word or two so I know who's been. Also pop over to themadscrapper online shop that's if you can't make it to the store itself, Janine has lots and lots of beautiful papers etc to satisfy your requirements for almost any theme you have in mind. Plenty other beach style papers including the full selection of 49-and-market/beach collection.

Till next time, take care.

Sue.


Saturday, September 25, 2021

Happy 60th

 Hello There,

Today I am sharing a birthday card I have recently made for my own sisters 60th birthday. 


For this I have used papers from maja-designs Tropical Garden Collection. 3 in total but the one missing from the photo below is called cockatoo and that is the main focus on the card. This beautiful image cried out to be placed on a card.


There are 17 papers in the full collection including 5 self coloured as is the green one above.


I started off making my 7x7 card blank and adding to that a slightly smaller patterned paper which I first stitched the bottom right using a green thread and then distressed the edges. Then I added the Cockatoo paper to the green paper but not before stitching the top and left side using a mixture of the green and purple threads. I distressed the edges again and added it to the card using foam pads.


I took 49-and-market enchanted-petals-ballet-slipper and parchment along with cherry-blossoms by Green Tara and 1cm-rose-white and made a little collection for the top left.


I placed down a little cheesecloth and tucked in some leaves I cut from the green using both sides as one is lighter than the other.


Using my Cricut I cut out a 60 from the papers and added those the 6 being lifted on foam pads. Other things used are citrus gems, and a Happy Birthday stamp which I added to the papers too.

Thanks for stopping by today. I hope I have given you an idea for using these beautiful papers, do checkout the themadscrapper for more papers and crafty items it's bursting at the seams.

Sue.


Monday, September 20, 2021

Oxford

 Hello,

Here I am sharing another project I have made for  themadscrapper.blog. This time it is a layout of a recent visit to Oxford. 

We have been enjoying the TV series Endeavour (one of my favourite shows that I can watch time and time again) over the past weeks and as our son was away we took a drive out there. Not been for some time and we were pleasantly surprised by the new shopping centre that had sprung up but we were there for a nice walk along the river taking in the sites of the spires of the colleges which this photo in the layout shows.


For this layout I have used vintage-artistry-hike-more-boscage and vintage-artistry-anywhere-journal-cards but the blue side.

But don't worry I gutted the centre out of it before adding the cut down to 11inch Boscage to it. I also inked the edges of everything using vintage-photo distress ink before adding.  Then I took vintage-artistry-hike-more-journal-cards and made a little cluster for the top left area.


I recently purchased a EK punch which gives that notebook style edge and you can see it in action here on the Notes piece and a little bit of blue.
The photo was matted on to a 49-and-market/vintage-artistry-essentials-4-6-file-frame-set and then on to some Hessian and lifted up by placing a bit of cardboard underneath and then stuck down.

Then I took lots and lots of 49andMarket flowers and leaves and made 2 clusters to go at the top and bottom right of the photo.

Here are the flowers listed royal-spray-ocean-jaderoyal-posies-ocean-jadeenchanted-petals-parchment and green-tara/mini-flowers/cream I also added a big daisy from my stash along with a jade wax thread bow. You can also see a little touch of cream lace added to bottom and the right side of the photo.

On this next photo you can see the little cluster I made up and also 1 of 3 butterflies/moths I stamped out using mowed-lawn and vintage-photo cutting them out and adding them with foam pads. The bicycle had to be added because there were soooo many around us not only on the roads but along the river too.


You can see I added my journaling to the strip and tucked a off cut with the underside showing. I dotted about some newly acquired sequins from Spiegelmom along with gems by kaisercraft mine are yellow/green but there are others in store.


Thanks for stopping by today, I hope I have given you a little inspiration for use of these fabulous papers. The full selection along with rub-ons, stamps and stickers can be found in store or online at www.themadscrapper.co.uk .

Sue.


Tuesday, August 31, 2021

Together

 Hello again!

Today I'm sharing a new layout for themadscrapper.blog called Together. It shows a photo of myself and two sisters on the pier at Llandudno this last July. As we all live miles away from each other we hardly ever meet up so this photo means a lot to me.


So we start by choosing our papers from the amazing selection found in store or online at themadscrapper . Today I chose chiffon/canvas by Bazzill, vintage-artistry-beached-palm, and a page I took out of vintage-artistry-butter-collection. There are a couple of single sheets available if you don't want the full collection but then who wouldn't!


I started with the plain yellow sheet and removed a 10cm circle from the centre, distressed the edges and popped my photo behind, I did stick a A4 sheet of paper behind just to keep it safely in place.


Then I took the palm paper cutting it to 11 3/4inch square and used a punch around 2 sides but it took off too much so I had to square it off again!! From the centre I cut a 11cm circle and distressed the edges. Then on the 2 sides I didn't punch I stitched using lemon and lime embroidery thread. I attached it to the yellow using tacky glue as I needed wiggle time to get the cut-out right. I do turn the paper.


Now I take the paper called Garden Notes which has a very pale flower on it. Trimming it down to 10 1/4inch square I cut out of the centre a 12cm circle. I decided to take a stencil from my stash which has flowers on it and inked through it using 2 blue and one green Distress inks. As you can see I stitched again and also tore in 3 places tucking behind paper which is the other side of the palm paper which has summer definitions on it. I also took 2 pieces of Geometric-panel by Dusty Attic which I embossed in white with a few bits of brown, I thought it matched the railings behind us.


The next group of photo's show close ups of all the flowers etc I have added to the layout. Here are the links Enchanted-petals-parchmentFlower-mini-series-01-cobaltRoyal-posies-ocean-jadeRoyal-spray-ocean-jadeMini-flowers-bright-blue. I also cut a few leaves from the palm paper and popped them under the flowers as well as some spare stamens.


The title is cut from the info strip and added to some yellow, I've also used a tab from vintage-artistry-beached-ephemera-bits and a butterfly from simple-vintage-cottage-fields-hello-happy which I lifted on foam before adding glitter glue down its body.


My 2 sisters Jayne, Me and Beverley 💖💖💖


To finish off I have I added this this layer to thin cardboard before attaching it to the palm paper, it makes it nice and sturdy with all its additions. I added Nuvo drops in yellow, lime green and black to finish.

Thanks for stopping by today, do call in at the shop be it Online or at the "bricks and mortar" to see all these beautiful things and then many more too. Leave a word so I know who's stopped by. Till next time take care.

Sue.


Thursday, August 19, 2021

It's A Girl!

Hello!

Here I am today sharing with you all a first for me, it's a altered frame. I have seen many of these done but mostly on embroidery hoops but I didn't have one to hand but I did have this hoop which I bought at my local-ish craft shop. So I thought I'd give it a try. Have to say I'm pretty pleased with the outcome if I do say so myself!! I have made this for themadscrapper/blog .


I started with a piece of bazzill-basics in coral which I gutted a ruff circle out of, leaving the rest maybe to go under another project. I fitted it to the hoop and left it to dry.

 Then I chose my papers from the Echo Park welcome baby girl collection, you can see below which I have selected for possible use.

From the sweet-baby-girl paper I have cut a slightly smaller circle, I have added White Gesso through my finnabair-stencil-6x9-iris and sprinkled glitter before it dried. Then I stitched around the edge using corresponding thread finishing off with a touch of distressing.


I added this to the hoop using foam sheets to lift a little from the base. Then I took out lots of things I had either in my stash or that I had fussy cut from the papers from this collection or other similar coloured ones.

I also pulled out lace, ribbon and crocheted doilies, ooh and some cheesecloth too. The It's A Girl is off the 3x4-journaling-cards which I have added to a dusty-attic atc-frame after I have embossed in white and a smattering of pink powder.


This next photo shows I have chosen to add 2 more circles to the hoop from bundle-of-joy paper using both sides. I fussy cut a few baby vests too.


I added some pink lace across the middle of the frame and to that the white pompom ribbon. Then I added the 2 circles after lifting them on foam. Over the centre of those I added the white lace and then set to embellishing the rest of the hoop.


You can see I have added flowers from 49-and-market in ballet-slippers along with white and pink Roses I have also added a drinking straw and a couple of buttons, one of which is the tiny feet.


The Sometimes the Smallest is a sticker from little-dreamer-girl-sticker-book which I mounted on a tag I made from one of the papers used.


Here you can see a couple of vests along with some tabs I made and a butterfly & several hearts from the simple-vintage-cottage-fields-cardstock-stickers. As I said before they all seem to work so well together.


Other items I have used are melange-art-pebbles-clear , Finnabair clear glass beads and scor-tape

To finish off this project I added glitter to the flowers and some baby pink Nuvo drops. The thread to the tag I have had since I started crafting many years ago, I'm sure you may well have some lurking as it was the thing to have back then in the late 90's.

Thanks for stopping by today, I hope you like what you see and maybe you will give this a try for an occasion you have coming up. Don't forget to pop over to themadscrapper.co.uk because you know you'll find lots to tempt you there.

Take care,

Sue.
 

Saturday, August 7, 2021

A Dog's Life

 Hello,

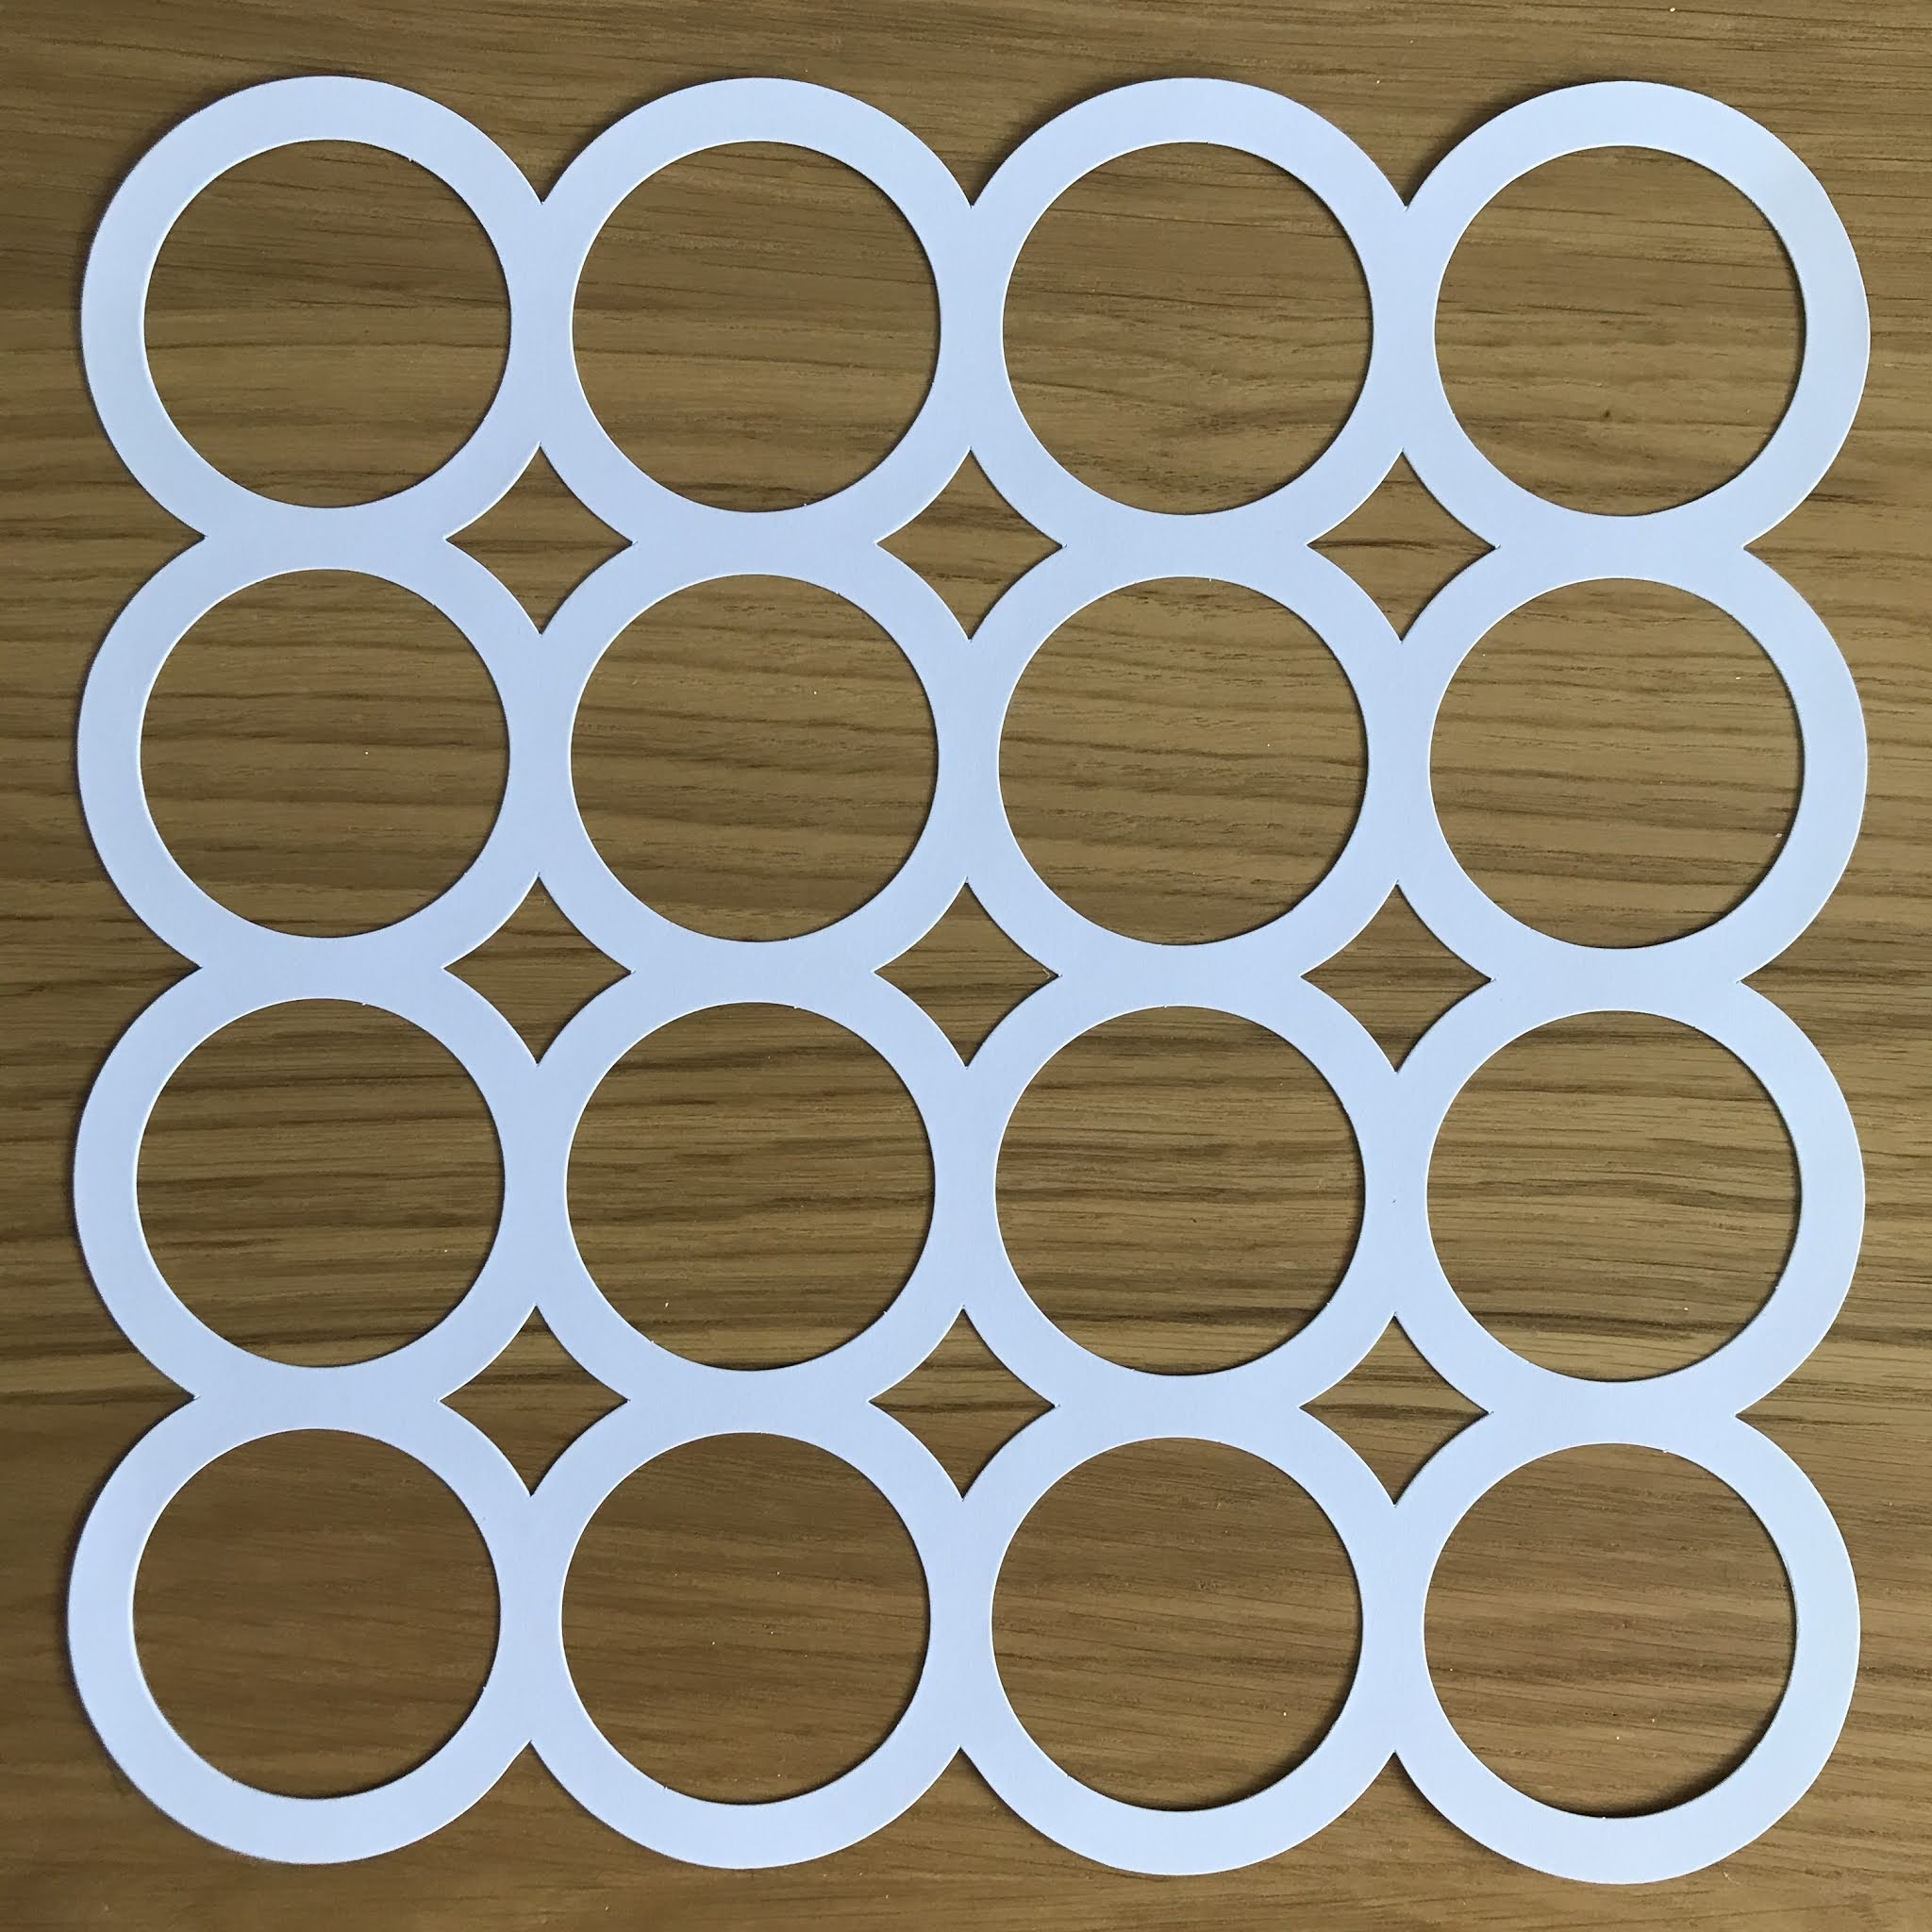
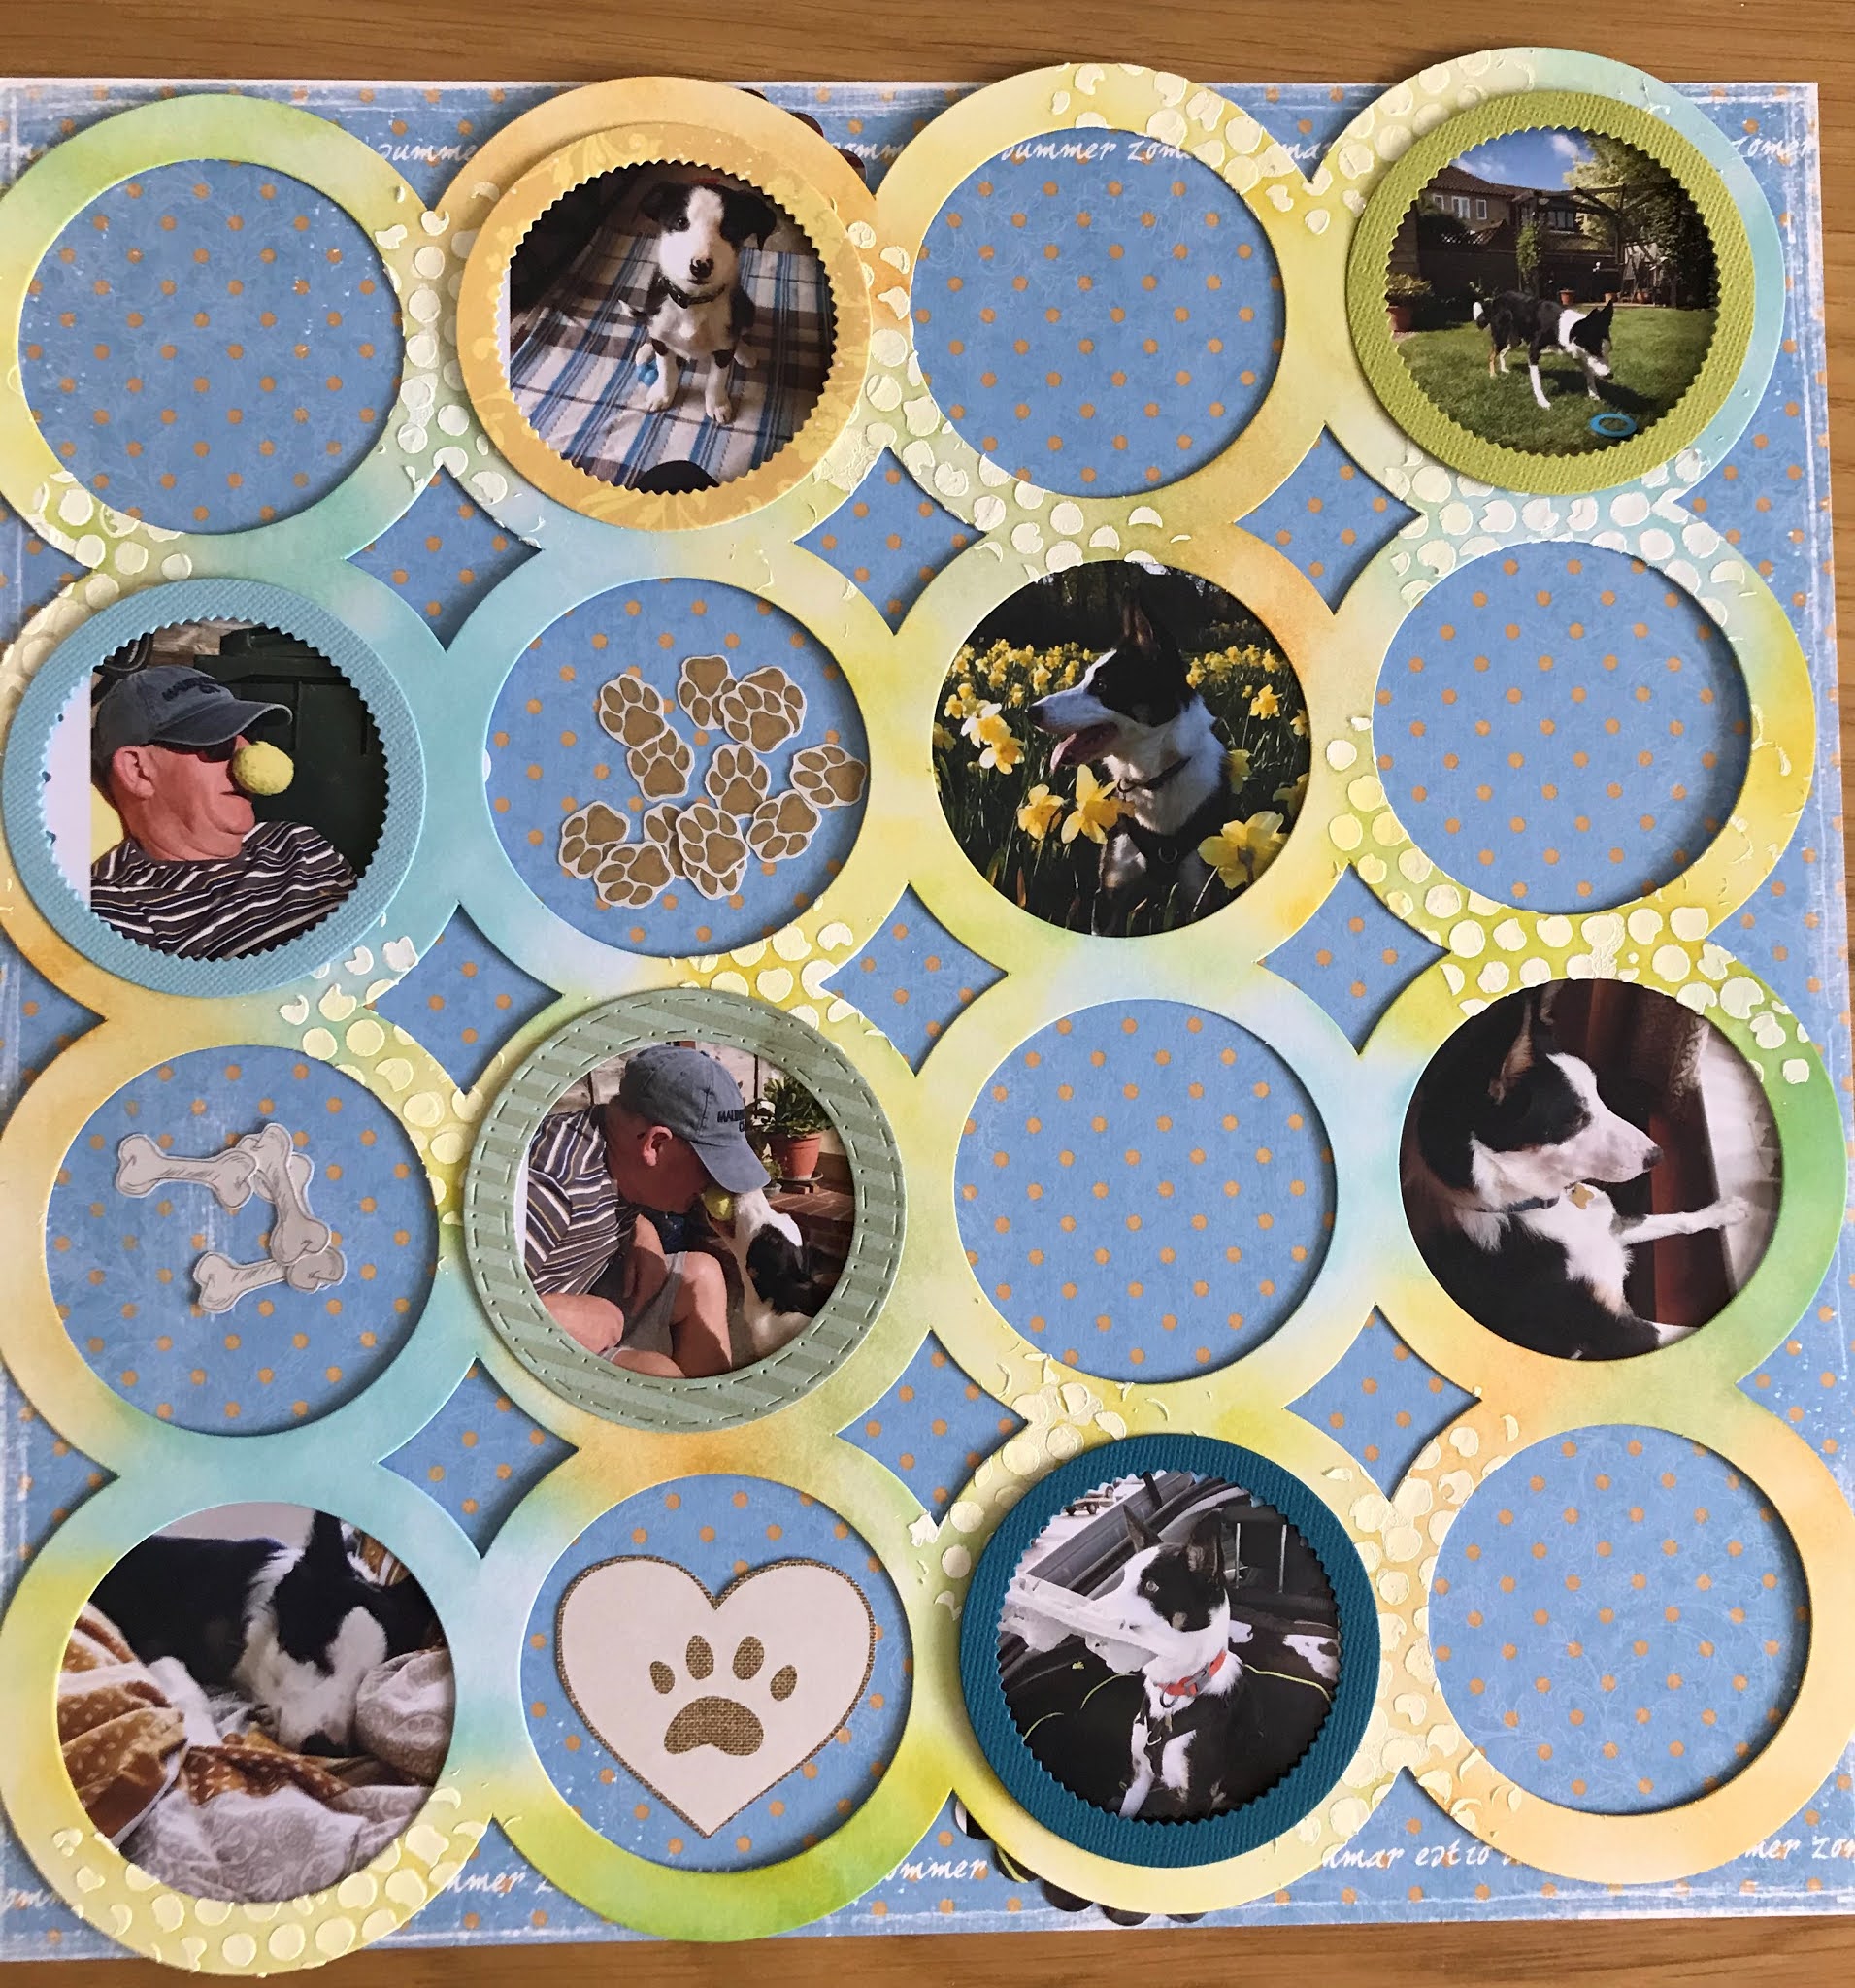
I'm here today to share a fun layout I have made  for themadscrapperblog. Today I have chosen to use die cut by American Crafts (which unfortunately is out of stock at the moment) it comes to you in plain white cardstock so I have chosen to colour it up.


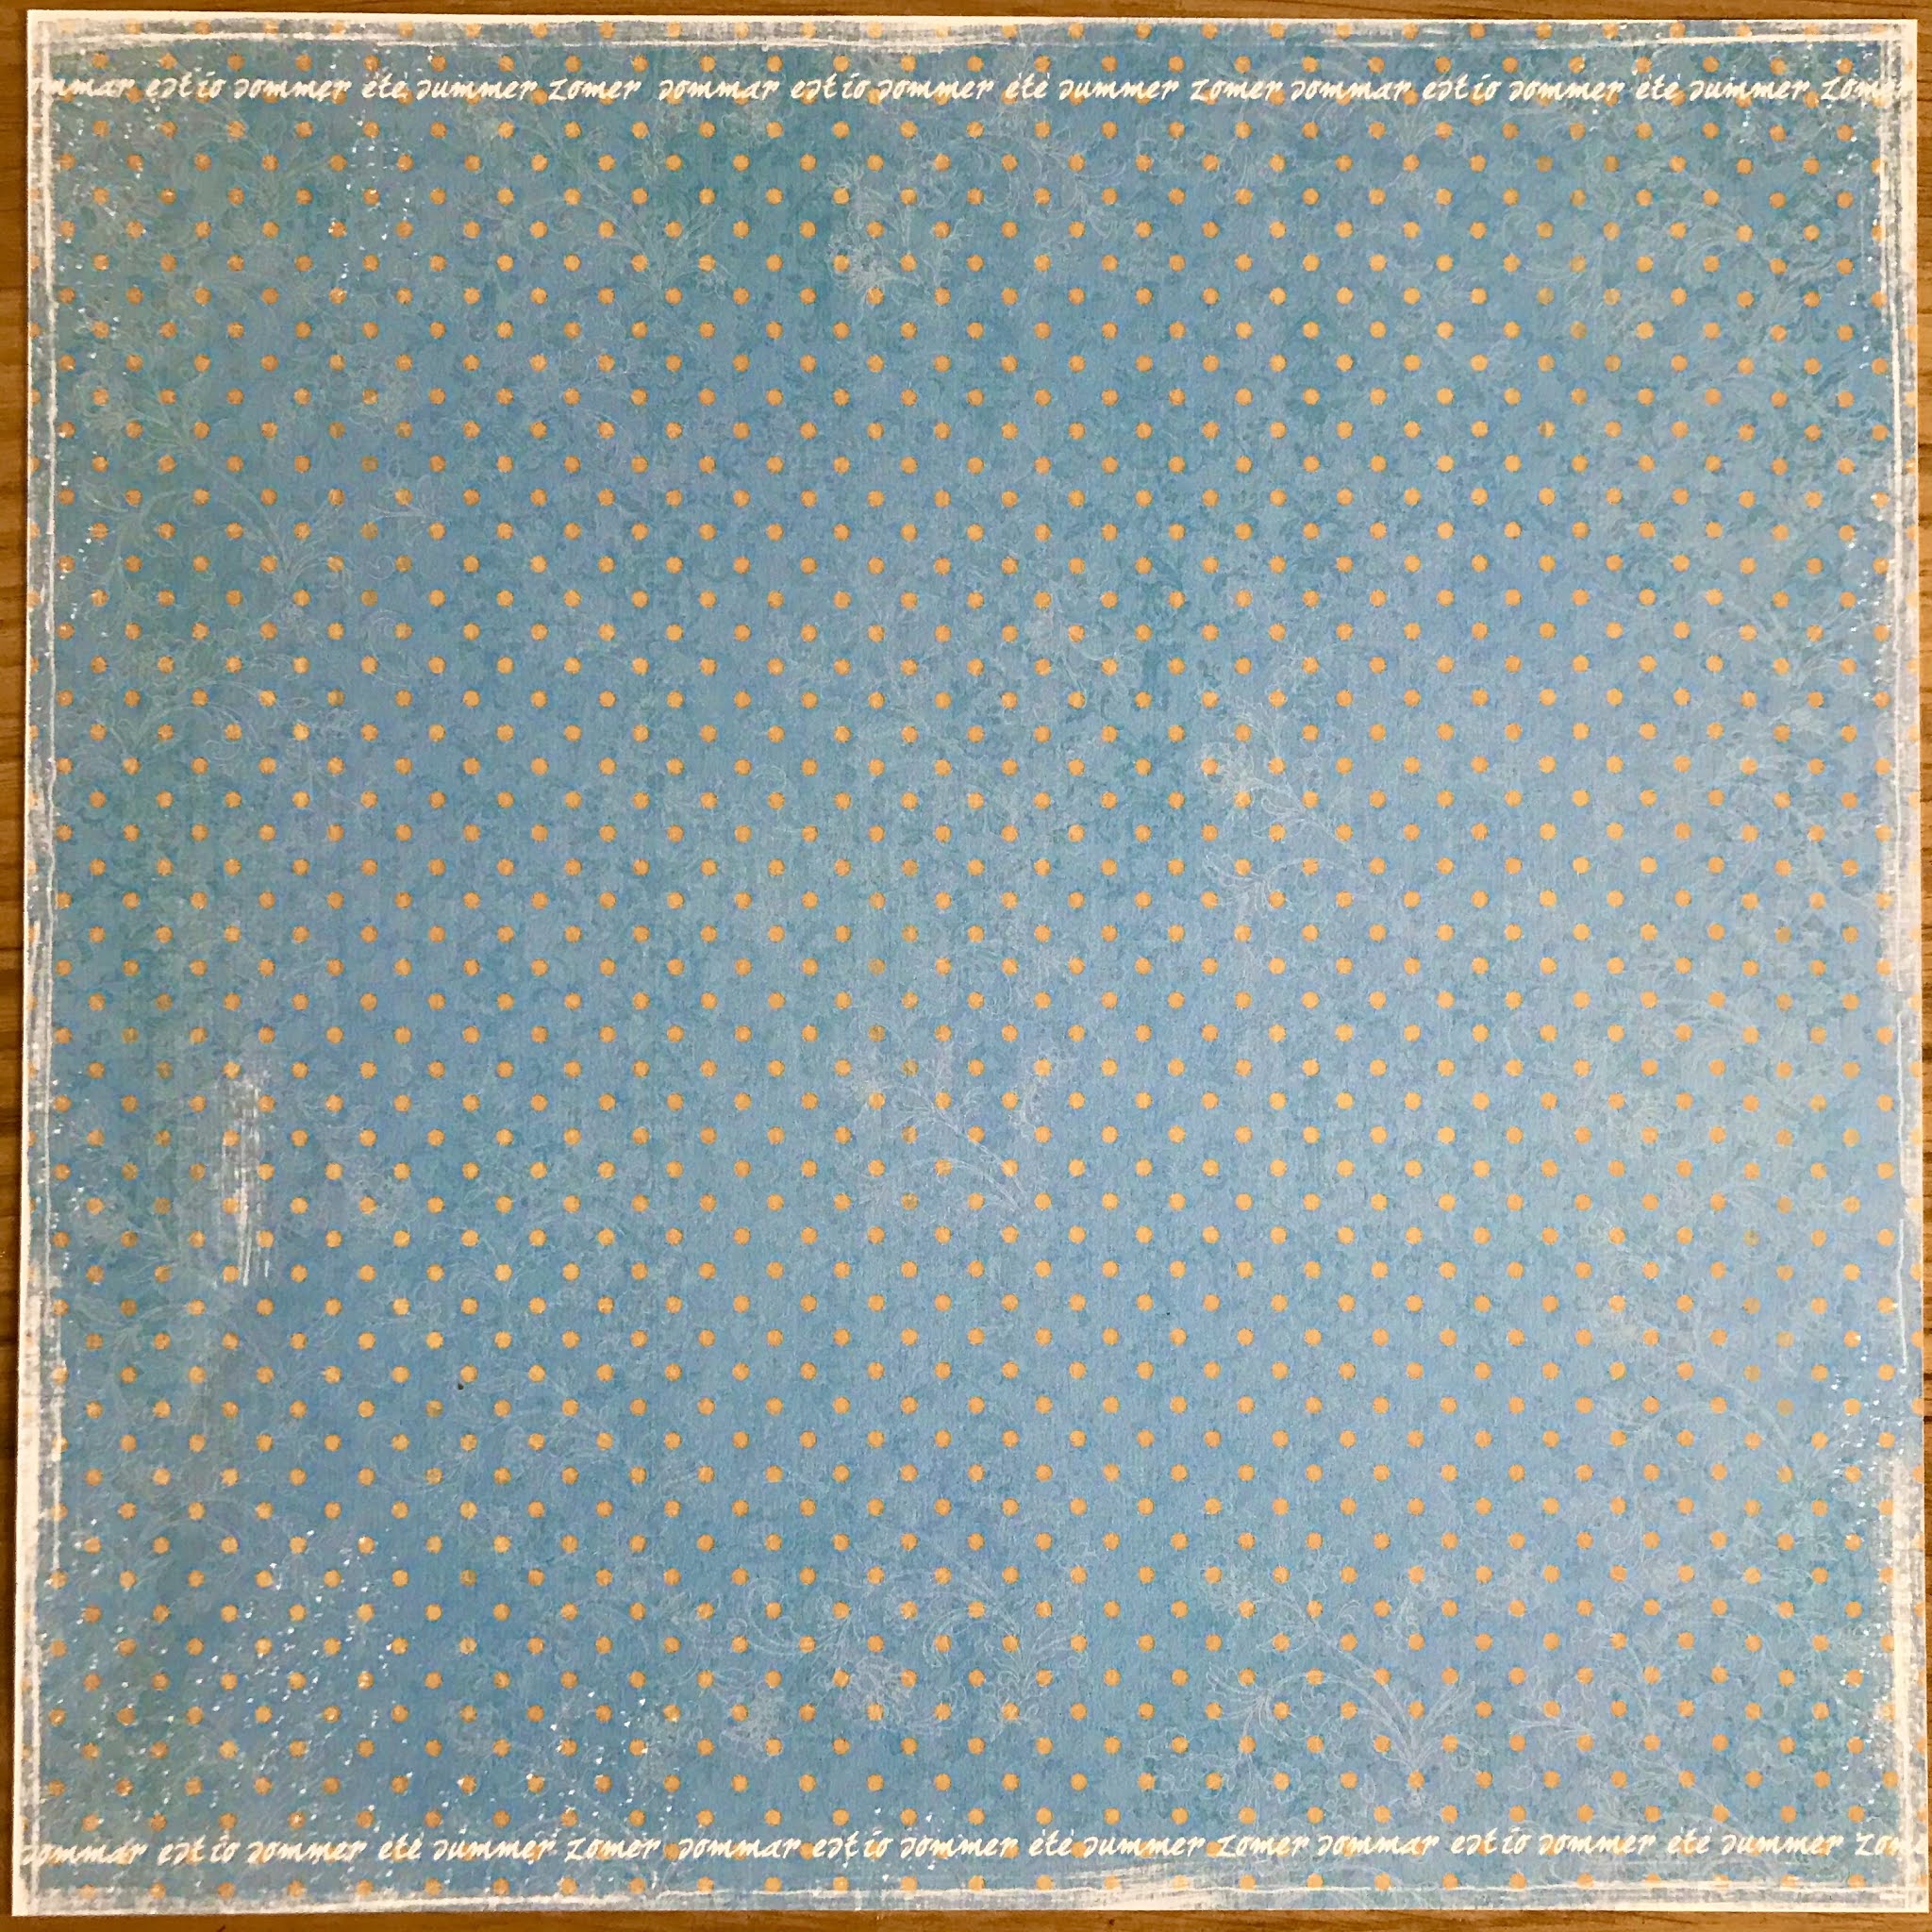
I have used sommartider-kvallsdopp paper turning it over you have these cute dots on it.  Here is the die cut page 


I started by passing some white gesso through a  tim-holtz-bubble stencil , I used 3 distress inks to colour it 


Then I chose the photographs of our dog and after moving them around a bit I decided to cut out little paw prints and bones along with extra frames to go over the circle that the photo would go under. I added the page using glue gel to lift it from the base paper.


I decided to use a Dusty Attic chipboard saying a-dogs-life which I have painted with black acrylic paint. Then I decided to use up the centre of the frames I cut out removing little hearts out first.

Here are a couple of close-ups of the finished page. My husband loves it because she's his little lady and she loves him just as much! The photo far right on the 3 row is her looking out of the window waiting for him to arrive home from work.


Thanks for stopping by today. Don't forget to check out The Mad Scrapper as Janine has great stuff to tempt you with new stock arriving weekly. If you can't see it just ask because she is always willing to try to get it in if it's one of her supplier's.
That's all for now, don't forget to leave a word or two so I know you have been. Till next time stay safe.

SUE